Pressure Canned Salmon Recipe Using a Salt Brine Method
Written by: Kathy Moulding
Use a simple salt brine method to preserve this pressure-canned salmon recipe. This will stock your pantry, save on freezer space, and give you a convenient food option that you can enjoy all year long. There’s nothing quite like the taste of fresh salmon, and using a salt brine canning method enhances the flavor and texture while maintaining the fish’s natural richness. You will be surprised how easy this process is, and when compared to buying those little tins at the grocery store, it is a great way to save money on the grocery budget.
This post may contains affiliate links. I earn from purchases at no extra cost to you. See my full disclosure here.
Why you will Love this Recipe!
- Enhanced Flavor: The brine subtly seasons the salmon, enhancing its natural taste.
- Tender Texture: The brine helps maintain the fish’s delicate, flaky texture during the canning process.
- Efficiency: Brining saves time by pre-seasoning the fish before it enters the jars.
- Versatility: Canned salmon works in countless recipes, from hearty meals to light snacks and lunches.
What you will Need to Pressure Can Salmon
Equipment
- Pressure Canner: Required for safely canning low-acid foods.
- Canning Jars: Use pint or half-pint jars with new lids and bands.
- Canning Tools: Jar lifter
- Sharp Knife: For cutting the salmon into manageable pieces.
- Large Bowl or Container: For brining the fish.
- Cutting Board: For cutting the fish and removing salmon bones and skin.
Ingredients
- Fresh salmon (filleted or whole) or Salmon Ends
- For the brine:
- 1 gallon of water
- 1 cup of non-iodized salt (canning or kosher salt)
Step-by-Step Guide to this Pressure Canned Salmon Recipe
Prepare the Salt Brine
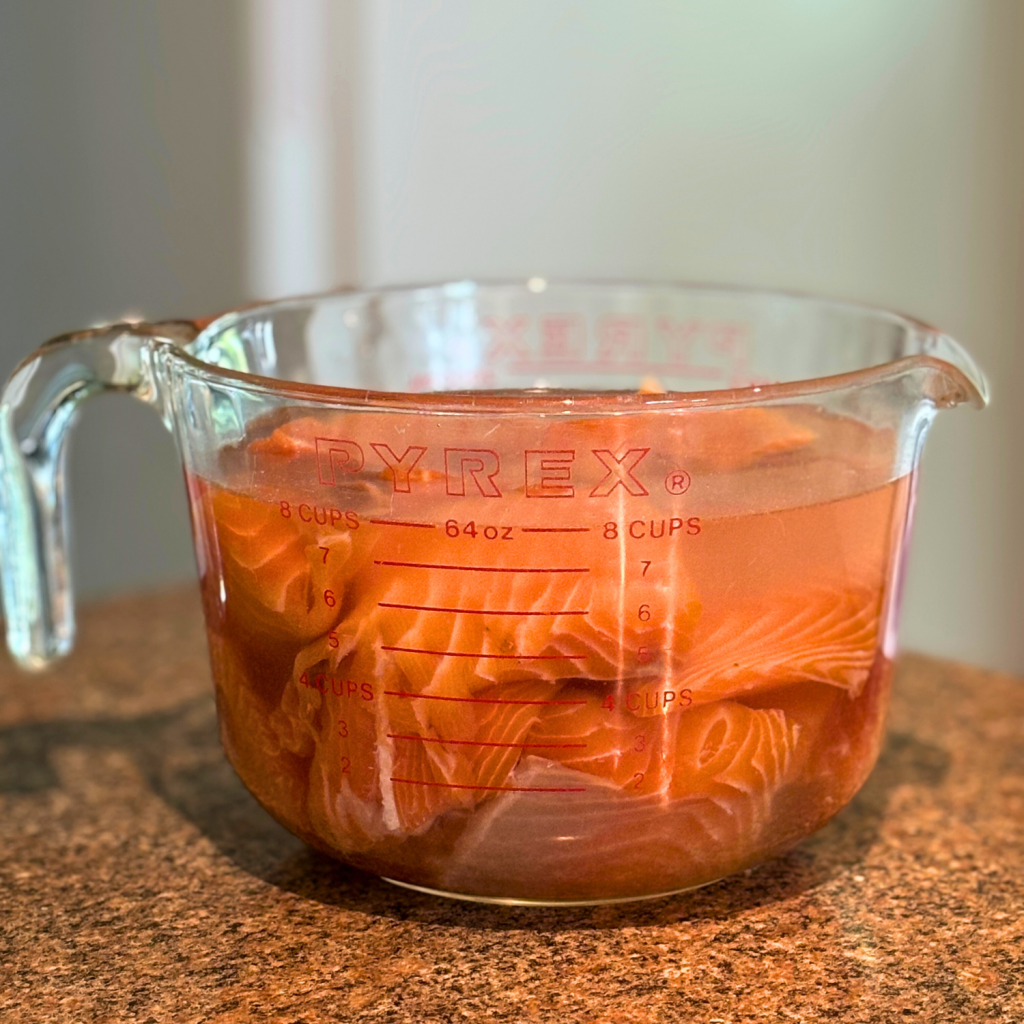
- You will need 1 gallon (16 cups) of water. Mix 1/2 gallon (8 cups) of hot water in a large bowl or container with 1 cup of non-iodized salt. Stir until the salt is completely dissolved. Add the other 8 cups of cold water and stir.
Brine the Salmon
- Remove the skin (optional) and cut the salmon into smaller pieces. Wash fish pieces and place them in the brine, ensuring they are fully submerged. Let the salmon brine in the refrigerator for 1-2 hours. This step infuses the fish with flavor and improves its texture during canning.
Rinse and Dry
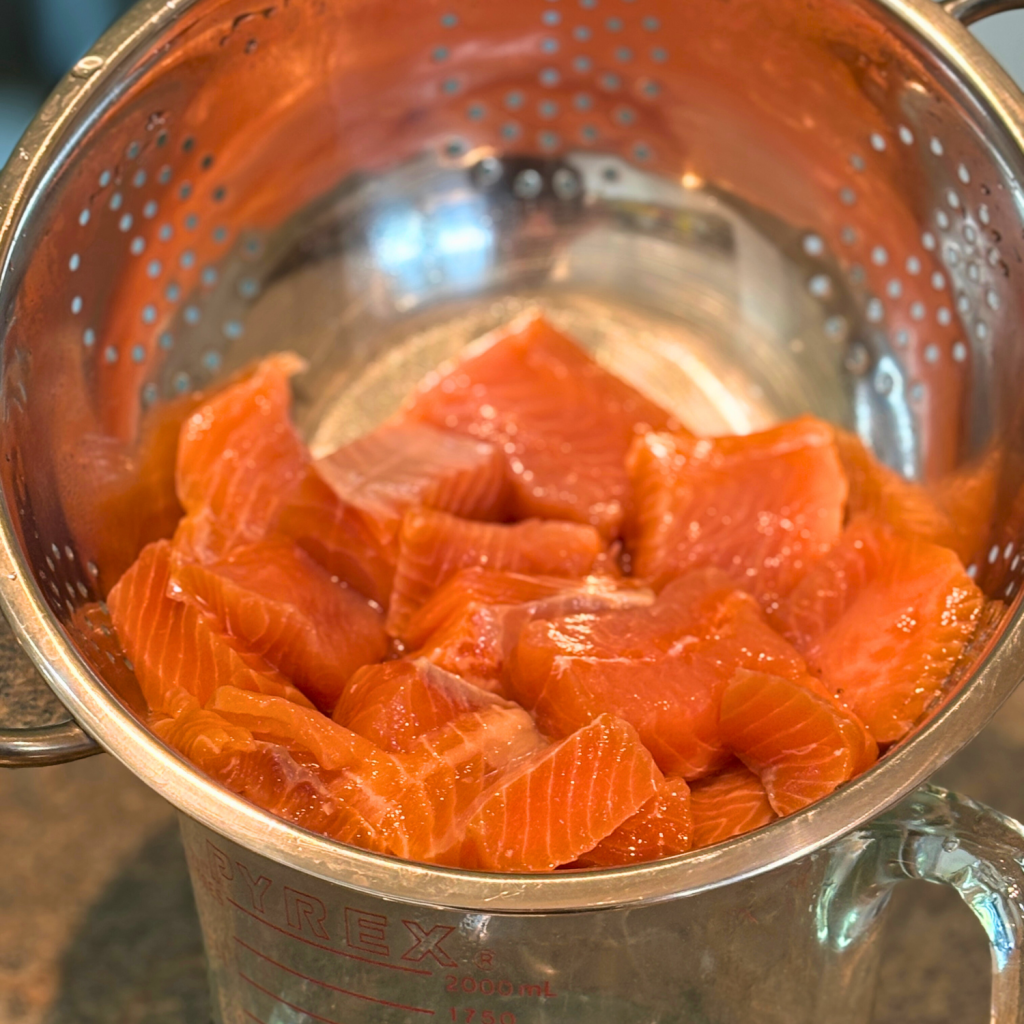
- After brining, remove the salmon from the brine and rinse it under cold water to remove excess salt. Pat the pieces dry with clean towels or paper towels.
Pack the Jars
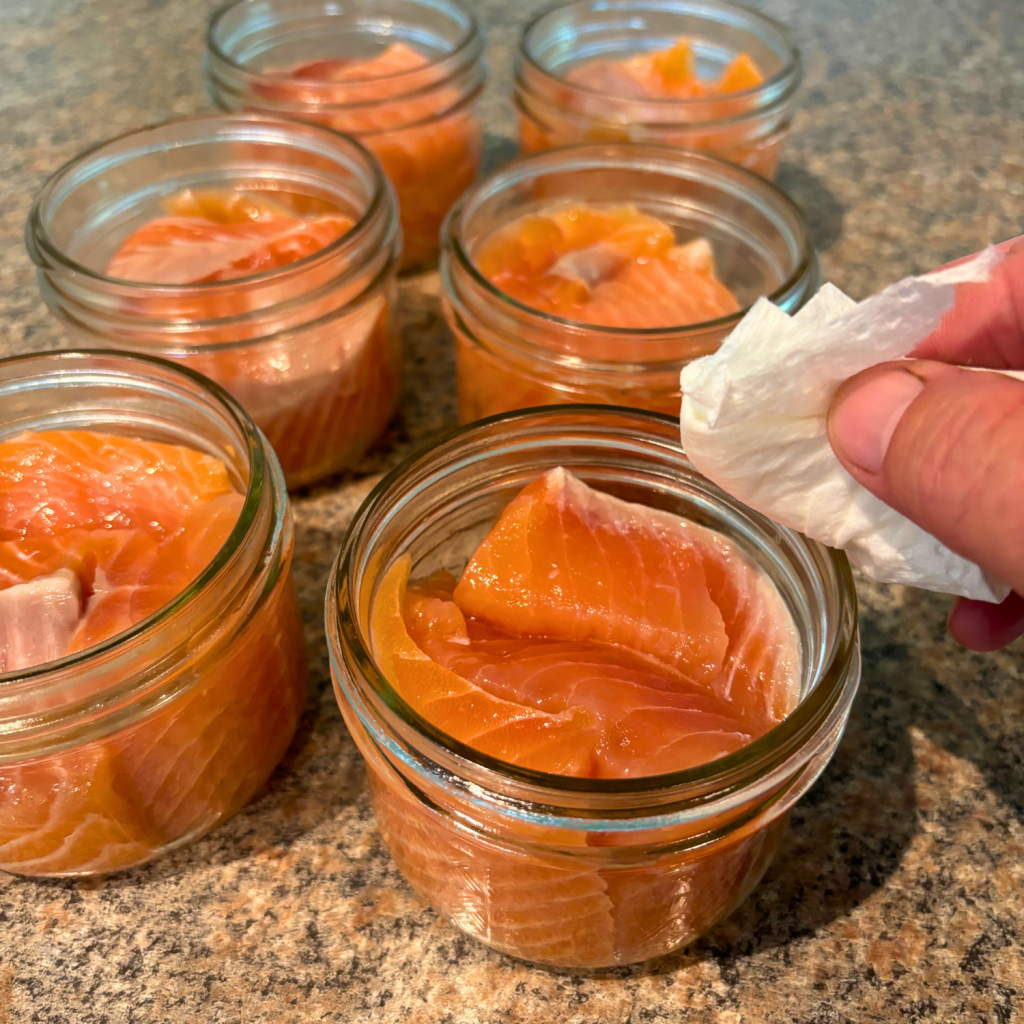
- Arrange the salmon chunks into sterilized jars and pack fish (half pints are my favorite), leaving 1-inch headspace at the top. Do not add liquid—the fish will release its juices during the canning process
Seal the Jars
- Clean jar rims by wiping them with a cloth dipped in vinegar to remove any residue. This ensures a proper seal. Place the lid on the half-pint jar and tighten the metal bands to fingertip-tight.
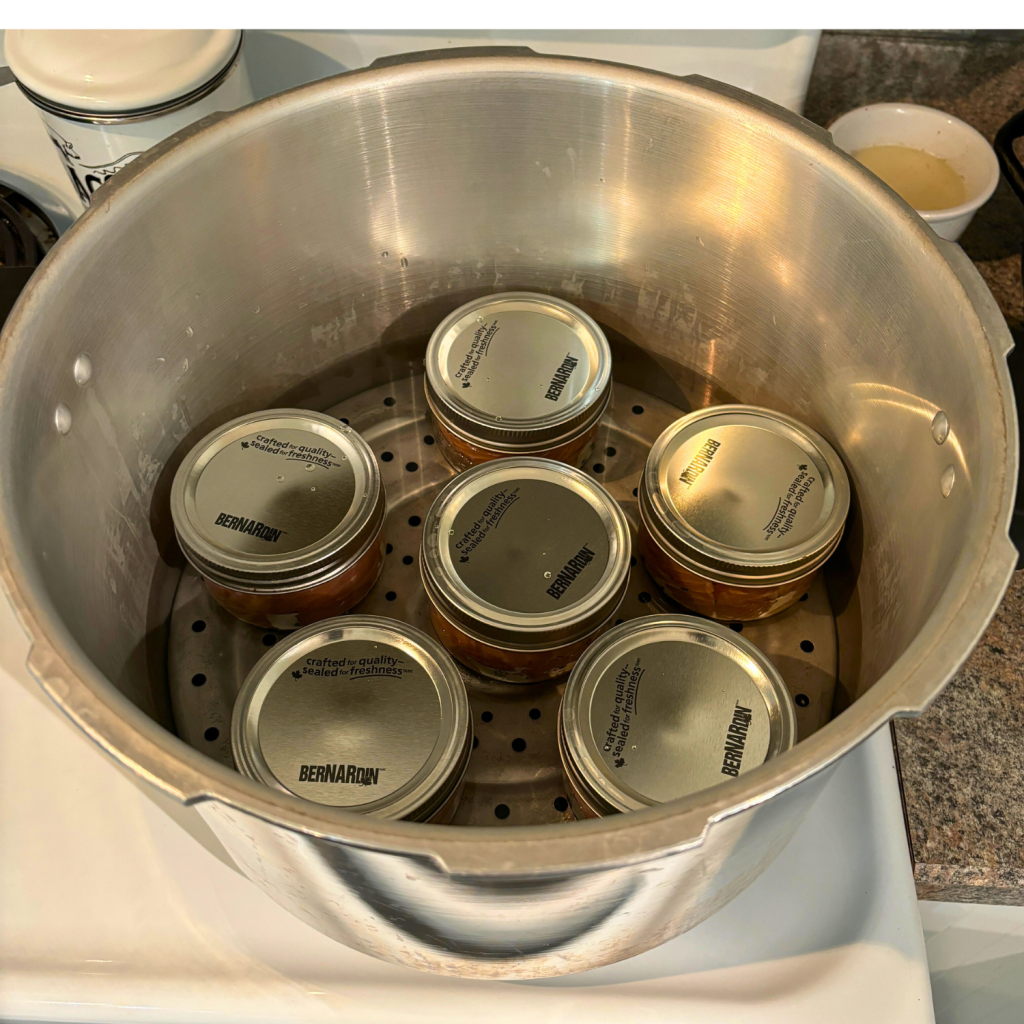
Prepare the Pressure Canner
- Carefully place the canning rack at the bottom of the canner. Add a few inches of water to the pressure canner and arrange the jars inside, ensuring they aren’t touching. Place the canner lid on the canner and lock the lid. Vent steam for 10 minutes before sealing the vent.
Process the Salmon
- Process half pint jars at 10-15 pounds of pressure (adjust for higher altitudes) for 100 minutes. Follow your pressure canner’s manual for specific instructions.
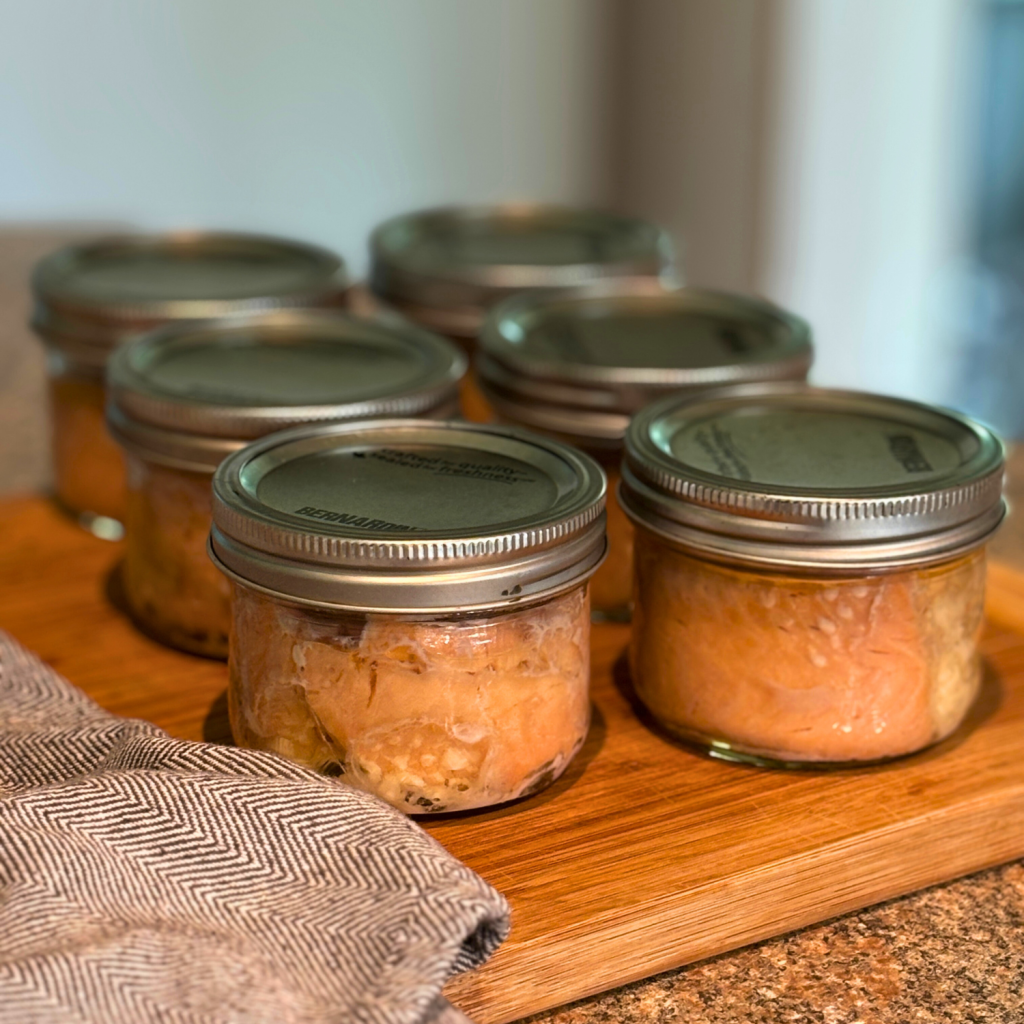
Cool and Check Jars
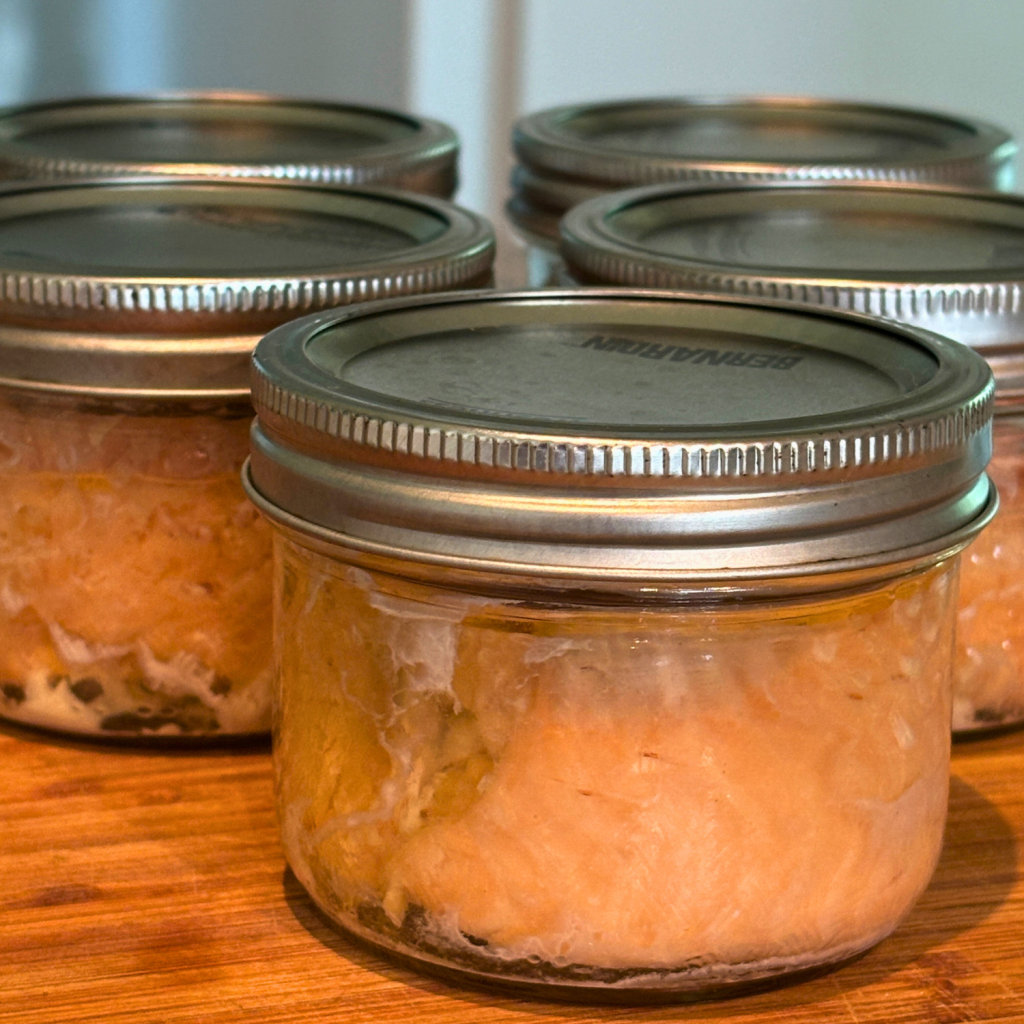
Once the processing is complete, allow the canner to cool naturally. Only open the lid when the pressure gauge reads zero or the pin drops; this will depend on your type of pressure canner. Carefully remove the jars and let them cool undisturbed for 12-24 hours. Test for good seals by pressing on the lids—if they don’t pop, the jars are sealed correctly. Wash jars and remove screw bands before moving to storage.
Best Storage Practices for Pressure Canned Salmon
Lastly, canning doesn’t end when the jars come out of the canner. Here’s how to ensure they’re stored safely and properly:
- Place jars in a cool, dark place, such as a pantry, cupboard, or basement. Avoid areas with extreme temperature fluctuations, high humidity, or direct sunlight, as these can compromise the seals and spoil the contents. The ideal temperature is between 50°F and 70°F (10°C to 21°C).
- Clearly label each jar with the canning date to help track its age.
- Another tip for maintaining optimal flavor and texture, canned salmon should be consumed within 12-18 months, although properly sealed jars can remain safe for longer. For best results, rotate your stock using the “first in, first out” method.
Serving Suggestions for Pressure Canned Salmon
Canned salmon is a versatile pantry staple. Here are some delicious ways to enjoy it:
- Salmon Patties: Combine with breadcrumbs, egg, and herbs for easy patties.
- Salmon Chowder: Stir the salmon into creamy potato or corn chowder.
- Tacos: Flake the salmon onto soft tortillas with slaw and a tangy dressing.
- Sandwiches: Mix crumbled salmon pieces with mayonnaise and serve on bread or toast.
- Charcuterie Boards: Serve alongside crackers and cheese.
Frequently Asked Questions About Pressure Canned Salmon
1. Why use a salt brine?
A salt brine enhances the flavor of the salmon while preserving its tender texture. It also evenly seasons the fish before canning.
2. How long should I brine the salmon?
Brining for 1-2 hours is sufficient. Longer brining can make the salmon too salty.
3. Do I need to rinse the salmon after brining?
Yes, rinsing removes excess salt and prevents the fish from being overly salty after canning.
4. Is it safe to pressure can salmon without adding liquid?
Absolutely. Salmon releases natural juices during the canning process, eliminating the need for added liquid.
5. Can I adjust the salt in the brine?
Yes, but avoid reducing the salt too much as it plays a role in flavor and preservation. Stick to the recommended ratio for best results.
Canning salmon using a salt brine method is a time-tested way to preserve it. The process may take a little effort, but the rewards are undeniable—delicious, ready-to-eat salmon packed with flavor and nutrition. So, grab your gear, and let the brining and canning begin! As they say, “Good things come to those who preserve.”
Special Tools (affiliate links): Pressure Canner | Bubble Remover | Jar Lifter |
If you try this recipe and love it, please tag me on Instagram and Facebook @grindinggearsfarmstead.
Lechyd Da, (means “Cheers to Good Health” in Welsh)

Pressure Canned Salmon Recipe Using a Salt Brine Method
Equipment
- Pressure Canner
- Canning Jars (half-pints)
- Canning Tools
- Large Bowl or Container
Ingredients
- Fresh Sockeye Salmon or Salmon Ends
For the Brine:
- 1 gallon Water 4 litres
- 1 cup Non-Iodized Salt canning or kosher salt
Instructions
Brine the Salmon
- Remove the skin (optional) and cut the salmon into smaller pieces. Wash fish pieces and place them in the brine, ensuring they are fully submerged. Let the salmon brine in the refrigerator for 1-2 hours. This step infuses the fish with flavor and improves its texture during canning.
Rinse and Dry
- After brining, remove the salmon from the brine and rinse it under cold water to remove excess salt. Pat the pieces dry with clean towels or paper towels.
Pack the Jars
- Place the salmon chunks into sterilized jars and pack fish (half pints are my favorite), leaving 1-inch headspace at the top. Do not add liquid—the fish will release its juices during the canning process.
Seal the Jars
- Clean jar rims by wiping them with a cloth dipped in vinegar to remove any residue. This ensures a proper seal. Place the lid on the half-pint jar and tighten the metal bands to fingertip-tight.
Prepare the Pressure Canner
- Place the canning rack at the bottom of the canner. Add a few inches of water to the pressure canner and arrange the jars inside, ensuring they aren’t touching. Place the canner lid on the canner and lock the lid. Vent steam for 10 minutes before sealing the vent.
Process the Salmon
- Process half pint jars at 10-15 pounds of pressure (adjust for higher altitudes) for 100 minutes. Follow your pressure canner’s manual for specific instructions.
Cool and Check the Jars
- Once the processing is complete, allow the canner to cool naturally. Open it only when the pressure gauge reads zero or the pin drops; this will depend on your type of pressure canner. Carefully remove the jars and let them cool undisturbed for 12-24 hours. Test for good seals by pressing on the lids—if they don’t pop, the jars are sealed correctly. Wash jars and remove screw bands before moving to storage.