How to Can Dry Beans at Home (Easy Method That Saves Money)

Learning how to can dry beans at home is one of the simplest, most practical skills. It stretches your grocery budget and stocks your pantry shelf with ready-to-use meals. Whether you’re feeding a family, building a homestead pantry, or just trying to cut costs without sacrificing convenience, this method is a game-changer.
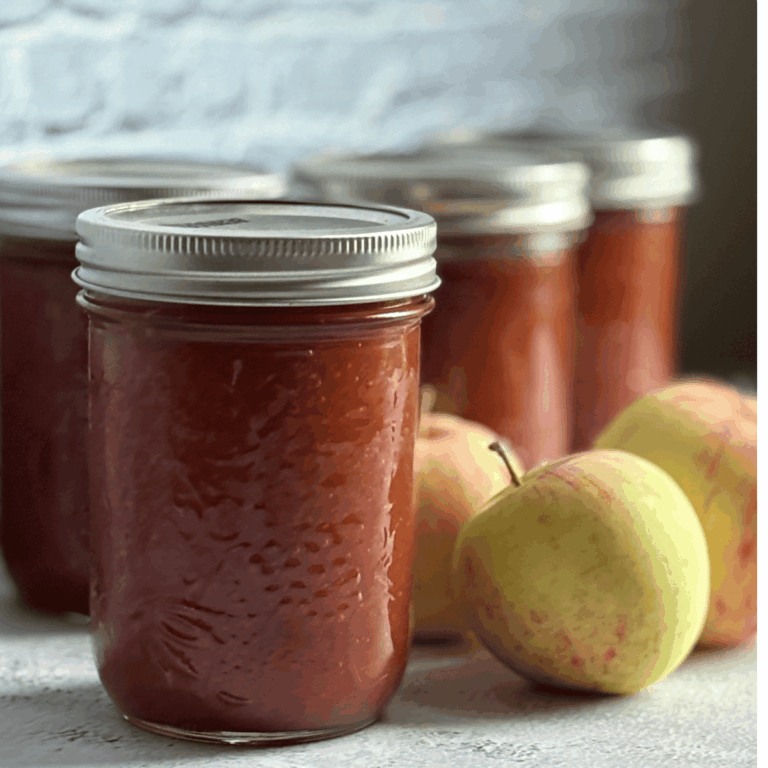
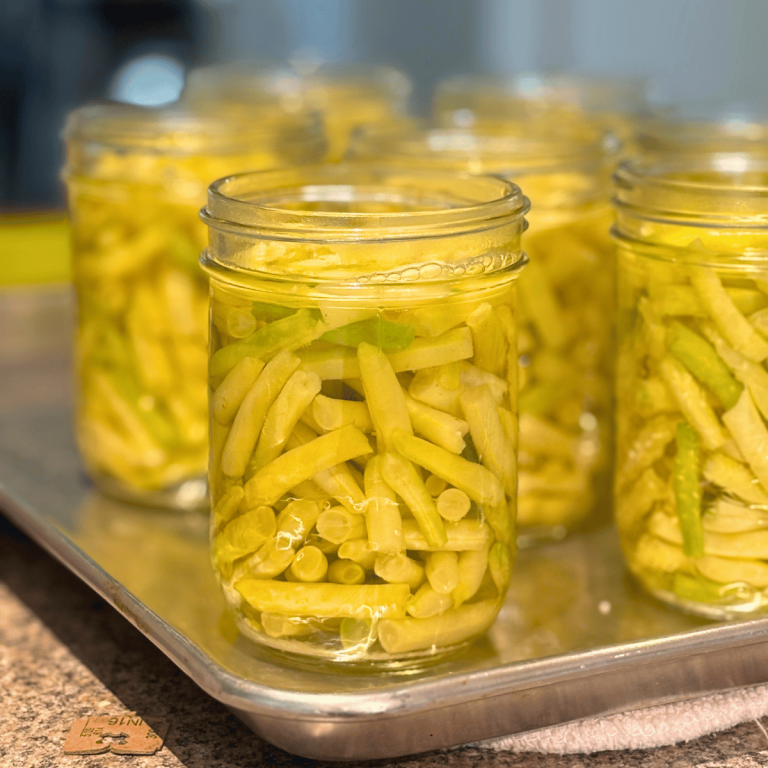
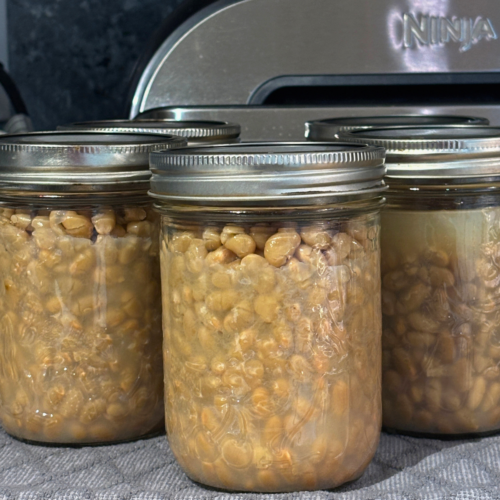
There’s something deeply satisfying about lining shelves with home-canned beans. Each jar costs a fraction of the price of store-bought cans. Here, we use pint jars, which mimic a standard grocery-store can of beans. Meal prep is quick, easy, and predictable.
This post may contains affiliate links. I earn a small commission from purchases at no extra cost to you. See my full disclosure here.
Why You’ll Love Canning Dry Beans at Home
- Huge cost savings compared to store-bought canned beans
- Quick meal prep – no soaking or long cooking times later
- Simple process with minimal ingredients
- Customizable with broth or seasonings
- Perfect pantry staple for busy weeknights
- Long shelf life for food security and preparedness
- Great for homesteaders building a self-sufficient lifestyle
Equipment & Supplies You’ll Need
Before you get started, gather your basic canning equipment:
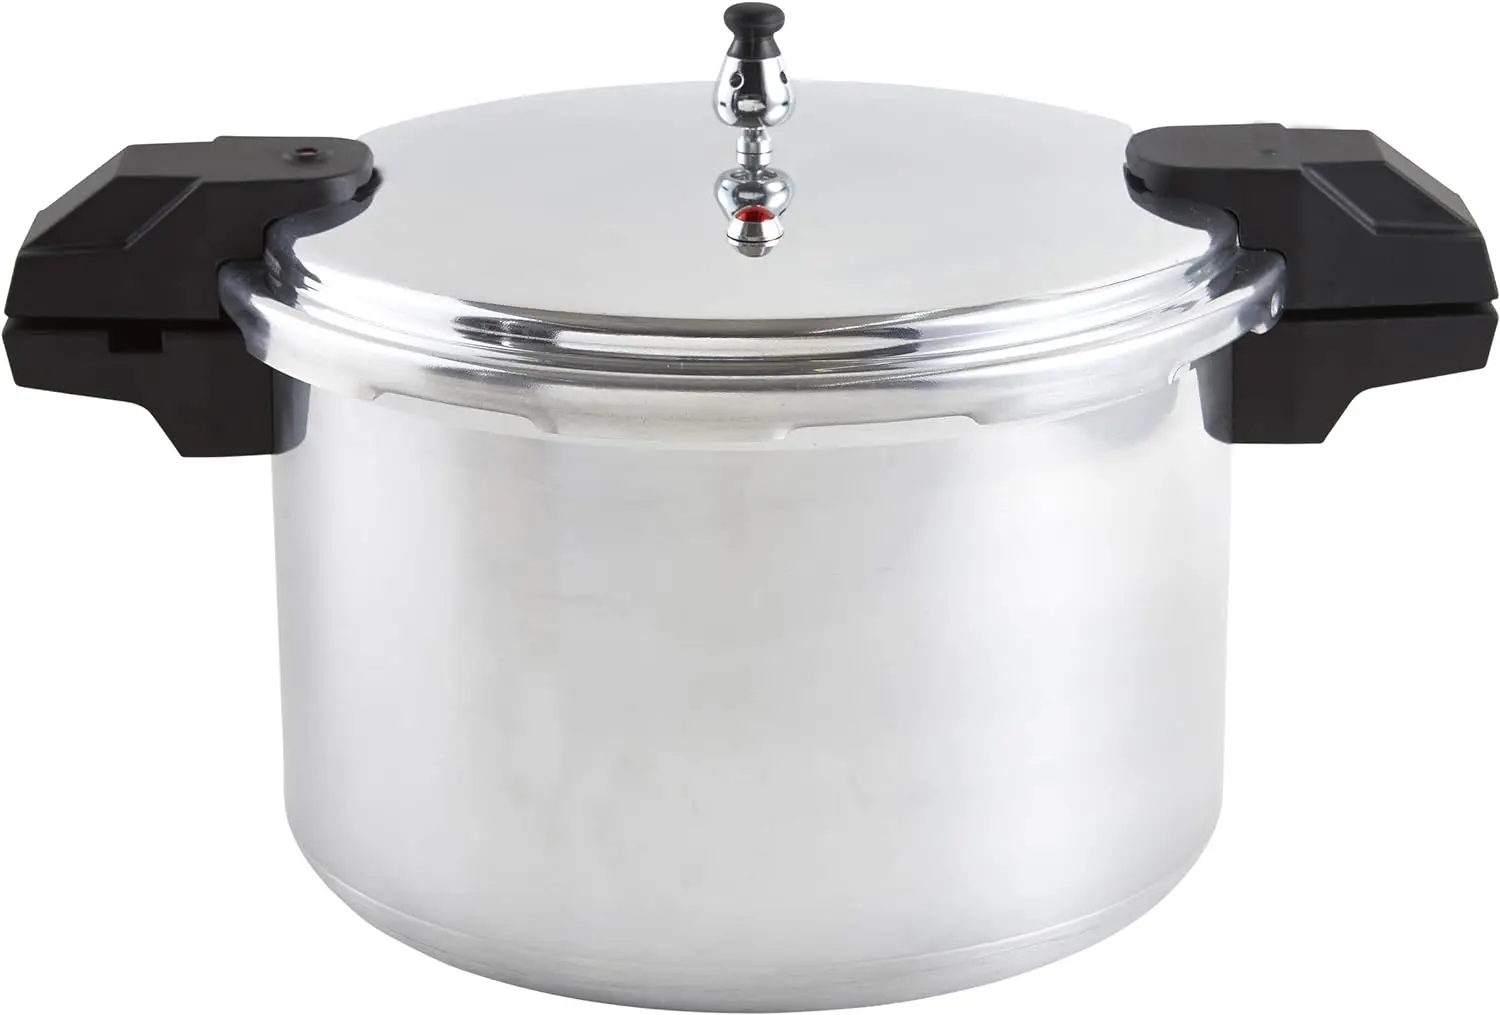
- Pressure canner (required for low-acid foods like beans) (either a weighted gauge or dial gauge pressure canner)
- Pint canning jars (recommended for portion size)
- New canning lids and rings (never reuse lids; new lids are a must)
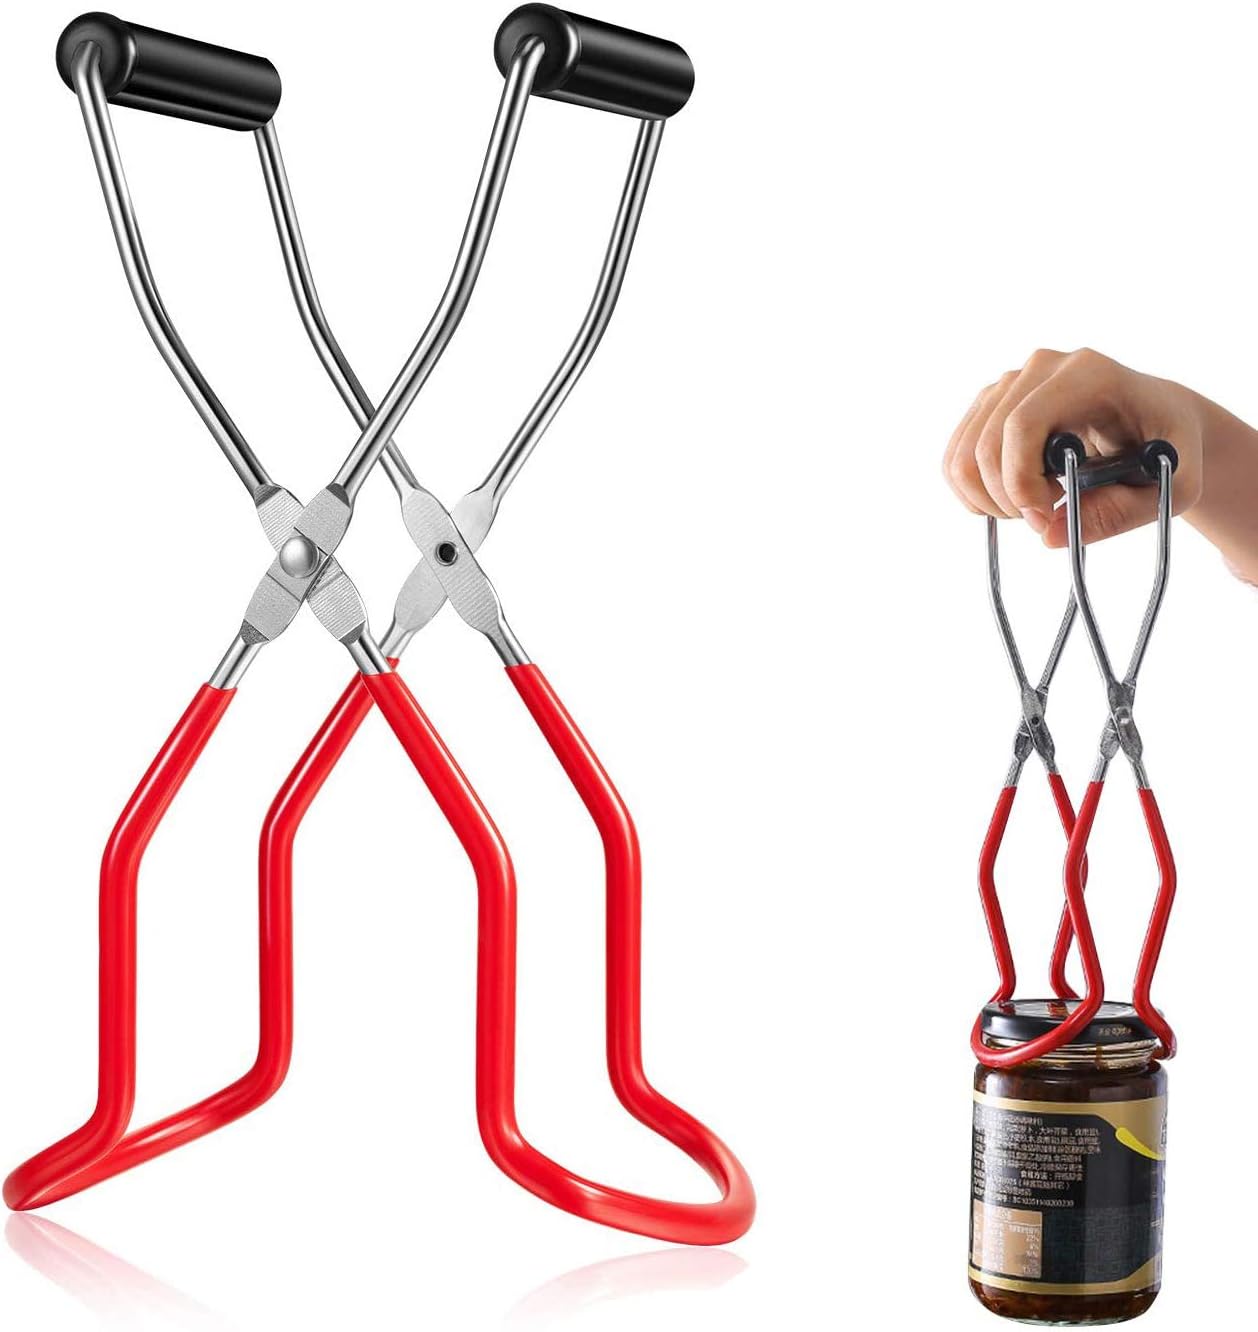
- Jar lifter
- Large pot or kettle for boiling liquid
- Measuring cups and spoons
- Funnel (optional but helpful)
Homestead Pro Tip:
If you’re new to canning or want to follow tested, step-by-step safety guidelines, I highly recommend grabbing a copy of the Ball Complete Book of Home Preserving.
— it’s a staple in every serious home canner’s kitchen.
Ingredients for Canning Dry Beans
This method keeps things incredibly simple:
- Dry beans (any variety – pinto beans, black beans , kidney beans, navy beans, garbanzo beans, etc.)
- Canning salt (no iodized salt and nothing with an anti-caking agent)
- Boiling water, or broth
How to Can Dry Beans (Step-by-Step)
Per pint jar:
- 1/2 cup dry beans
- 1/2 teaspoon of salt
- Boiling water or broth (leave 1-inch headspace)
This is the exact method I’ve used for years on our farmstead. It’s simple, efficient, and perfect for busy households.
1. Prepare Your Pressure Canner
Start by adding water to your pressure canner according to the manufacturer’s instructions. Place it on the stove and begin heating.
2. Wash and Inspect Jars
Wash your pint jars in hot, soapy water and keep them warm until ready to use. Check for any cracks or chips.
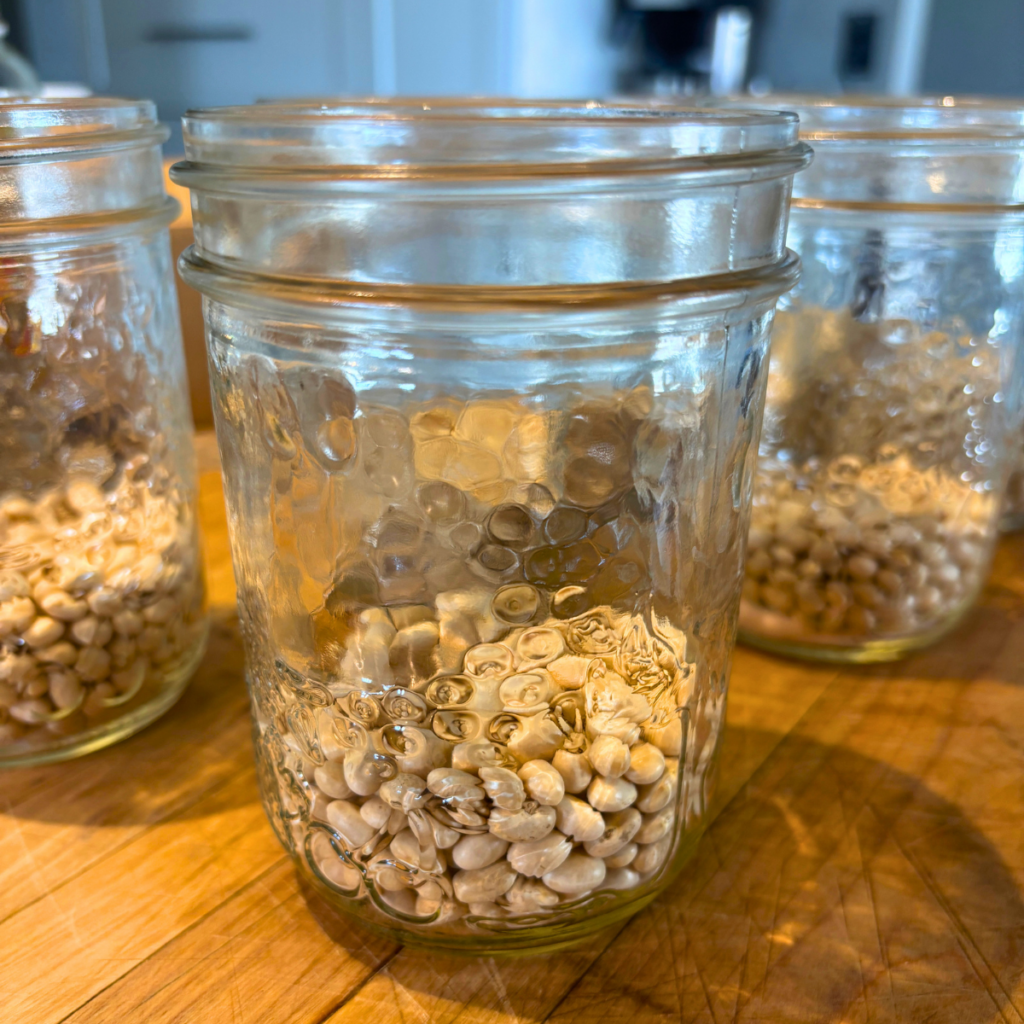
3. Add Dry Beans to Jars
Measure 1/2 cup of dry beans, then pack raw into each pint jar.
No soaking required—that’s one of the reasons this method is so quick!
4. Add Salt
Add 1/2 teaspoon of canning salt to each jar. This is optional for flavor but recommended.
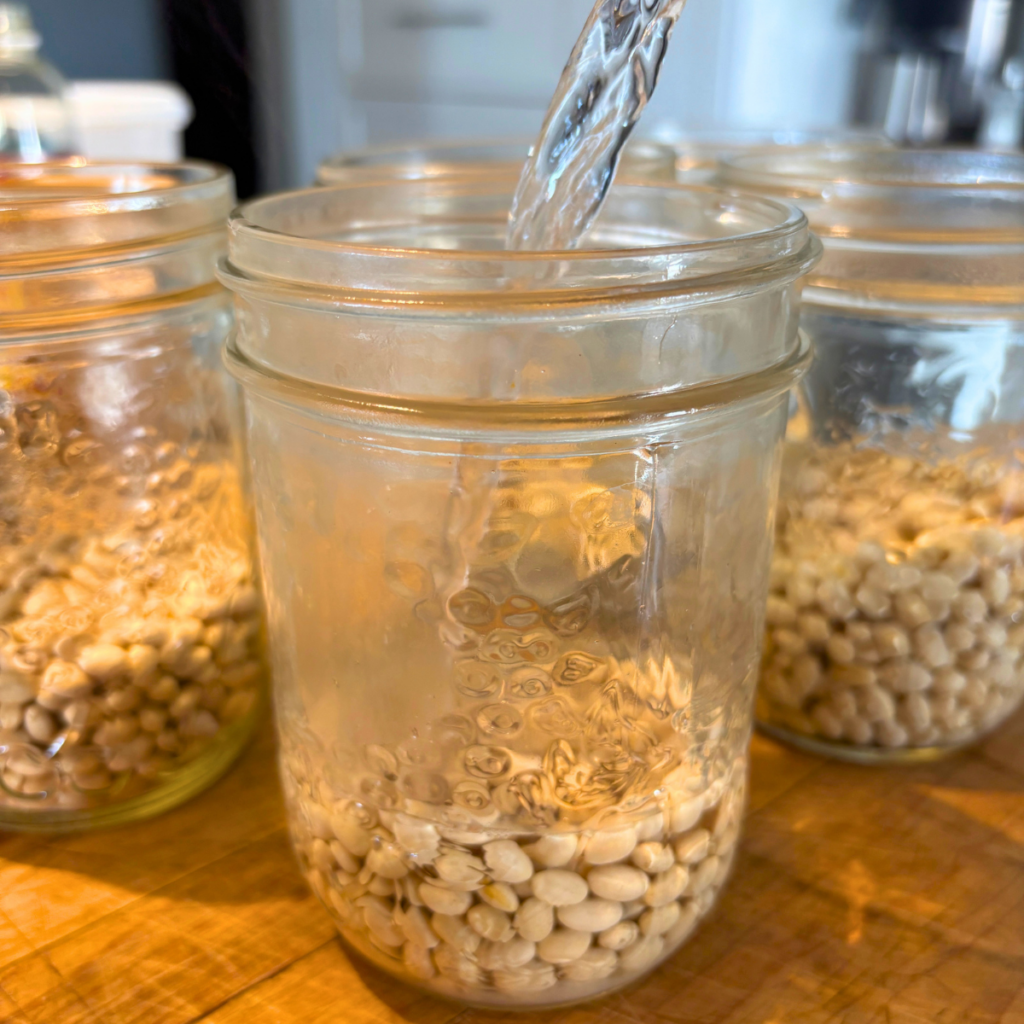
5. Fill with Boiling Liquid
Carefully pour boiling water or broth to cover beans, leaving 1 inch of headspace.
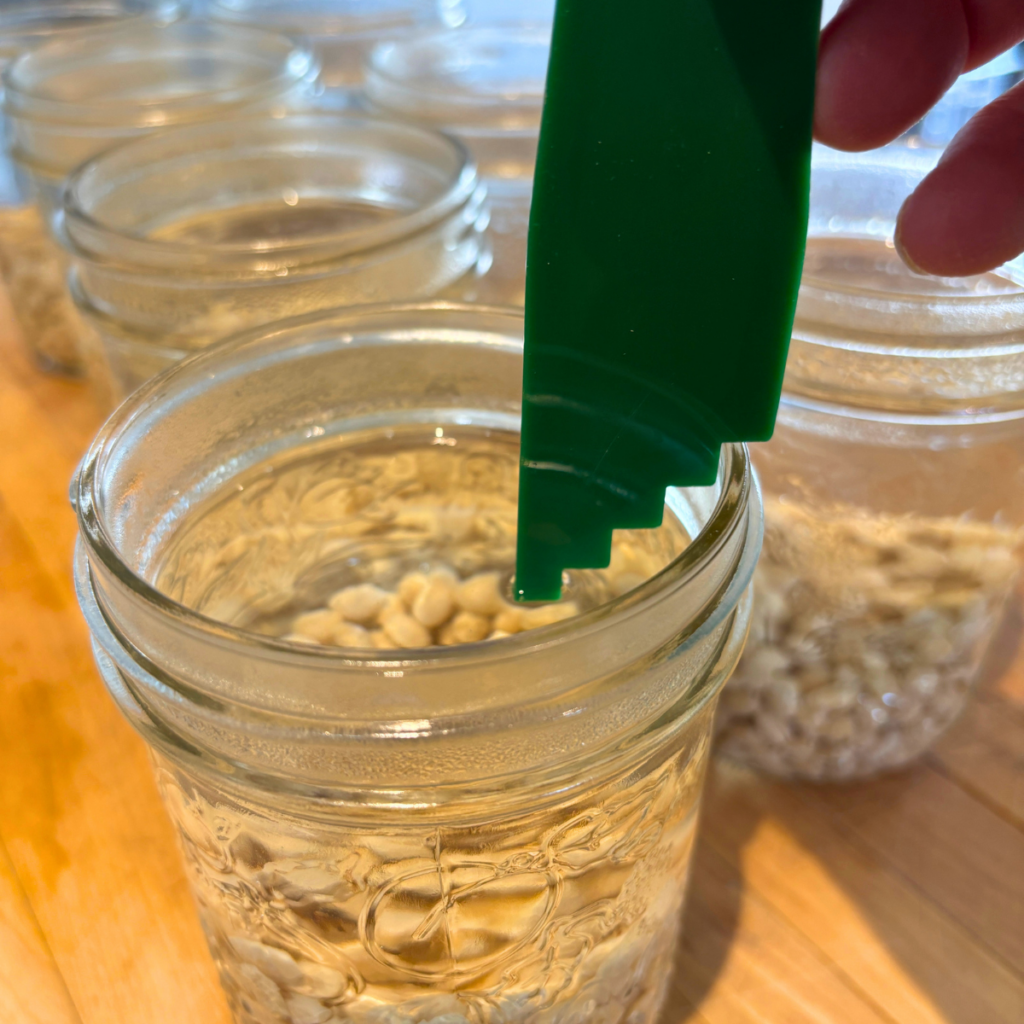
6. Remove Air Bubbles
Use a utensil or bubble remover to release any trapped air. Adjust liquid if needed to maintain headspace.
7. Wipe Rims & Apply Lids
Wipe jar rims clean, place lids on each jar, and screw bands on fingertip-tight.
8. Load the Canner
Place jars into the pressure canner using a jar lifter.
9. Process the Beans
Lock the lid and vent steam according to your canner’s instructions.
- Process pints for 75 minutes.
- Adjust pressure (weight) based on your altitude (I use 15 pounds of pressure in my area).
10. Cool and Store
Once processing is complete:
- Let pressure return to zero naturally.
- Remove jars and allow them to cool undisturbed for 12–24 hours.
- The next morning, check the seal of the lid, remove the rings, and wash the outside of the jars with warm water.
- Check for a good seal before storing. (Yes, I checked the seal again before moving the jars to our food storage room.)
 Add 1/2 cup dry beans
- Add boiling liquid
- Fill to 1 inch headspace
- Pressure can for 75 minutes

Homestead Tip:
If you want to can quart jars of dried beans, increase the amount of beans to 1 cup, add 1 tsp of salt, fill with liquid to 1 inch head space and adjust the processing time to 90 minutes.


A Note on Safety:
Low-acid food like beans must always be processed in a pressure canner to be shelf-stable and safe. A water bath canner is not suitable for canning dry beans. While this is the method I’ve personally used for years without issue, it’s always a good idea to cross-reference with trusted resources, such as the Ball Complete Book of Home Preserving, if you’re new to canning.
Ways to Use Your Home-Canned Beans
This is where the real magic happens—having ready-to-use beans on hand makes meals come together fast.
- Toss into soups and stews.
- Add to chili for extra protein.
- Mash for refried beans
- Mix into salads for a hearty boost.
- Add to casseroles and skillet meals.
- Blend into dips like hummus.
- Use in burritos, tacos, and wraps.
Having jars ready to go means no more last-minute scrambling—or opening multiple cans for one meal.
How to Store Home-Canned Beans
- Store jars in a dark, cool place (pantry or basement).
- Ideal temperature: 10–21°C (50–70°F).
- Use within 12–18 months for best quality.
- Always check seals before using.
- If a jar is unsealed or shows signs of spoilage, discard it.
Tips for Success
- Stick with pint jars for convenience (perfect can-size replacement)
- Use broth instead of water for extra flavor.
- Don’t overfill—beans will expand during processing.
- Label jars with date and type of bean.
- Rotate older jars to the front.
Frequently Asked Questions:
1. Do I really not need to soak the beans first?
No soaking is needed. The beans cook fully during pressure canning, saving time.
2. Can I use any type of beans?
Yes. Pinto, black, kidney, navy, and chickpeas all work. Just clean and sort them first.
3. Why use pint jars instead of quart jars?
Pint jars match a standard store can, making them ideal for recipes and minimizing waste.
4. Can I skip the salt?
Yes, salt is optional for flavor. You can omit it if you prefer.
5. How do I adjust for altitude?
Adjust pressure for your altitude. Refer to your canner manual or trusted guide for specifics.
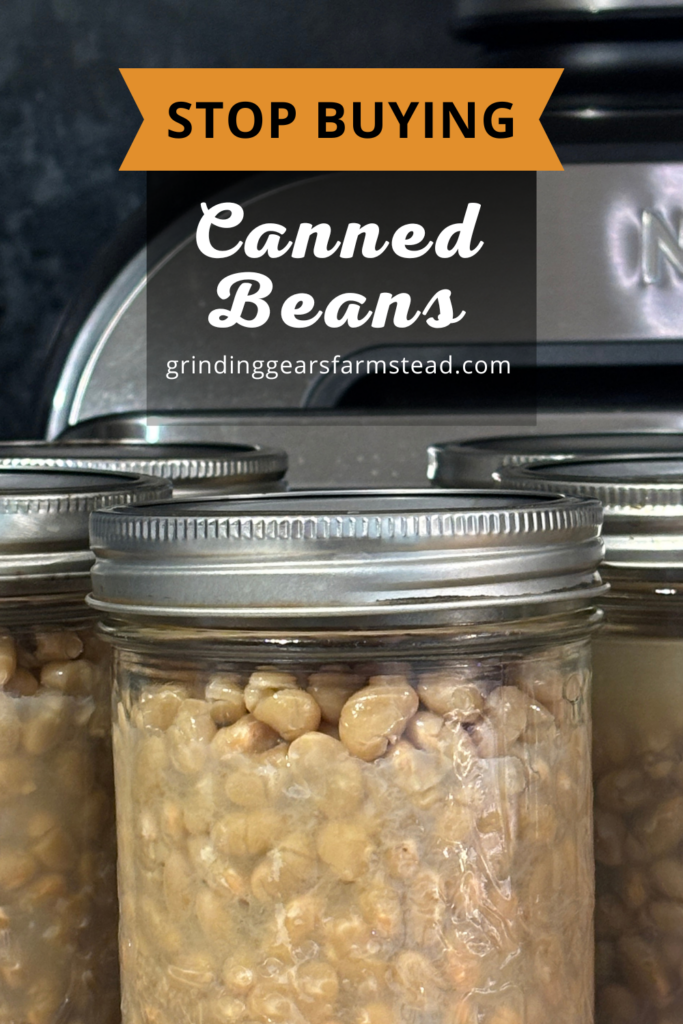
Pin for Later
Special Tools (affiliate links): Canning Kit | Pressure Canner | Ball Complete Book of Home Preserving |
Learning how to can dry beans at home is one of those simple homestead skills that pays off again and again. It saves money, reduces reliance on store-bought goods, and makes feeding your family easier, even on the busiest days.
Once you get into the rhythm of it, you’ll wonder why you ever bought canned beans in the first place. A shelf full of home-canned beans isn’t just practical—it’s peace of mind. This is something we do regularly.
If you try this recipe and love it, I would truly appreciate it if you could come back and give it 5 stars.
And don’t forget to follow us on Pinterest for more delicious recipes and homestead inspiration.
Lechyd Da, (means “Cheers to Good Health” in Welsh)

How to Can Dry Beans at Home (Easy Method That Saves Money)
Equipment
- Pressure Canner (required for low-acid foods like beans) (either a weighted gauge or dial gauge pressure canner)
- Pint canning jars (recommended for portion size)
- New canning lids and rings (never re-use lids, new lids are a must)
- Jar Lifter
- Large pot or kettle for boiling liquid
- Measuring cups and spoons
- Funnel (optional but helpful)
Ingredients
- Dry beans any variety – pinto beans, black beans , kidney, navy beans, garbanzo beans, etc.
- Canning salt no iodized salt and nothing with an anti-caking agent
- Boiling water or broth
Instructions
Prepare Your Pressure Canner
- Start by adding water to your pressure canner according to the manufacturer’s instructions. Place it on the stove and begin heating.
Wash and Inspect Jars
- Wash your pint jars in hot, soapy water and keep them warm until ready to use. Check for any cracks or chips.
Add Dry Beans to Jars
- Measure 1/2 cup of dry beans, then raw pack into each pint jar.
- No soaking required—that’s one of the reasons this method is so quick!
Add Salt
- Add 1/2 teaspoon of canning salt to each jar. This is optional for flavor but recommended.
Fill with Boiling Liquid
- Carefully pour boiling water or broth to cover beans, leaving 1 inch of headspace.
Remove Air Bubbles
- Use a utensil or bubble remover to release any trapped air. Adjust liquid if needed to maintain headspace.
Wipe Rims & Apply Lids
- Wipe jar rims clean, place lids on each jar, and screw bands on fingertip-tight.
Load the Canner
- Place jars into the pressure canner using a jar lifter.
Process the Beans
- Lock the lid and vent steam according to your canner’s instructions.
- Process pints for 75 minutes
- Adjust pressure (weight) based on your altitude (I use 15 pounds of pressure in my area)
Cool and Store
- Once processing is complete:
- Let pressure return to zero naturally.
- Remove jars and allow them to cool undisturbed for 12–24 hours.
- The next morning, check the seal of the lid, remove the rings, and wash the outside of the jars with warm water.
- Check for a good seal before storing. (Yes, I checked the seal again before moving the jars to our food storage room.)