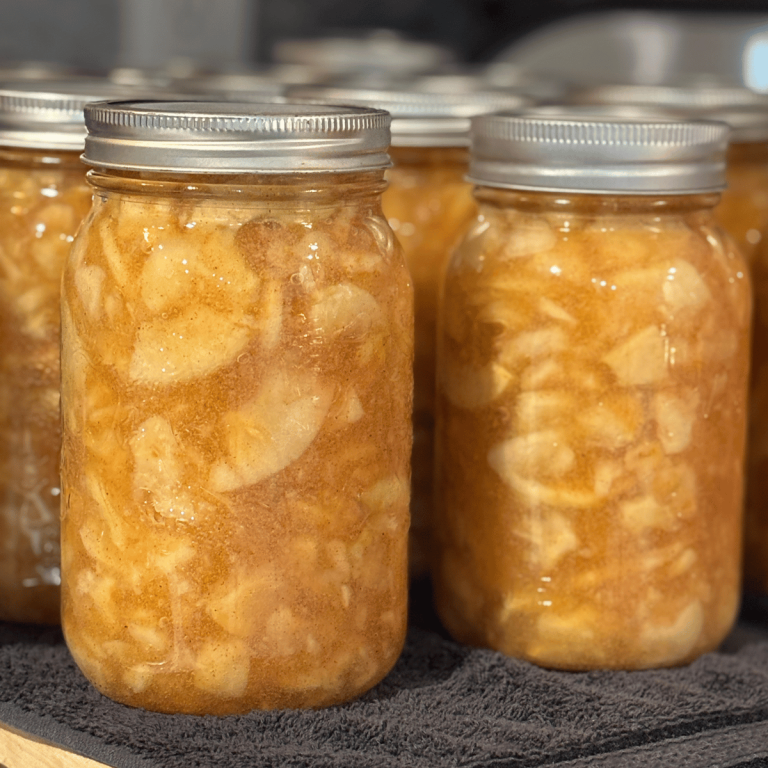
How to Can Fresh Green and Yellow Beans at Home
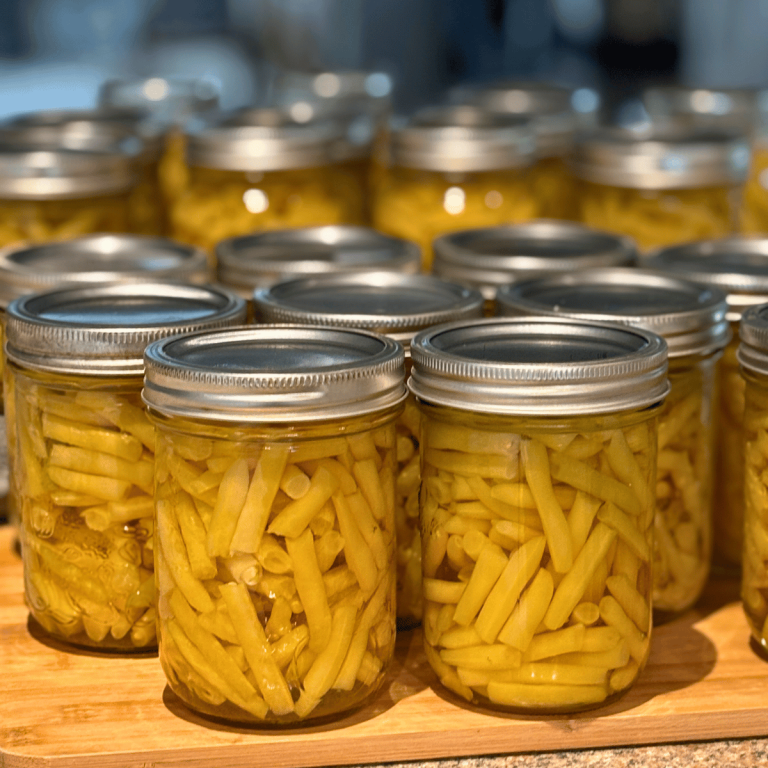
Preserving the harvest is one of the most rewarding homesteading skills you can learn. There’s something deeply satisfying about lining your pantry shelves with jars of homegrown vegetables—colorful, nutrient-packed, and ready to brighten winter meals. Today, we’re diving into the canning of green and yellow beans, an excellent addition to a well-stocked pantry.
This post may contains affiliate links. I earn a small commission from purchases at no extra cost to you. See my full disclosure here.
What You’ll Love About This Recipe
- Self-sufficiency: Preserve your own beans and reduce dependence on store-bought.
- Seasonal abundance: Capture the freshness of summer beans to enjoy year-round.
- Nutrient retention: Pressure canning locks in vitamins and minerals.
- Versatility: Use your canned beans in soups, casseroles, stir-fries, or as a simple side dish.
Simple Ingredients Needed for Canning Green and Yellow Beans
- 8–10 pounds of beans (fresh green and/or yellow) (yields about 7 quart jars or 14 pint jars)
- Non-iodized canning salt (optional, for flavor)
- Water
Pro Tip:
For the best quality, select fresh and young beans.
Equipment Needed for Canning Green and Yellow Beans
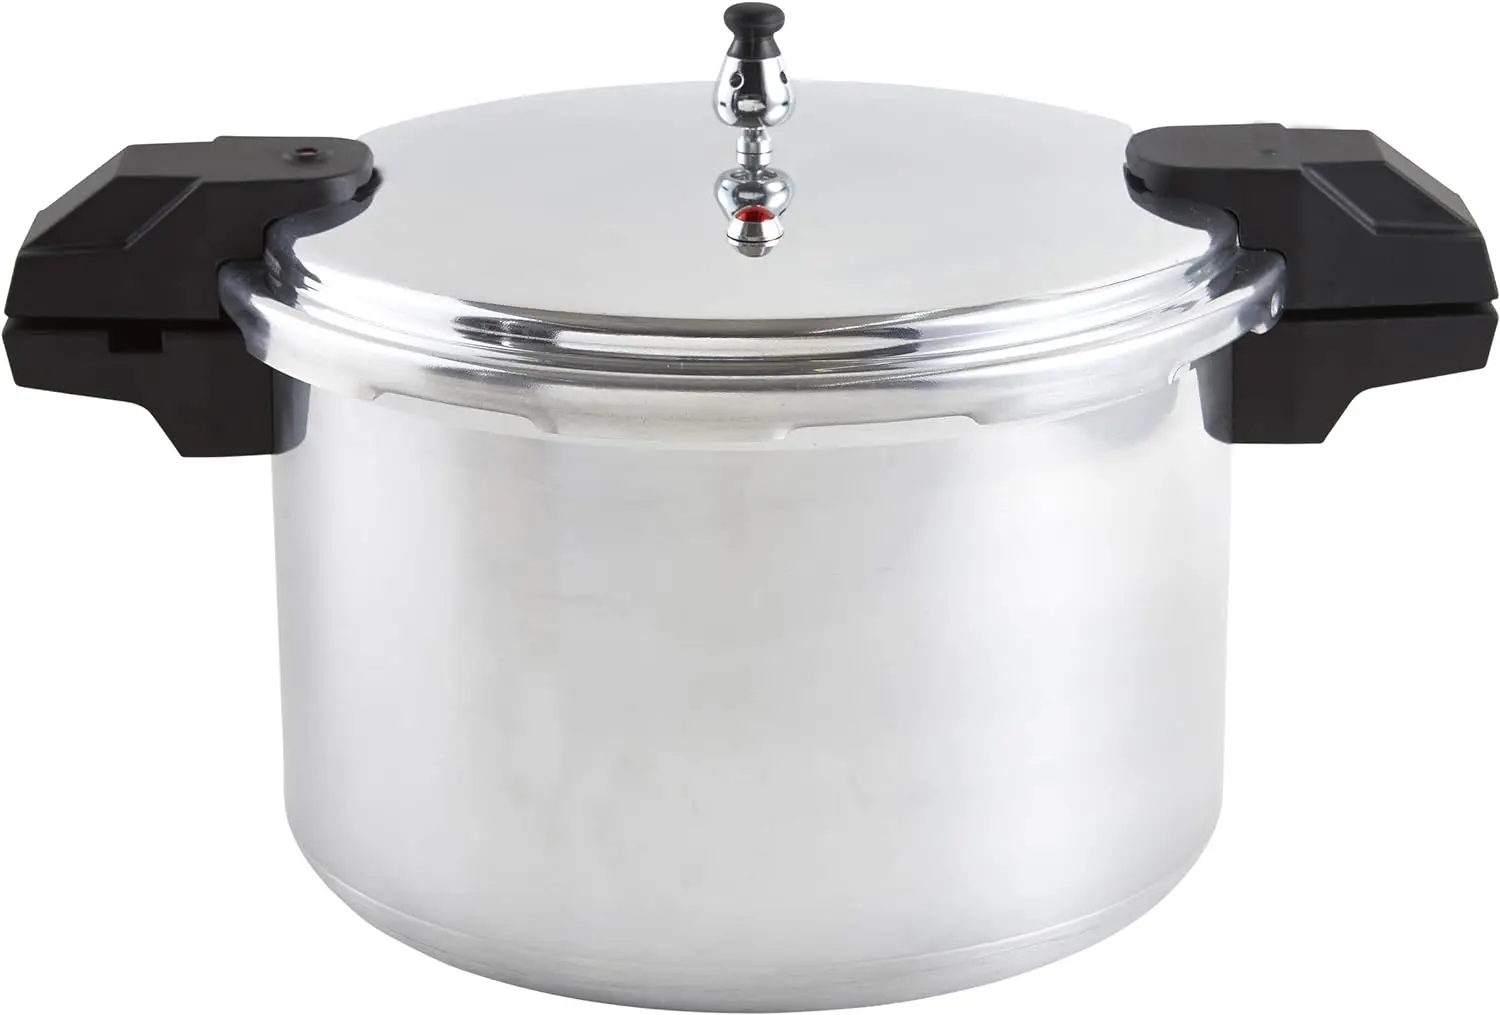
- Pressure canner (required for safety)
- Canning jars with lids and bands
- Large pot for blanching
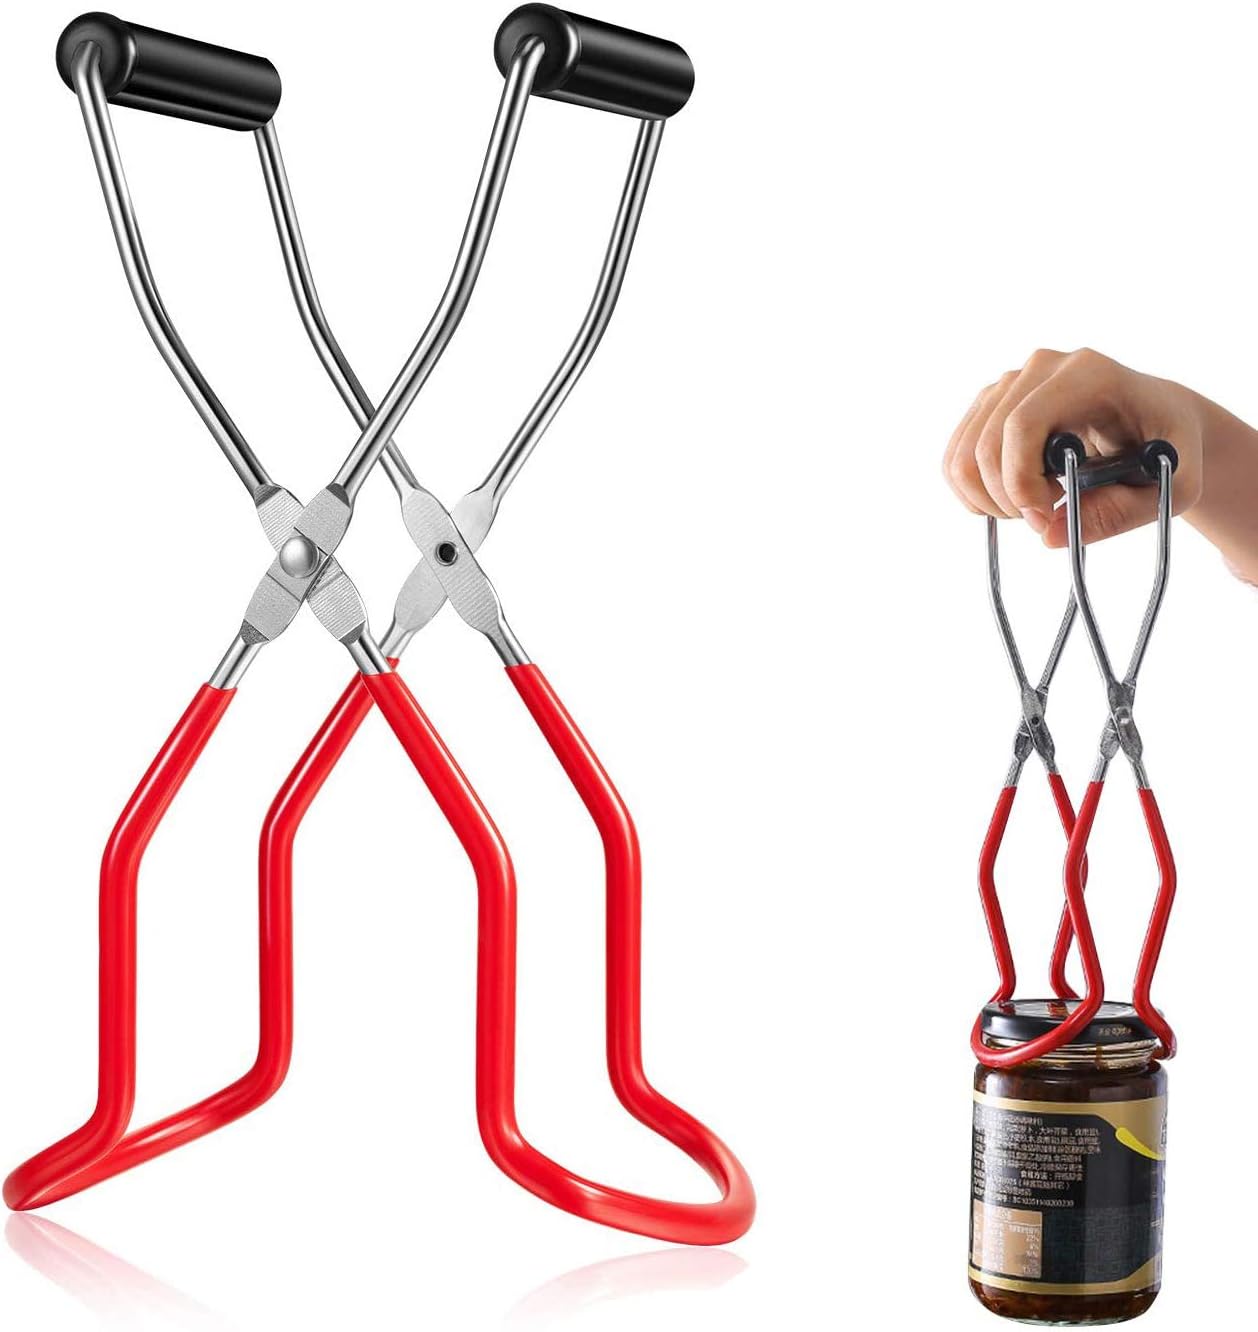
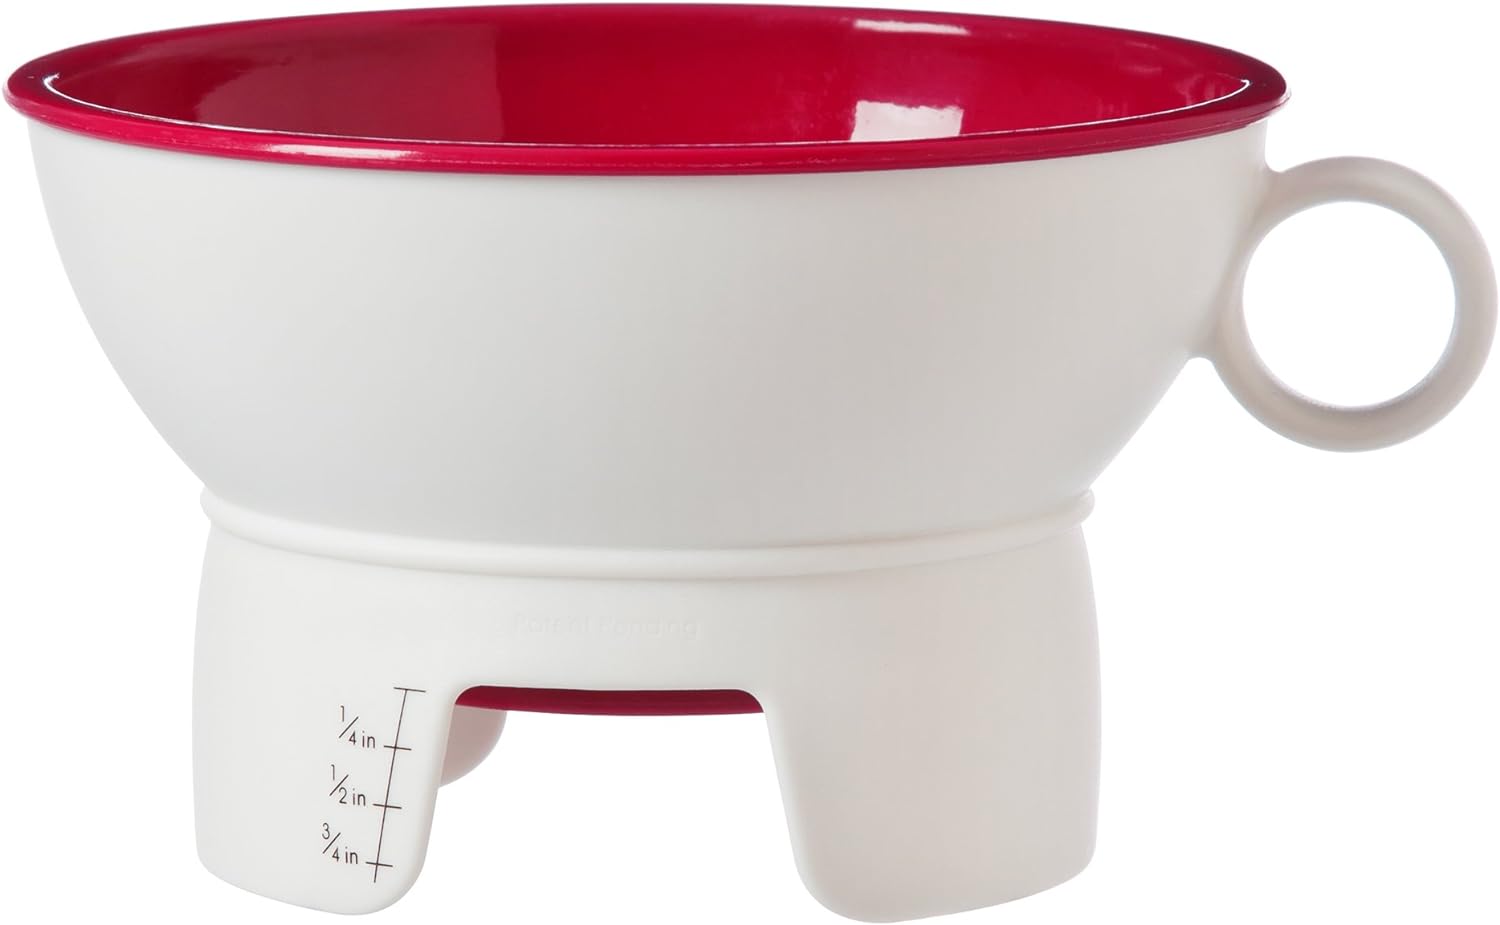
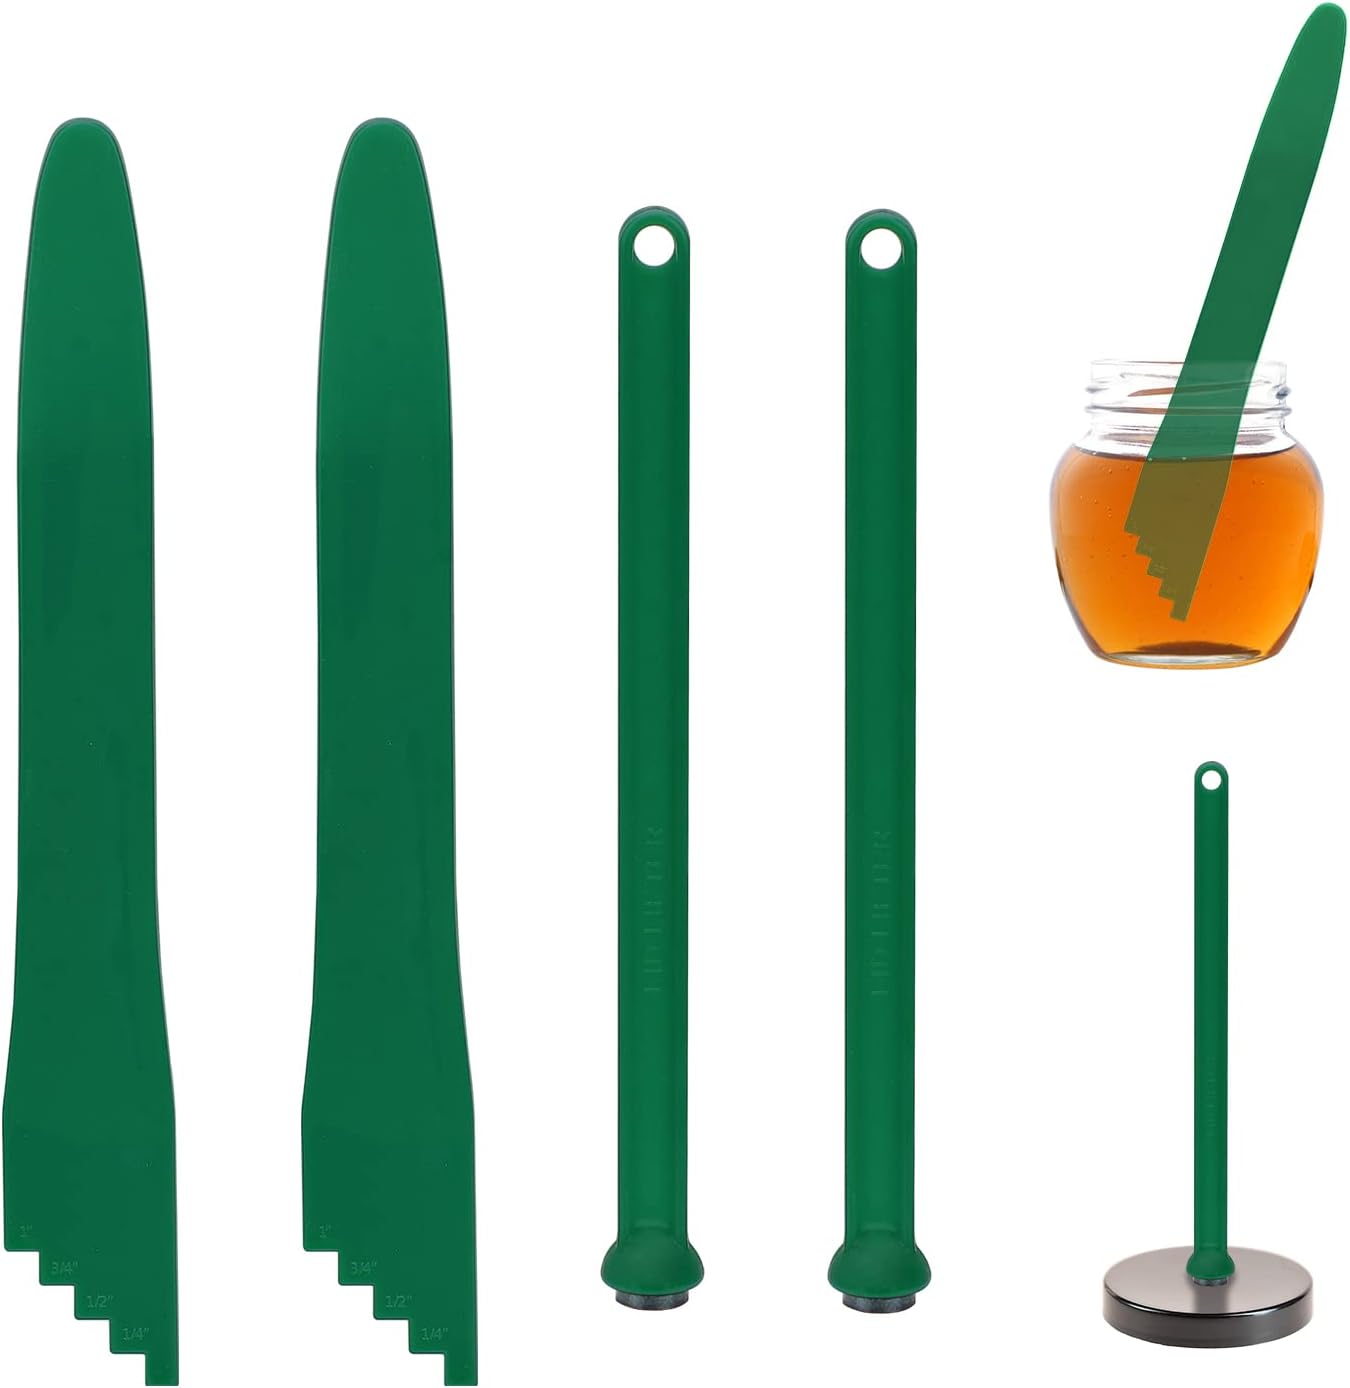
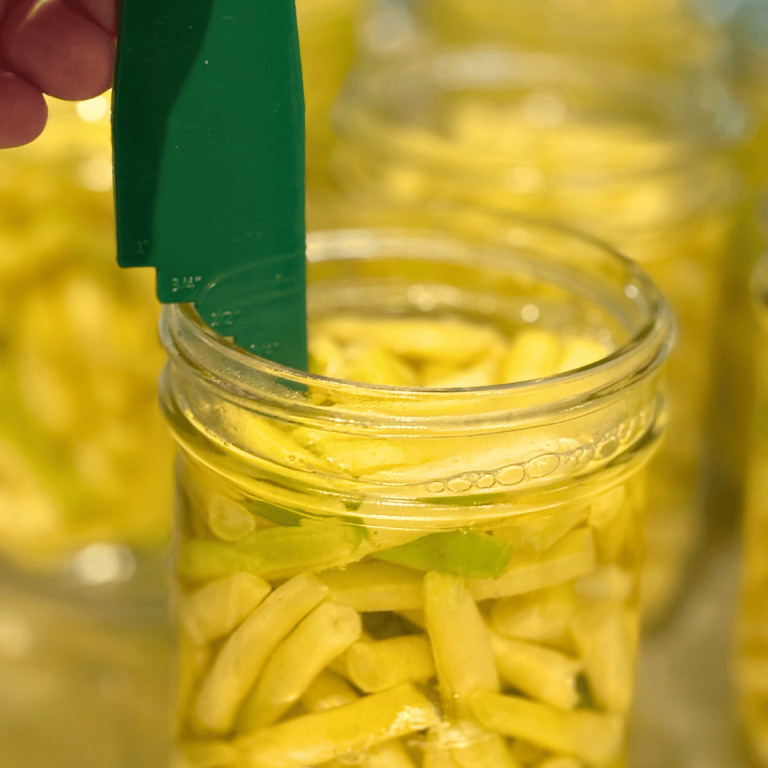
- Jar lifter, funnel, and bubble remover tool
- Clean kitchen towels
Note:
The jar size, whether using quart jars (4 cups) or pint jars (2 cups), is a personal preference depending on the serving size needed for your family.
Step-by-Step Instructions for Canning Green and Yellow Beans
- 1. Prepare the beans:
- Wash beans thoroughly in cold water, trim the ends, and cut or snap beans into 1-inch pieces.
- 2. Sterilize jars:
- Wash jars, lids, and bands in hot, soapy water. Keep the jars warm until they are ready to fill.
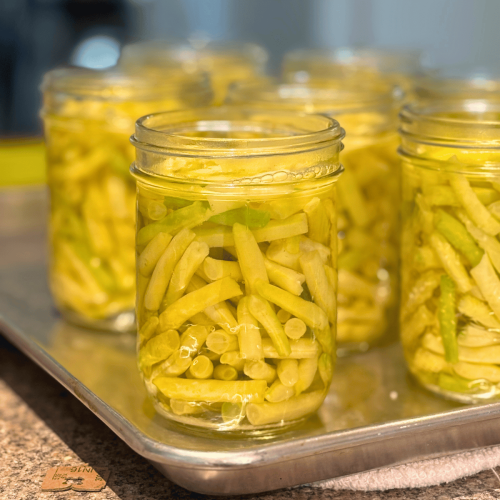
- 3. Hot pack method:
- Blanch fresh beans in boiling water for 5 minutes. Pack hot beans into hot jars, leaving 1 inch of headspace. Add ½ teaspoon of canning salt per pint or 1 tsp per quart if desired. Pour boiling water over beans, maintaining a 1-inch headspace. Using a bubble remover tool, remove the air bubbles. Wipe the rims with a clean, damp cloth, and secure the lids and screw bands finger-tight.
- 4. Raw pack or cold pack method:
- Pack the raw beans tightly into jars, leaving 1 inch of headspace. Add ½ teaspoon of salt per pint or 1 teaspoon per quart, if desired. Pour boiling water over the beans, maintaining a 1-inch head space. Using a bubble remover tool, remove the air bubbles. Wipe the rims with a clean, damp cloth, and secure the lids and screw bands finger-tight. Note: Beans may shrink more with this method.
- 5. Process in a pressure canner:
- Place jars in canner with 2–3 inches of water. Lock the canner lid and vent steam for 10 minutes before adding weight. Process pints for 20 minutes and quarts for 25 minutes at 10 pounds pressure (adjust for altitude).
- 6. Cool and store:
- At the end of the cooking time, turn off the heat, allow the pressure to return to zero, then carefully remove jars. Let cool undisturbed for 12–24 hours. Check for a good seal before labeling and storing.

How to Store
- Store sealed jars in a cool, dark place such as a pantry or basement.
- Keep jars away from direct sunlight and extreme temperature changes.
- Properly canned beans will last 12–18 months at peak quality.
- Always check the seal before using. If a lid has popped or looks suspicious, discard the contents.
Serving Suggestions
Your home-canned green and yellow beans are incredibly versatile. Here are a few ways to enjoy them:
- Heat and serve with butter, garlic, and fresh herbs for a quick side dish.
- Add to soups, stews, or casseroles for an extra nutritional boost.
- Sauté with onions and bacon for a hearty farmhouse-style side.
- Add to stir-fries for a colorful crunch.
Frequently Asked Questions:
1. Why do I need a pressure canner for beans?
Green and yellow beans are low-acid vegetables. A pressure canner reaches the high temperature needed to destroy harmful bacteria, such as botulism.
2. Can I raw pack beans instead of hot packing?
Yes, but hot packing helps remove air, resulting in a better texture and color during storage.
3. How long will canned beans last?
Properly sealed jars can last 12–18 months when stored in a cool, dark place.
4. Do I have to add salt?
No, salt is optional and only added for flavor, not preservation.
5. What if a jar doesn’t seal?
Refrigerate immediately and use within a week, or reprocess within 24 hours using a new lid.
Special Tools (affiliate links): | Pressure Canner |Jar Lifter |Funnel| Bubble Remover and Headspace Tool |
Canning green and yellow beans is more than just preserving food—it’s preserving traditions, flavors, and the joy of the harvest. Each jar is a little piece of summer, ready to be opened on a chilly evening. If you try this recipe and love it, please tag me on Instagram and Facebook @grindinggearsfarmstead so I can celebrate your success with you. And don’t forget to share it on Pinterest!
Happy canning, happy sharing, and may your kitchen always be filled with laughter and love.
Lechyd Da, (means “Cheers to Good Health” in Welsh)

How to Can Fresh Green and Yellow Beans at Home
Equipment
- Pressure Canner (a must for low-acid food like beans)
- Canning jars (pints or quarts) Two-piece canning lids
- Ladle and funnel
- Jar Lifter
- Bubble remover/headspace tool
Ingredients
- 8 –10 pounds of beans fresh green and/or yellow (yields about 7 quart jars or 14 pint jars)
- Non-iodized canning salt optional, for flavor
- Water
Instructions
Prepare the beans:
- Wash beans thoroughly in cold water, trim the ends, and cut or snap beans into 1-inch pieces.
Sterilize jars:
- Wash jars, lids, and bands in hot, soapy water. Keep the jars warm until they are ready to fill.
Hot pack method:
- Blanch fresh beans in boiling water for 5 minutes. Pack hot beans into hot jars, leaving 1 inch of headspace. Add ½ teaspoon of canning salt per pint or 1 tsp per quart if desired. Pour boiling water over beans, maintaining a 1-inch headspace. Using a bubble remover tool, remove the air bubbles. Wipe the rims with a clean, damp cloth, and secure the lids and screw bands finger-tight.
Raw pack or cold pack method:
- Pack the raw beans tightly into jars, leaving 1 inch of headspace. Add ½ teaspoon of salt per pint or 1 teaspoon per quart, if desired. Pour boiling water over the beans, maintaining a 1-inch head space. Using a bubble remover tool, remove the air bubbles. Wipe the rims with a clean, damp cloth, and secure the lids and screw bands finger-tight. Note: Beans may shrink more with this method.
Process in a pressure canner:
- Place jars in canner with 2–3 inches of water. Lock the canner lid and vent steam for 10 minutes before adding weight. Process pints for 20 minutes and quarts for 25 minutes at 10 pounds pressure (adjust for altitude).
Cool and store:
- At the end of the cooking time, turn off the heat, allow the pressure to return to zero, then carefully remove jars. Let cool undisturbed for 12–24 hours. Check for a good seal before labeling and storing