Easy Homemade Cherry Pie Filling: Canning Recipe
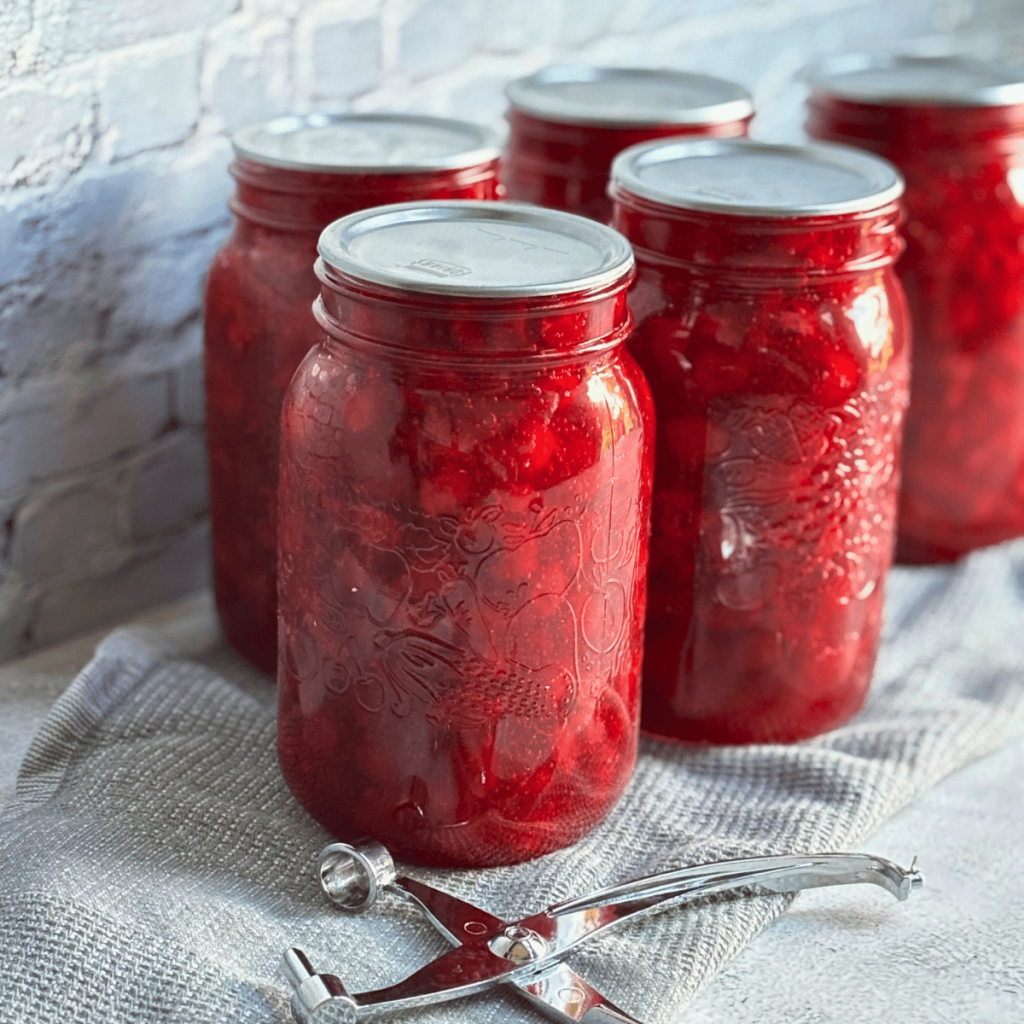
There’s just something magical about popping open a jar of homemade cherry pie filling in the middle of winter — the bright, sweet-tart flavor takes you straight back to that cherry tree in your backyard. Nothing beats the satisfaction of preserving your own food and knowing exactly what’s in it. It’s easy, economical, and the perfect way to take control of what’s in your food—no corn syrup, no artificial coloring, no mystery ingredients. This recipe is one of the easiest ways to preserve cherries, and the best part is that it requires just a few simple ingredients.
This post may contains affiliate links. I earn a small commission from purchases at no extra cost to you. See my full disclosure here.
Why You’ll Love This Cherry Pie Filling
- Homemade Goodness – Real fruit, no weird preservatives.
- Pantry Stocking Made Easy – One batch makes enough jars to last all winter.
- Versatile & Delicious – Perfect for pies, desserts, or even topping cheesecake.
- Cost-Effective – Whether you are picking the cherries fresh or buying in bulk during cherry season, it saves money.
- From-Scratch Confidence – You’ll know exactly what’s in your food
Equipment Needed
- Quart jars
- Large bowl
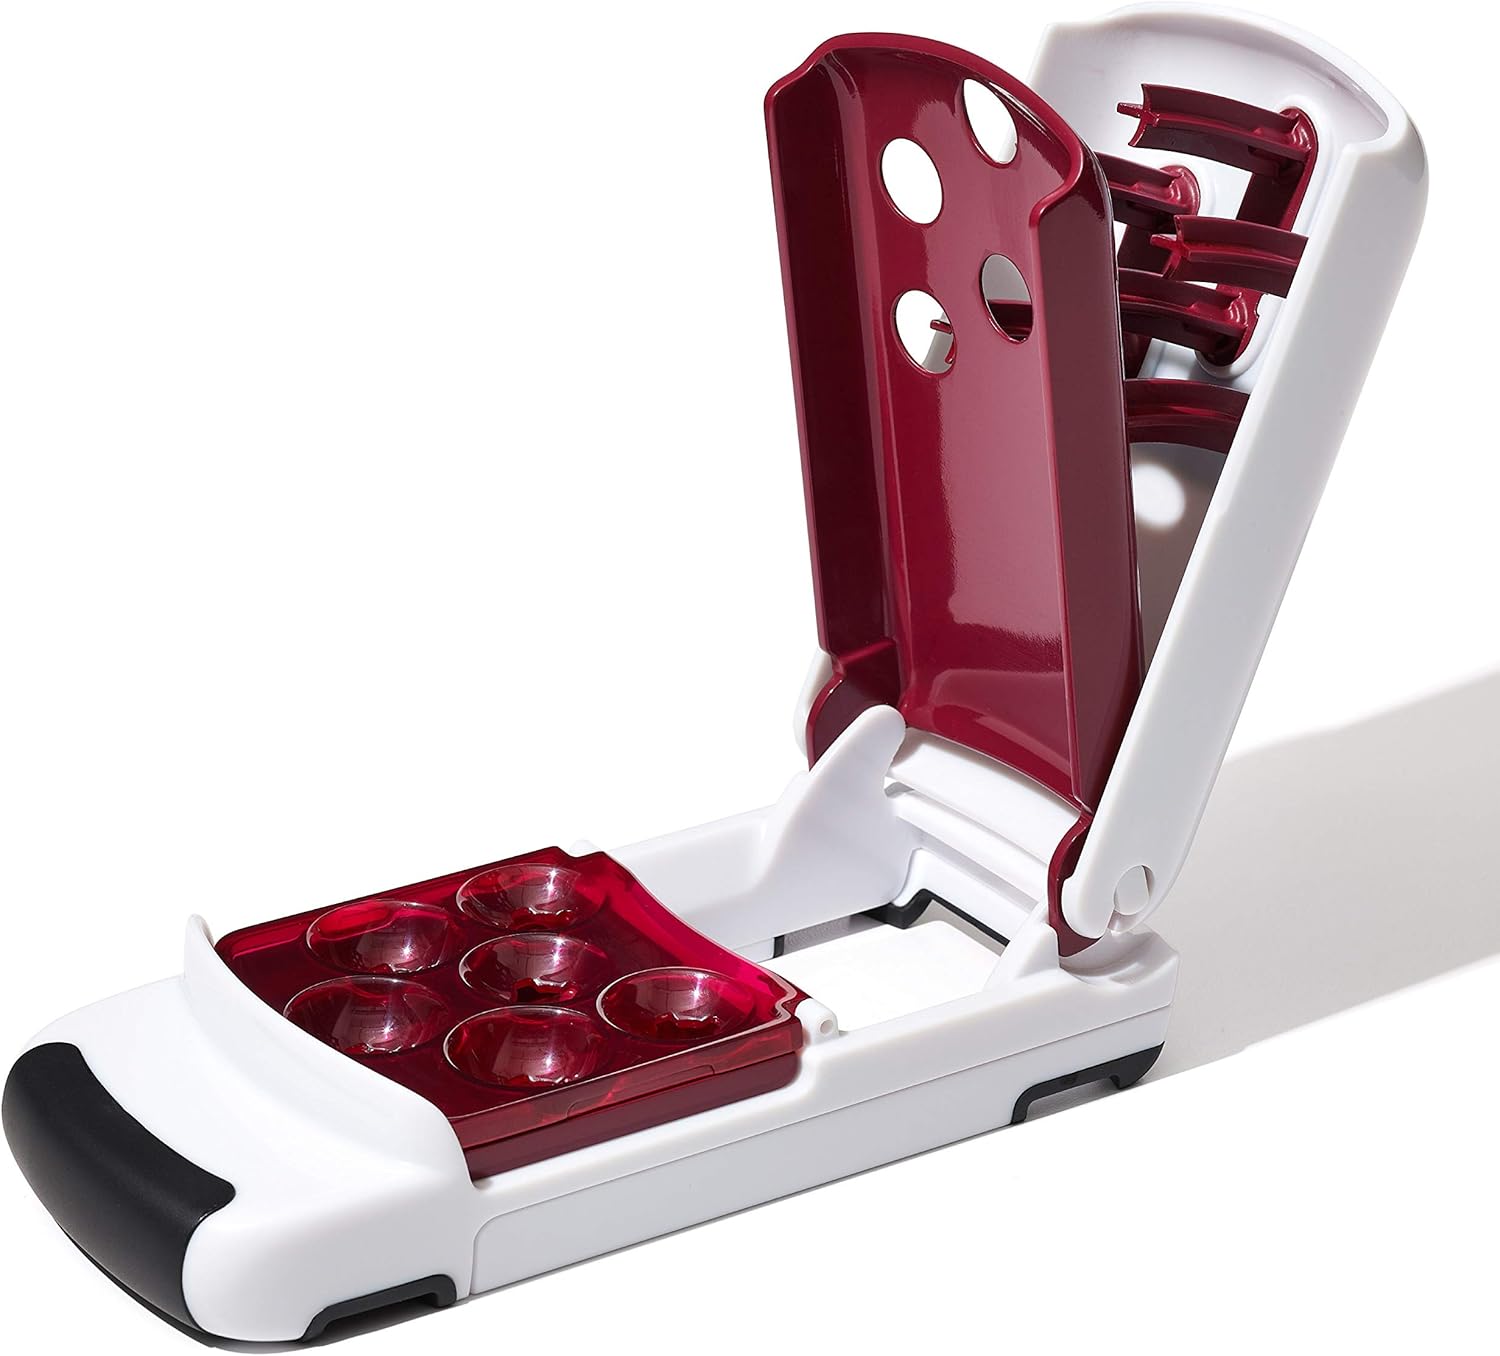
- Cherry Pitter
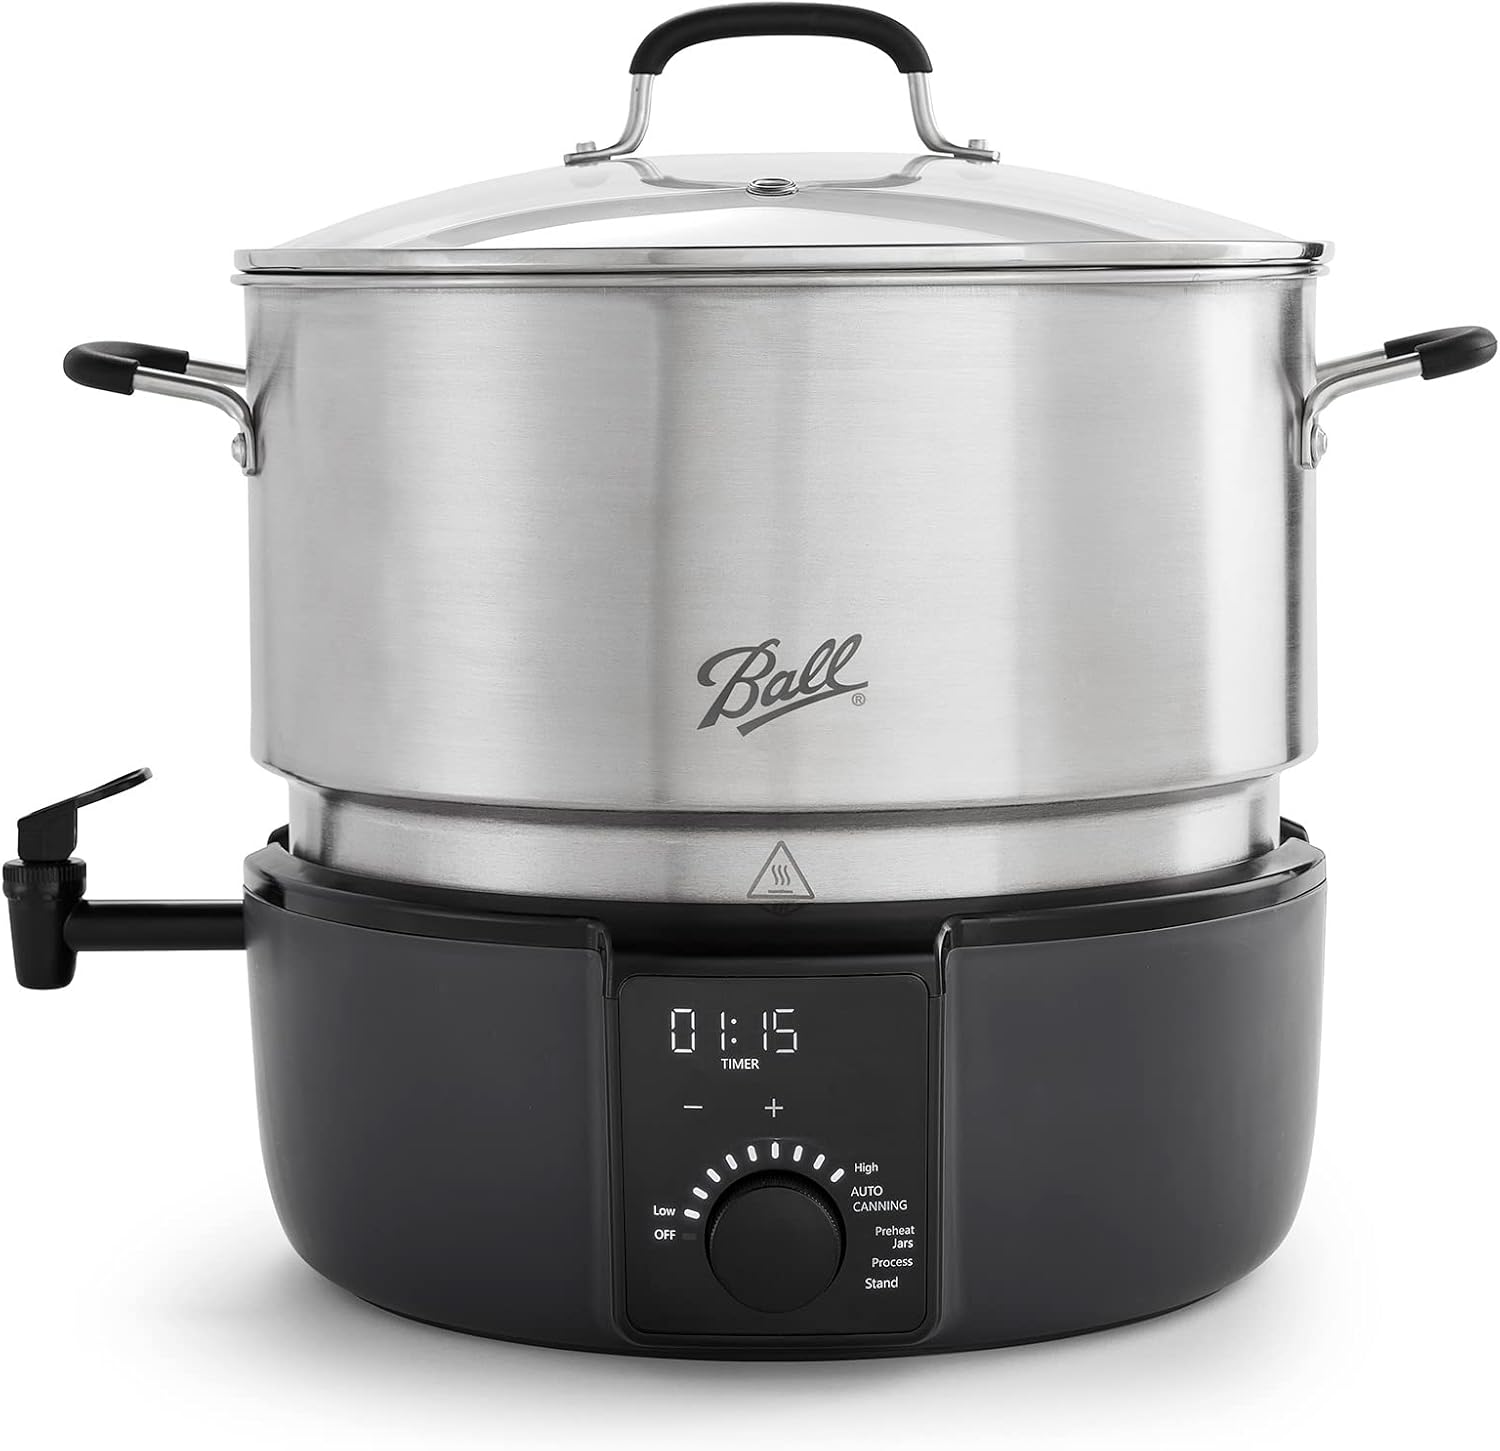
- Water Bath Canner This is my favorite Electric Water Bath Canner
- Jar Lifter
- Funnel
- Bubble Remover and Headspace Tool
Ingredients for Homemade Cherry Pie Filling
- 24 cups sour cherries (frozen or fresh cherries and pitted)
- 7 cups of sugar
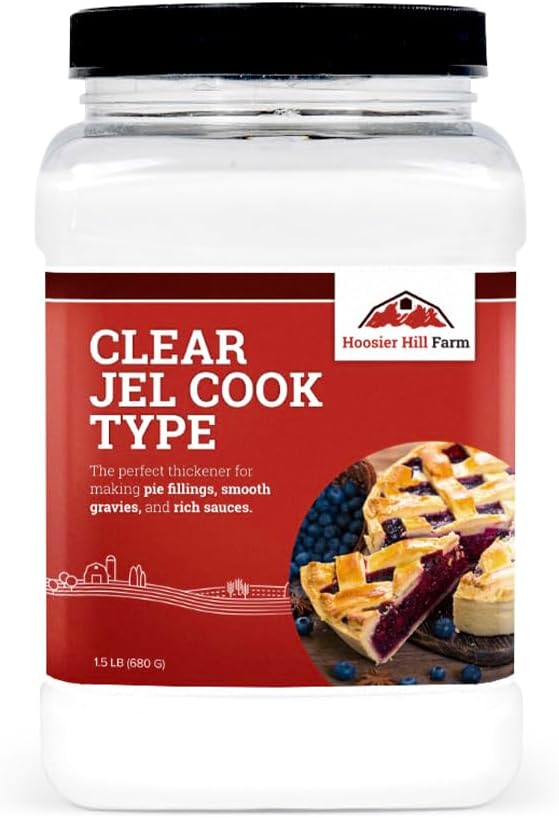
- 1 ¾ cups Clear Jel A (the only thickener approved for canning)
- 9 ⅓ cups cherry juice, cold water, or a combination
- ½ cup lemon juice
- 2 tsp almond extract (optional, but adds a lovely flavor boost)

Step-by-Step Instructions for Canning Cherry Pie Filling
- Prepare Your Jars & Lids
- Wash jars in hot soapy water, rinse, and keep warm until ready to fill. Prepare lids according to the manufacturer’s instructions.
- Prep the Cherries
- Pit cherries, measuring 24 cups. If you want the richest flavor, use a mix of cherry juice and water for the liquid base.
- Make the Filling Base
- In a large pot or extra-large saucepan, combine sugar and Clear Jel A . Add cherry juice/water and whisk or use an immersion blender to mix ingredients until smooth. Cook over medium-high heat, stirring constantly until thickened and bubbly.
- Add Lemon Juice & Almond Extract
- Stir in lemon juice for brightness and almond extract (if desired).
- Add Cherries
- Fold in the cherries, making sure they’re evenly coated in the thickened sauce.
- Fill the Jars
- Ladle hot filling into hot quart jars, leaving 1 inch headspace. Remove air bubbles, wipe rims with a clean damp cloth, and secure lids.
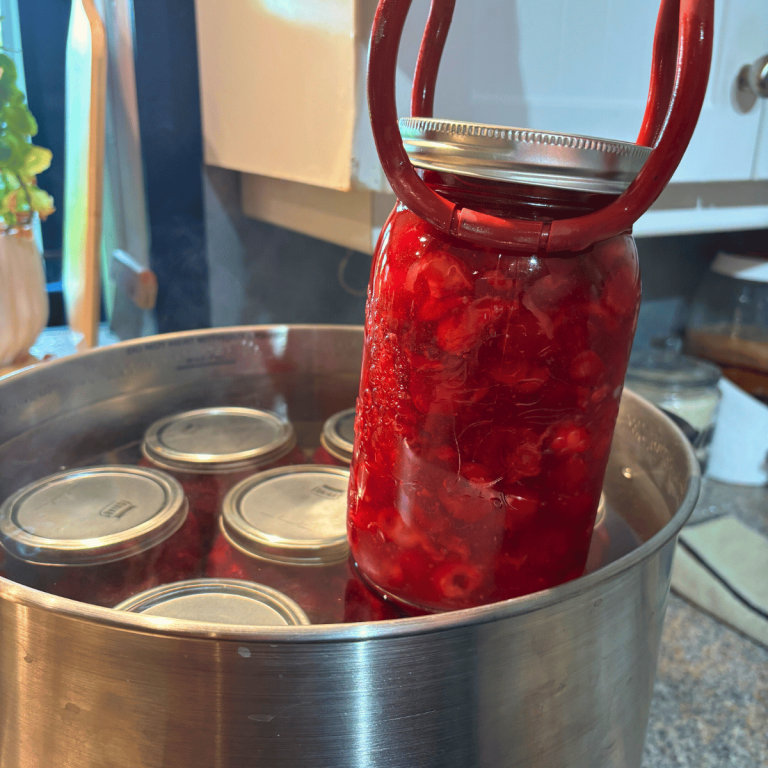
- Process in a Water Bath Canner
- Place jars in boiling water and process pints and quarts for 35 minutes (the processing time may change due to your altitude adjustments). Shut off the heat and let it sit for 5 minutes. Carefully remove the jars using a jar lifter and place the jars on a kitchen cloth-lined wooden board.
- Cool & Store
- Let cool at room temperature for 12–24 hours. Check seals and remove rings. Wash the outside of each jar before storing in a cool, dark pantry for up to 18 months.
PRO TIP:
Clear Jel® A is the key ingredient to perfectly thick, homemade cherry pie filling that holds up beautifully during canning. It’s made explicitly for high-heat processing so that it won’t break down like cornstarch. But don’t worry if you can’t get your hands on it — you can still safely can the filling without it! Process the cherries and syrup as directed, then thicken your pie filling later, right before using, with a quick cornstarch slurry on the stovetop.

Water Bath Canning
- Safe water bath canning starts with understanding the basics: always use tested recipes, the correct ratio of fruit, sugar, acid, and thickener, and the proper processing time for your altitude.
- Before you even think about filling jars, inspect them for cracks or chips and use only new, two-piece canning lids for a proper seal.
- Keep your jars hot until filling to prevent thermal shock, and wipe rims clean to ensure nothing interferes with the sealing surface.
- When processing, make sure your jars are fully submerged with at least 1–2 inches of water above them, and keep the water at a steady rolling boil for the entire processing time.
PRO TIP:
Add 1/4 cup of white vinegar to the water in your canner before processing. The vinegar helps prevent hard water deposits from leaving a cloudy film on your jars, keeping them crystal clear and picture-perfect for the pantry shelves.
Troubling Shooting
If you run into trouble, don’t panic—most canning hiccups have simple fixes.
- If your jars don’t seal, refrigerate and use within a week, or reprocess with a new lid within 24 hours.
- Cloudy liquid is usually harmless and often comes from minerals in the water, but it can also be a sign of spoilage if the smell or texture is off.
- Floating fruit often happens if the fruit isn’t packed tightly enough, but the filling is still safe to eat.
- Always let jars cool undisturbed for 12–24 hours before checking the seals, and remember—when in doubt, throw it out.

Different Ways to Serve Homemade Cherry Pie Filling
- Classic Cherry Pie – Just pour into your favorite pie crust and bake until golden brown. Top warm pie with a scoop of vanilla ice cream.
- Ice Cream Topping – Warm a few spoonfuls for a quick dessert.
- Yogurt Swirl – Stir into plain yogurt for a breakfast treat.
- Cheesecake Glaze – Spread over a baked cheesecake for a stunning finish.
- Pancake Syrup – Heat and drizzle over a stack of pancakes.
How to Store Canned Cherry Pie Filling
- Store sealed jars in a cool, dark place for up to 18 months.
- Once opened, refrigerate and use within 1–2 weeks.
- For best quality, avoid storing jars where they’ll be exposed to light or temperature swings.
Frequently Asked Questions:
1. Can I use sweet cherries instead of sour?
Yes, but reduce the sugar slightly to balance the sweetness.
2. What if I don’t have Clear Jel A?
Clear Jel A is the only thickener approved for canning. Regular cornstarch or flour is unsafe for canning. You can make this recipe without the Clear Jel A. Process the cherries and syrup as directed, then thicken your pie filling later, right before using, with a quick cornstarch slurry on the stovetop.
3. Can I freeze this instead of canning?
Absolutely! Just cool the filling, pack it into freezer-safe containers, and freeze for up to 12 months.
4. Can I skip the almond extract?
Yes—it’s optional, but it gives that classic bakery-style cherry pie flavor.
5. Do I have to use lemon juice?
Yes—lemon juice adds brightness and ensures safe acidity for canning.
Special Tools (affiliate links): Electric Water Bath Canner |Jar Lifter |Funnel| Bubble Remover and Headspace Tool | Cherry Pitter | Clear Jel A |
This canned cherry pie recipe isn’t just about saving money—it’s about home food preservation and trapping the flavors of summer. Whether you bake pies all winter or want a quick dessert on hand, this canned cherry pie filling will make you wonder why you ever bought pie filling from a grocery store.
If you try this homemade cherry pie filling, I’d love to see your creations! Tag me on Instagram or Facebook @grindinggearsfarmstead and share how you’re using it — whether in pies, cheesecakes, or spooned over ice cream. And don’t forget to follow us on Pinterest for more delicious canning recipes and homestead inspiration!
Lechyd Da, (means “Cheers to Good Health” in Welsh)


Easy Homemade Cherry Pie Filling: Canning Recipe
Equipment
- 7 Quart Jars
- Large bowl
- Cherry Pitter
- Water Bath Canner
- Jar Lifter
Ingredients
- 24 cups sour cherries (frozen or fresh cherries and pitted)
- 7 cups of sugar
- 1 ¾ cups Clear Jel A (the only thickener approved for canning)
- 9 ⅓ cups cherry juice (cold water, or a combination)
- ½ cup lemon juice
- 2 tsp almond extract (optional, but adds a lovely flavor boost)
Instructions
Prepare Your Jars & Lids
- Wash jars in hot soapy water, rinse, and keep warm until ready to fill. Prepare lids according to the manufacturer’s instructions.
Prep the Cherries
- Pit cherries, measuring 24 cups. If you want the richest flavor, use a mix of cherry juice and water for the liquid base.
Make the Filling Base
- In a large pot or extra-large saucepan, combine sugar and Clear Jel. Add cherry juice/water and whisk or use an immersion blender to mix ingredients until smooth. Cook over medium-high heat, stirring constantly until thickened and bubbly.
- Add Lemon Juice & Almond Extract
- Stir in lemon juice for brightness and almond extract if desired.
Add Cherries
- Fold in the cherries, making sure they’re evenly coated in the thickened sauce.
Fill the Jars
- Ladle hot filling into hot quart jars, leaving 1 inch headspace. Remove air bubbles, wipe rims with a clean damp cloth, and secure lids.
Process in a Water Bath Canner
- Place jars in boiling water and process pints and quarts for 35 minutes (the processing time may change due to your altitude adjustments). Shut off the heat and let it sit for 5 minutes. Carefully remove the jars using a jar lifter and place the jar on a kitchen cloth-lined wooden board.
Cool & Store
- Let cool at room temperature for 12–24 hours. Check seals and remove rings. Wash the outside of each jar before storing in a cool, dark pantry for up to 18 months.