How to Can Apple Pie Filling (Perfect for Quick Desserts!)
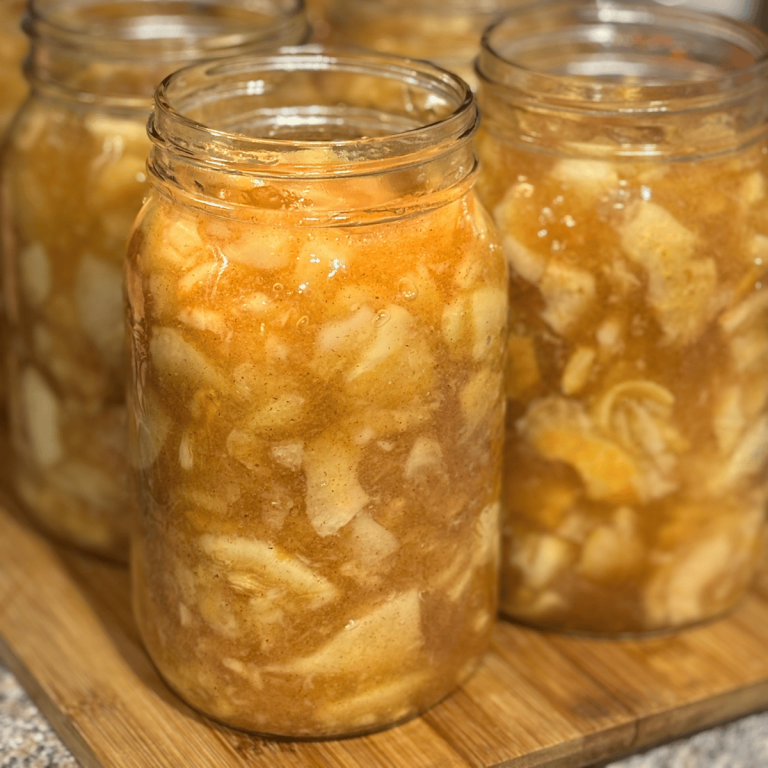
There’s nothing like the smell of warm apple pie drifting through the kitchen—but imagine grabbing a jar of homemade apple pie filling straight from your pantry and having dessert on the table in minutes. That’s the beauty of canning apple pie filling! If you have your own or have access to apple trees, this is a great way to preserve those apples in the best apple pie filling, better than any grocery store’s bought version. With the right equipment, and using the water bath method and a few pantry staples, you can preserve jars of sweet, spiced apple goodness to enjoy all year long. This recipe makes 7 quarts, perfect for pies, crisps, cobblers, or even spooned over ice cream.
This post may contains affiliate links. I earn a small commission from purchases at no extra cost to you. See my full disclosure here.
Why You’ll Love This Apple Pie Filling
- Convenience in a jar – Have ready-to-use pie filling anytime without peeling and slicing apples on the spot.
- Flavor-packed – A touch of cinnamon, fresh apple juice, and just the right sweetness bring that classic pie flavor.
- Homestead friendly – Take control of your food supply and skip store-bought fillings full of additives.
- Versatile – Beyond pies, this filling makes quick desserts, breakfasts, or even toppings for pancakes.
Equipment Needed
- Fresh apples – Using crisp apples, such as Jonathan, Honeycrisp, Golden Delicious, or Granny Smith apples, holds up best.
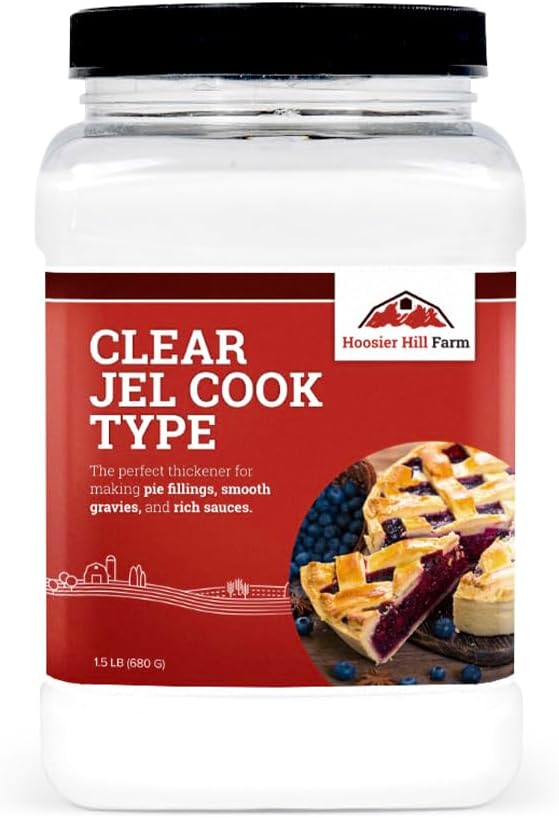
- Clear Jel A – A canning-approved thickener. Find it here.
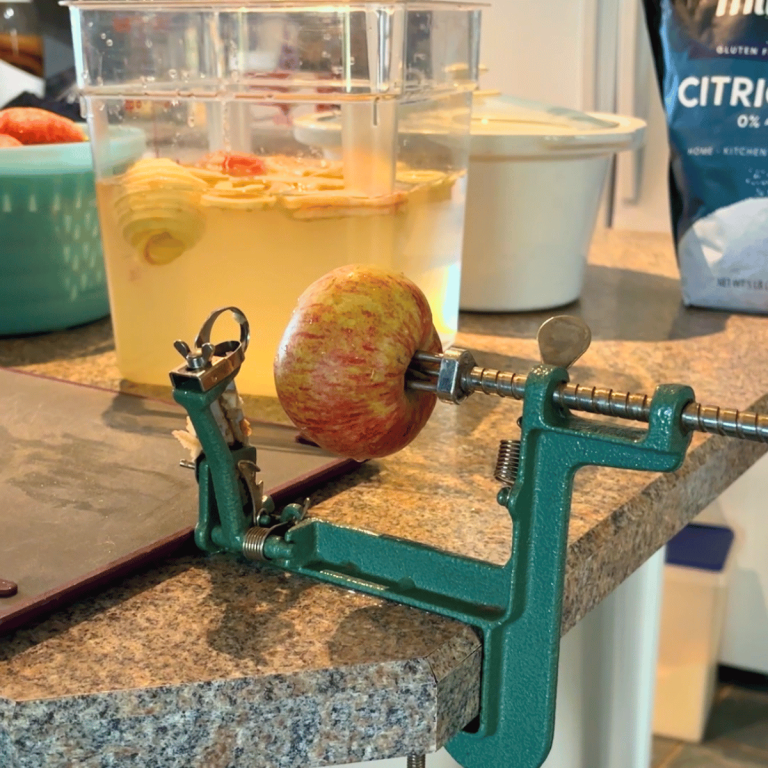
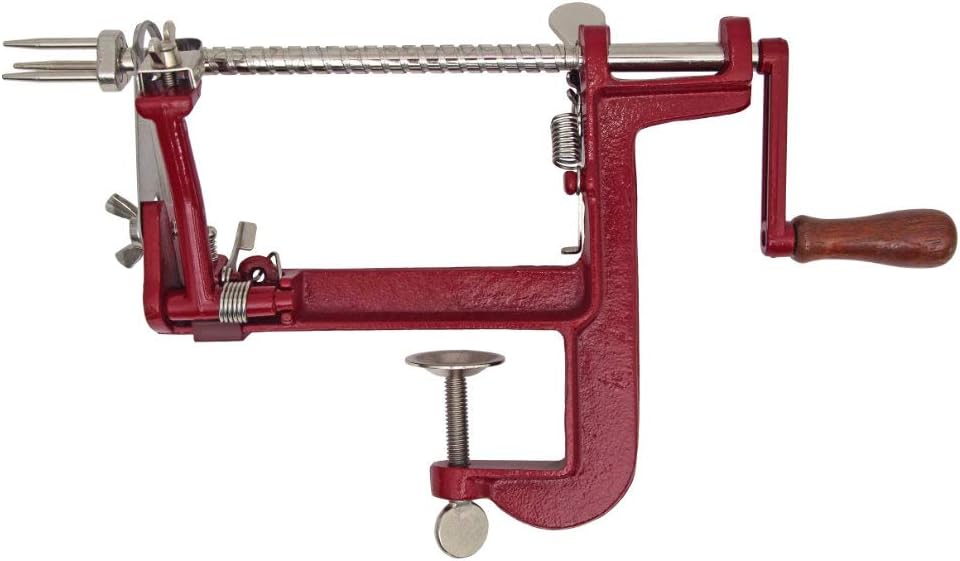
- Apple Peeler (corer and slicer) – Save time prepping apples with this handy tool. Grab one here.
- Quart jars, lids and rings
- Large Stock Pot
- Large bowl
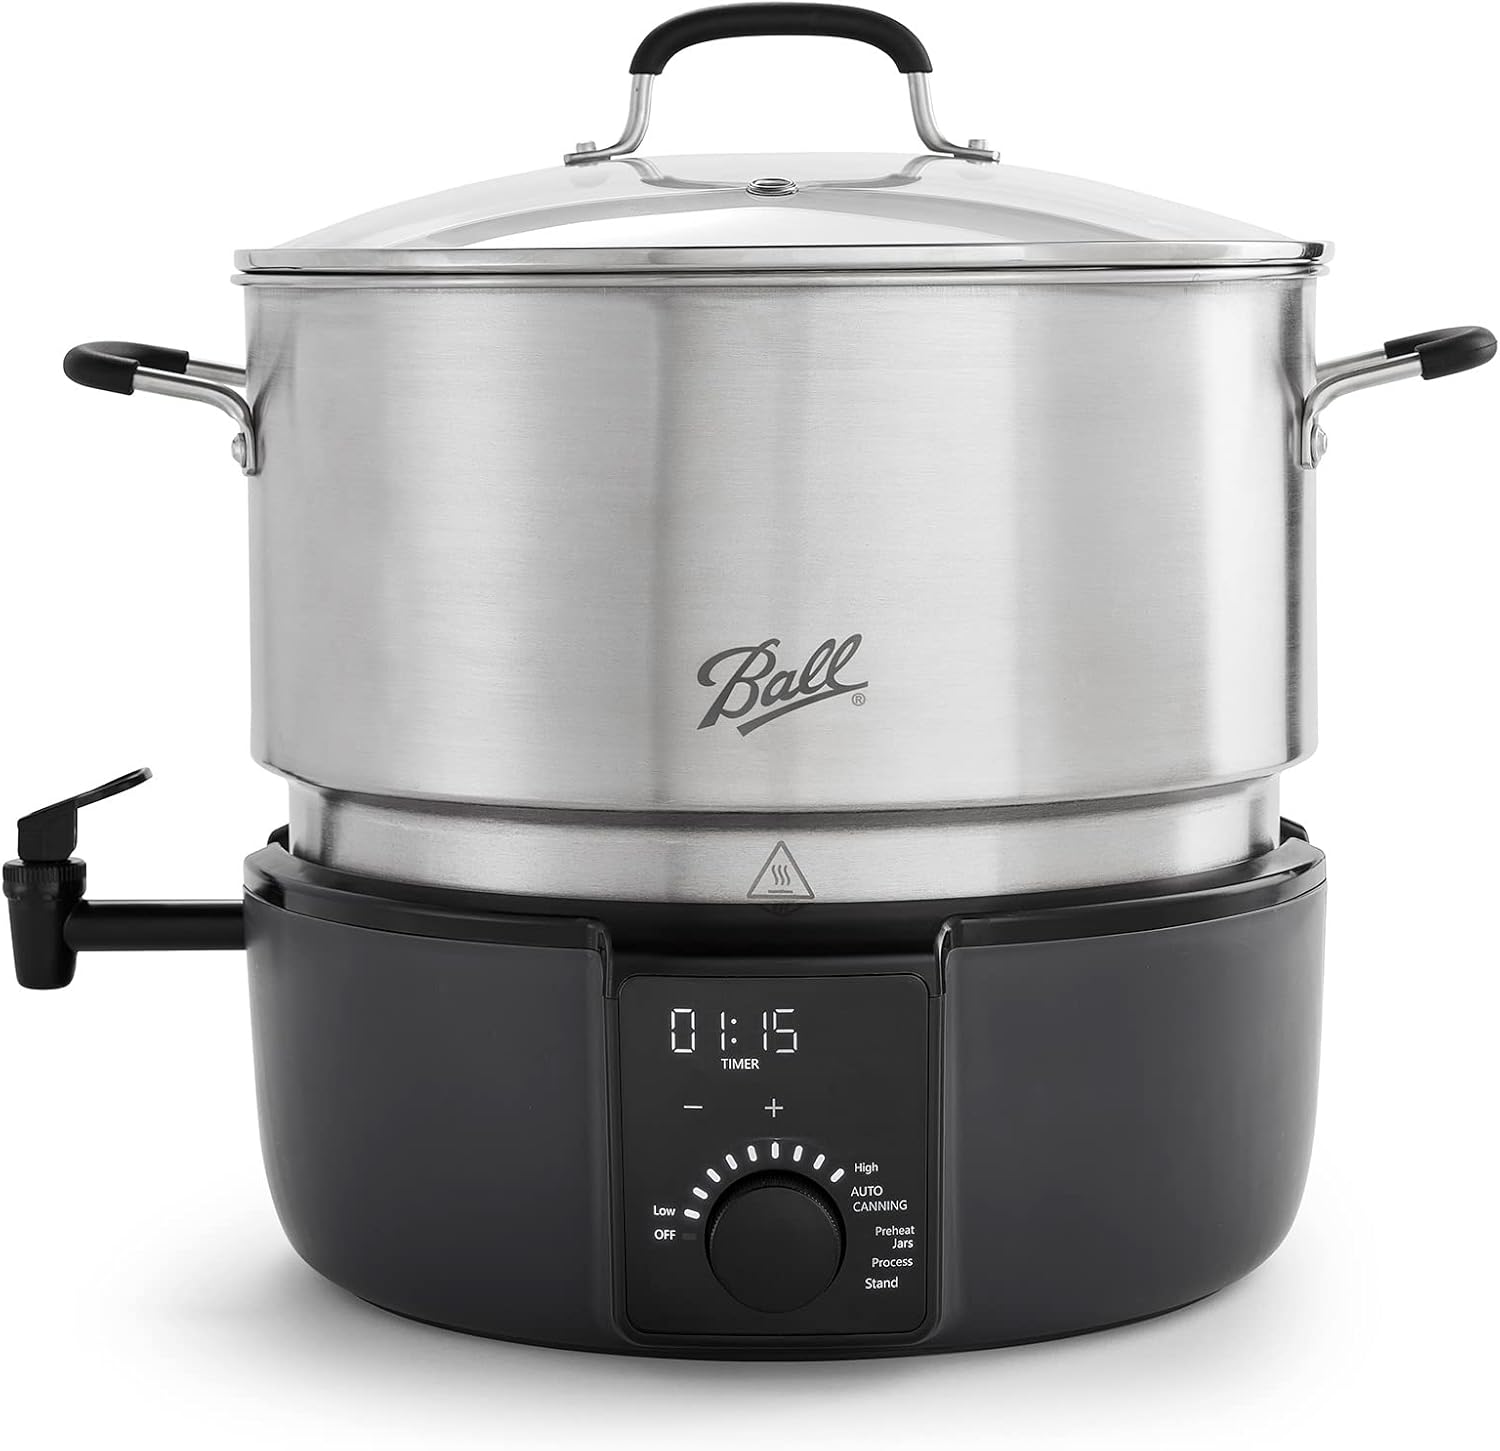
- Water Bath Canner This is my favorite Electric Water Bath Canner
- Immersion Blender (not necessary, but very helpful in combining the Clear Jel A into the filling mixture without any lumps)
- Jar Lifter
- Funnel
- Bubble Remover and Headspace Tool
- Citric Acid or Lemon Juice
- Clean kitchen towels
Prevent Browning Before Blanching
Once you’ve peeled, cored, and sliced your apples, place them in a large bowl of water mixed with lemon juice or citric acid. This step prevents browning and helps your apple slices keep that fresh, crisp look before you move on to blanching. A good ratio is about 1 tablespoon of lemon juice (or ½ teaspoon citric acid) per quart of water. Keep apples in the solution until you’re ready to blanch them.
Ingredients for Homemade Apple Pie Filling
- 6 quarts blanched & sliced apples
- 5 ½ cups sugar
- 1 ½ cups Clear Jel A
- 1 Tablespoon cinnamon
- 2 ½ cups of water
- 5 cups apple juice
- ¾ cup lemon juice
Step-by-Step Instructions for Canning Apple Pie Filling
- Prep the fresh fruit –
- Wash apples in cold water
- Using an apple peeler, peel, core, and slice apples.
- Place them in a large bowl of water mixed with lemon juice or citric acid until you are ready to blanch them. This step prevents browning.
- Blanch in boiling water for 1 minute, then drain and keep warm in a covered bowl or pot.
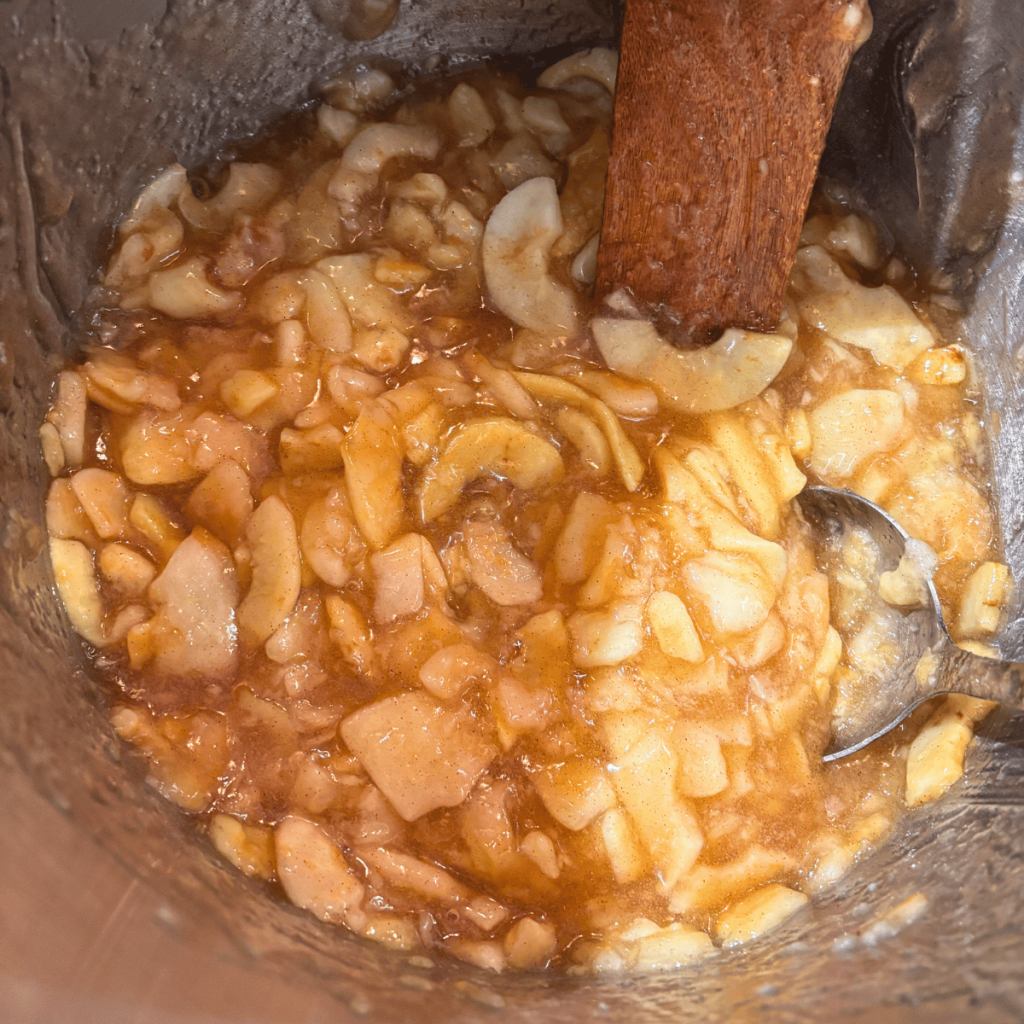
- Make the filling – In a large stockpot, whisk together sugar, Clear Jel A, and cinnamon. Add water, apple juice, and lemon juice. Cook until the mixture thickens and begins to bubble.
- Combine with apples – Gently fold the blanched apple slices into the hot mixture until evenly coated.
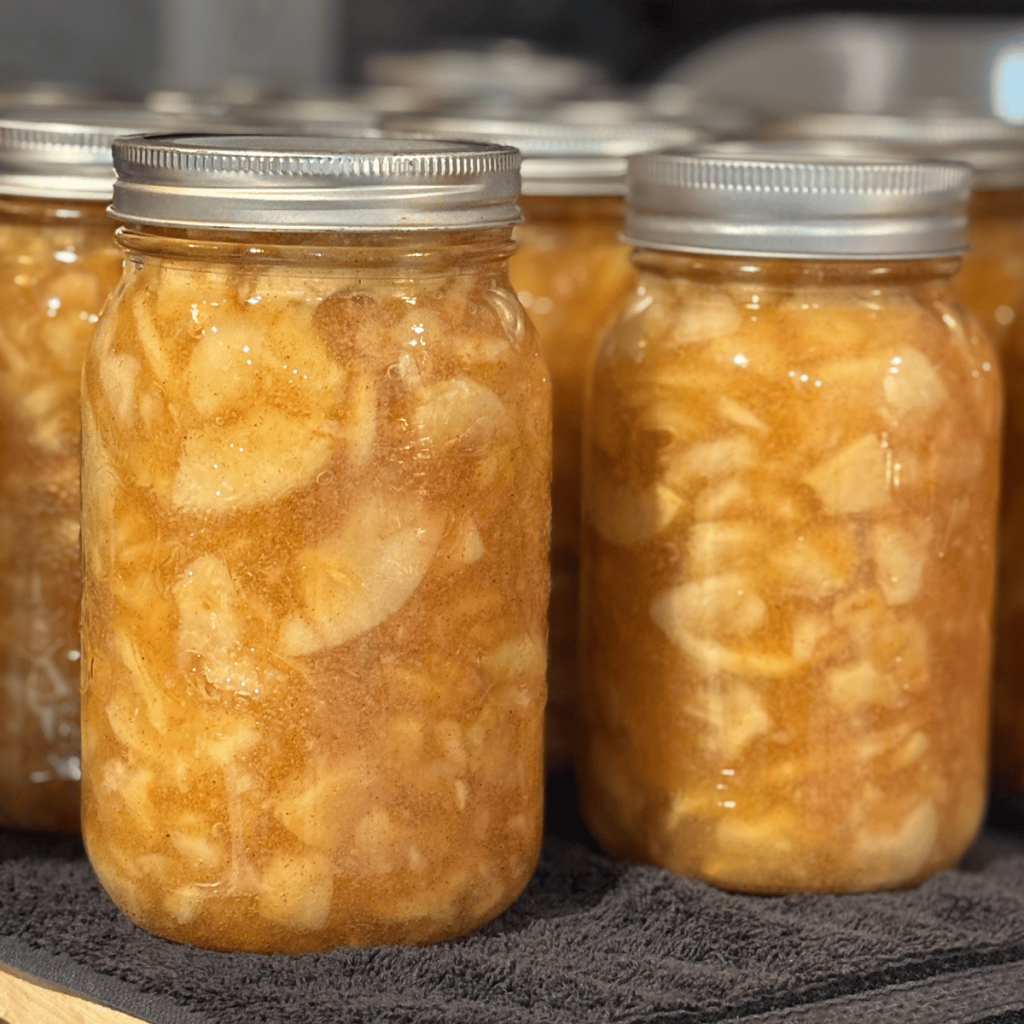
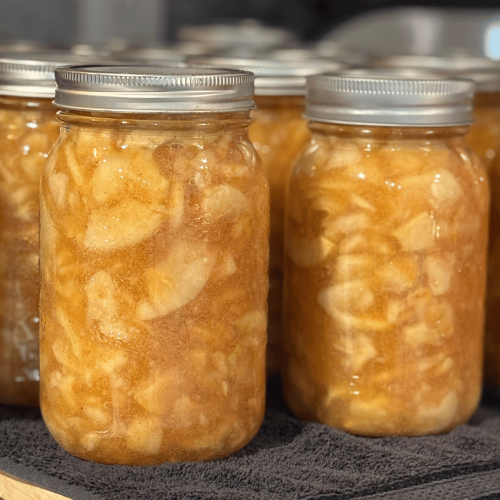
- Fill jars – Using a funnel, pack hot filling into prepared hot jars, leaving 1 inch of headspace. Remove air bubbles and wipe rims clean. Apply lids and rings fingertip-tight.
- Processing Time – Water Bath Method – Bring to a boil and process for 25 minutes for quarts. Remove canner lid. Wait 5 minutes, then remove jars to cool.
- Cool and store – Let the jars sit at room temperature, undisturbed, and out of direct sunlight for 12–24 hours. Check for a good seal before storing. – See storage information below.
PRO TIP:
Use an immersion blender to combine all of the ingredients for the filling. I find this to be the easiest way to combine the Clear Jel A powder without having any lumps.
Water Bath Canning
- Safe water bath canning starts with understanding the basics: always use tested recipes, the correct ratio of fruit, sugar, acid, and thickener, and the proper processing time for your altitude. At altitudes above 3,000 feet, add 2 minutes processing time for each additional 1,000 ft.
- Before you even think about filling jars, inspect them for cracks or chips and use only new, two-piece canning lids for a proper seal.
- Keep your jars hot until filling to prevent thermal shock, and wipe rims clean to ensure nothing interferes with the sealing surface.
- When processing, make sure your jars are fully submerged with at least 1–2 inches of water above them, and keep the water at a steady rolling boil for the entire processing time.
PRO TIP:
Add 1/4 cup of white vinegar to the water in your canner before processing. The vinegar helps prevent hard water deposits from leaving a cloudy film on your jars, keeping them crystal clear and picture-perfect for the pantry shelves.
Troubling Shooting
If you run into trouble, don’t panic—most canning hiccups have simple fixes.
- If your jars don’t seal, refrigerate and use within a week, or reprocess with a new lid within 24 hours.
- Cloudy liquid is usually harmless and often comes from minerals in the water, but it can also be a sign of spoilage if the smell or texture is off.
- Floating fruit often happens if the fruit isn’t packed tightly enough, but the filling is still safe to eat.
- Always let jars cool undisturbed for 12–24 hours before checking the seals, and remember—when in doubt, throw it out.

Different Ways to Serve Homemade Apple Pie Filling
This canned filling isn’t just for pies! Try it in cobblers, crisps, or even savory dishes like pork chops with apple glaze. Because the filling is already thickened and flavored, it’s a time-saver in the kitchen whenever you need a quick dessert or side.
- Fill a pie crust, bake, and top with whipped cream.
- Quick way to whip up an apple crisp or apple oatmeal bars.
- Spoon over vanilla ice cream for a quick dessert.
- Layer with granola and yogurt for a fall-inspired parfait.
- Use as a filling for turnovers, hand pies, or coffee cake.
- Heat and serve as a topping for pancakes or waffles.
How to Store Canned Apple Pie Filling
- Store sealed jars in a cool, dark place for up to 18 months.
- Once opened, refrigerate and use within 1 week.
- For best quality, avoid storing jars where they’ll be exposed to light or temperature swings.
Frequently Asked Questions:
1. Can I use cornstarch or all purpose flour instead of Clear Jel A?
No. Cornstarch is not approved for canning and may lead to unsafe results. Always use Clear Jel A.
2. What apple varieties work best?
Firm, tart-sweet apples like Granny Smith, Jonathan, or Honeycrisp hold up well during canning..
3. Can I reduce the sugar?
This is a tested recipe, so sugar should not be altered. Sweetness can be adjusted when serving.
4. Can I add other spices?
Yes! Spices like nutmeg, allspice, or cloves may be added after opening the jar to customize flavor.
5. How do I know if my jars sealed properly?
After cooling 12–24 hours, lids should not flex when pressed. Any unsealed jars should be refrigerated and used right away.
Special Tools (affiliate links): Electric Water Bath Canner | Jar Lifter | Funnel | Bubble Remover and Headspace Tool | Citric Acid | Clear Jel A | Apple Slicer & Corer | Immersion Blender |
Canning apple pie filling is one of the most rewarding projects you can do for your pantry. With jars of rich, spiced filling lined up, you’ll never buy a can of apple pie filling from the store again. Each quart of filling sitting proudly on your pantry shelf is a ready-made dessert waiting for later use—whether in a pie, crisp, or spooned over ice cream. Homemade, safe, and delicious, this canned apple pie filling is a true homestead staple that keeps the flavor of fall within arm’s reach all year long.
If you try this homemade apple pie filling, I’d love to see your creations! Tag me on Instagram or Facebook @grindinggearsfarmstead and share how you’re using it. And don’t forget to follow us on Pinterest for more delicious canning recipes and homestead inspiration!
Lechyd Da, (means “Cheers to Good Health” in Welsh)

How to Can Apple Pie Filling (Perfect for Quick Desserts!)
Equipment
- Large stockpot
- Water Bath Canner
- Mason Jars (7 Quart Jars)
- Canning Lids, and Bands
- Jar Lifter
- Canning Funnel
- Bubble Remover and Headspace Tool
- Apple Corer Slicer (recommended tool here)
- Large bowl (for lemon water soak) (1 Tbsp lemon juice or ½ tsp citric acid per quart of water)
- Clean Kitchen Towels
Ingredients
- 6 quarts blanched & sliced apples
- 5 ½ cups sugar
- 1 ½ cups Clear Jel A find it here
- 1 Tablespoon cinnamon
- 2 ½ cups water
- 5 cups apple juice
- ¾ cup lemon juice
Instructions
- Prep apples – Peel, core, and slice apples. Place slices in a bowl of water with lemon juice or citric acid to prevent browning until ready to use.
- Blanch apples – Drain slices and blanch in boiling water for 1 minute. Drain and keep warm.
- Make the filling – In a stockpot, whisk sugar, Clear Jel A, and cinnamon. Stir in water, apple juice, and lemon juice. Cook until thick and bubbling.
- Add apples – Gently fold the blanched apples into the hot mixture until well coated.
- Fill jars – Pack filling into hot quart jars, leaving 1-inch headspace. Remove air bubbles and wipe rims.
- Seal jars – Place lids and rings on fingertip tight.
- Process jars – Boiling water bath canner: Process 25 minutes for quarts (adjust for altitude).
- Cool & store – Let jars cool 12–24 hours. Check seals before storing.
Notes
- Always use Clear Jel A for safe thickening—do not substitute cornstarch.
- Store sealed jars in a cool, dark place for 12–18 months. Refrigerate after opening and use within 1 week.