How to Can Homemade Vegetable Soup for Quick Meals

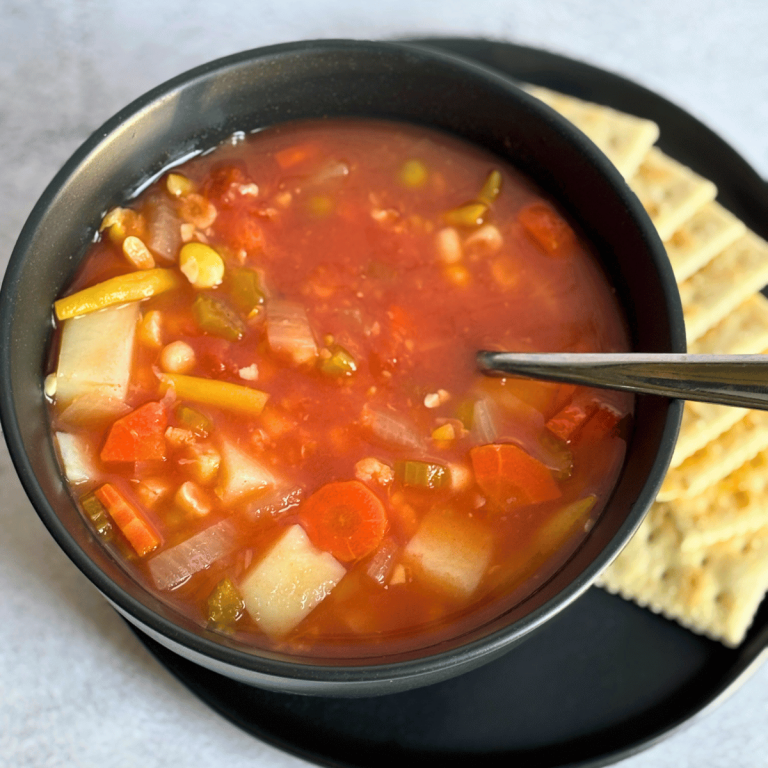
There’s nothing quite like pulling a jar of your own homemade vegetable soup off the pantry shelf in the middle of winter. Forget the grocery store cans—this recipe is hearty, wholesome, and one of my favorite staples to put up every season. You will never regret having your own canned vegetable soup preserved in your pantry.
Yes, it takes a little chopping and prepping, but I promise you—it’s worth every minute. This is a recipe from the Ball Book of Canning (with my tweak of leaving out the lima beans). Once you try it, you’ll never go back to store-bought.
This post may contains affiliate links. I earn a small commission from purchases at no extra cost to you. See my full disclosure here.
What You’ll Love About This Recipe
- Homemade Convenience: Grab a jar, heat it, and lunch is ready in minutes.
- Customizable Seasoning: Add just ½–1 teaspoon of salt per quart before canning, then season to taste (pepper, herbs, etc.) when reheating.
- No Additives: Clean, wholesome vegetables—no mystery ingredients.
- Pantry Powerhouse: Perfect for stocking up your shelves and taking control of your food supply.
- 6 cups sliced carrots
- 6 cups potatoes (dice potatoes into small pieces – peel potatoes first)
- 2 cups chopped celery
- 4 cups corn kernels (fresh or frozen) (I will sometimes do 2 cups corn and 2 cups peas)
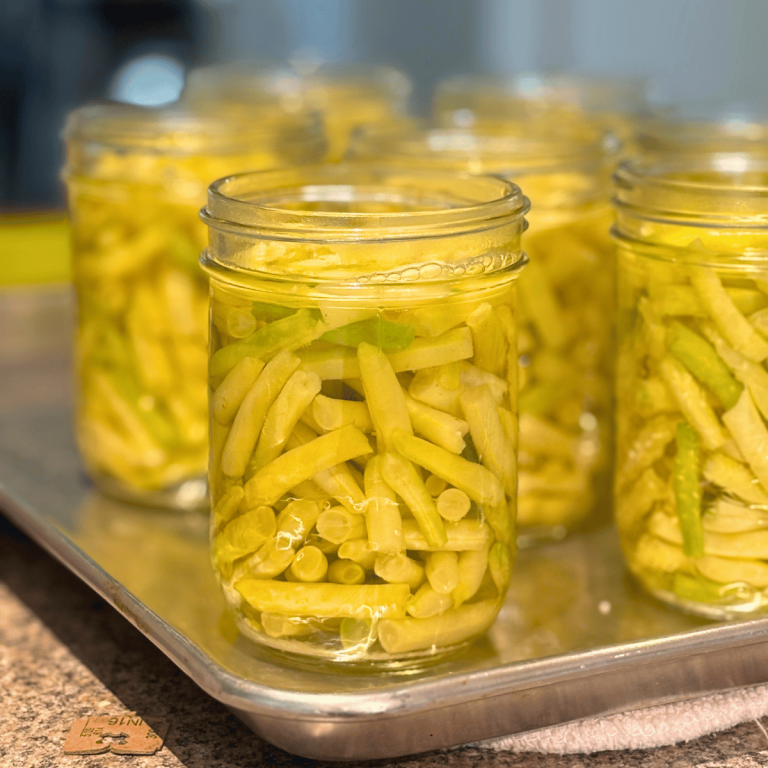
- 4 cups lima beans (I personally omit them or substitute green beans cut into 11/2 inch pieces)
- 2 cups chopped onions
- 8 cups cored and peeled tomatoes
- 6 cups of cold water or vegetable stock
- ½ – 1 teaspoon canning salt per quart jar
Pro Tip:
Use high-quality ingredients for a superb end product.
Equipment Needed for Canning Homemade Vegetable Soup
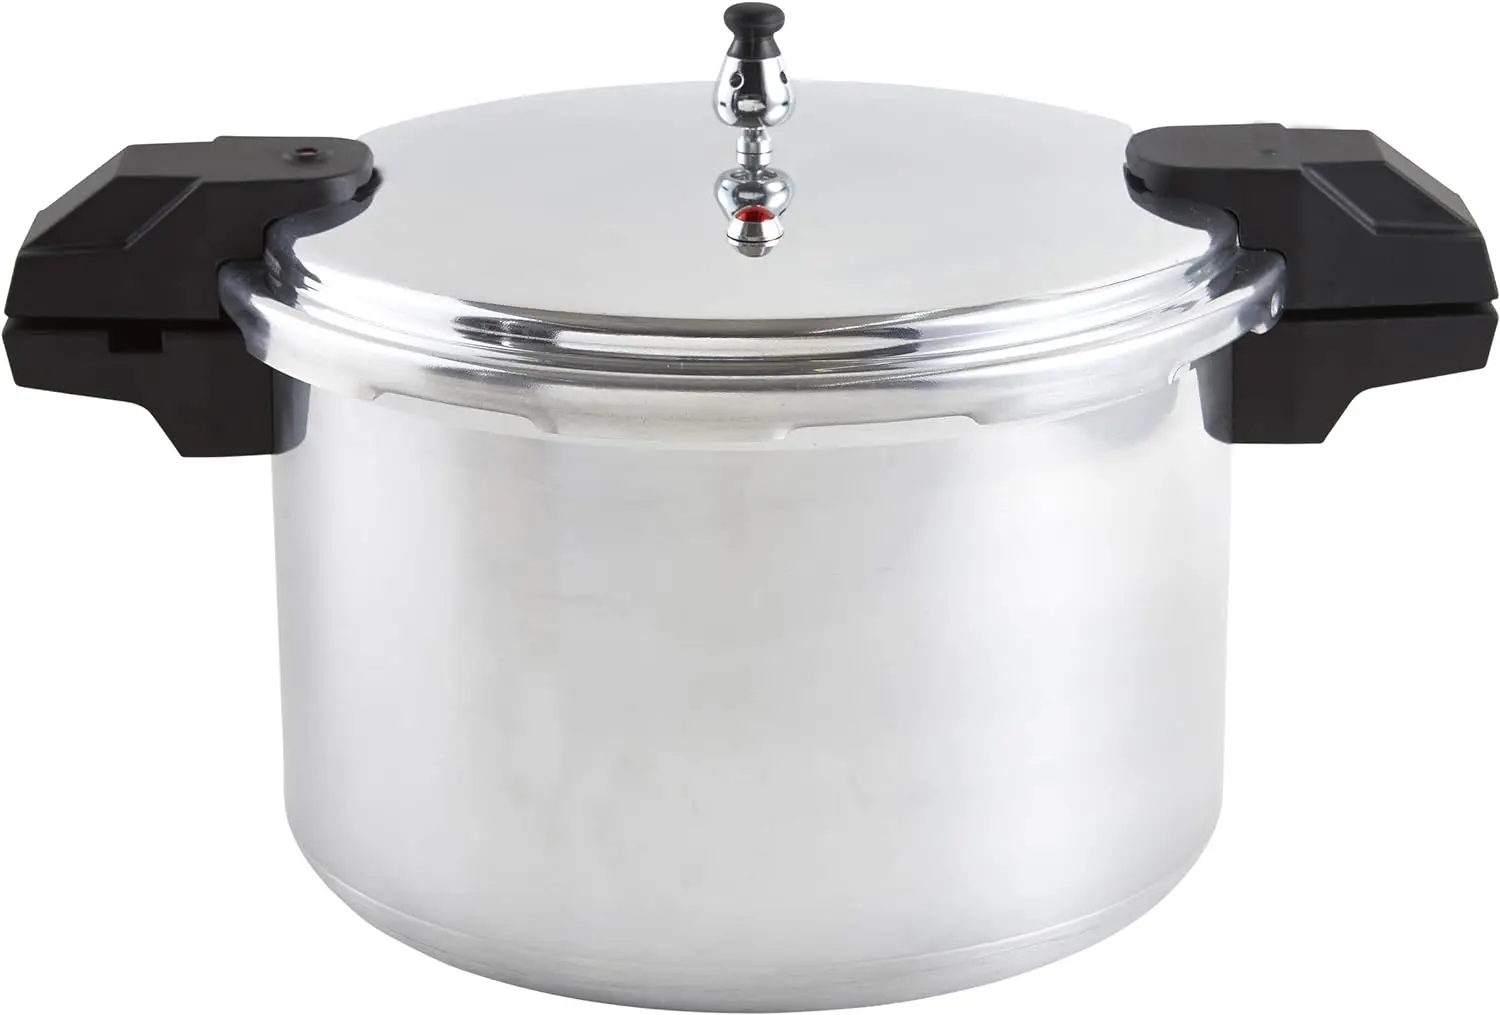
- Pressure Canner (A pressure canner is necessary to preserve low-acid foods, and vegetable soup is a low-acid food. A pressure canner reaches the high temperature needed to destroy harmful bacteria, such as botulism.)
- Clean, sterilized canning jars (quart jars or pint jars with lids and bands)
- Basic kitchen tools: (cutting board, knives, ladle, large stock pot)
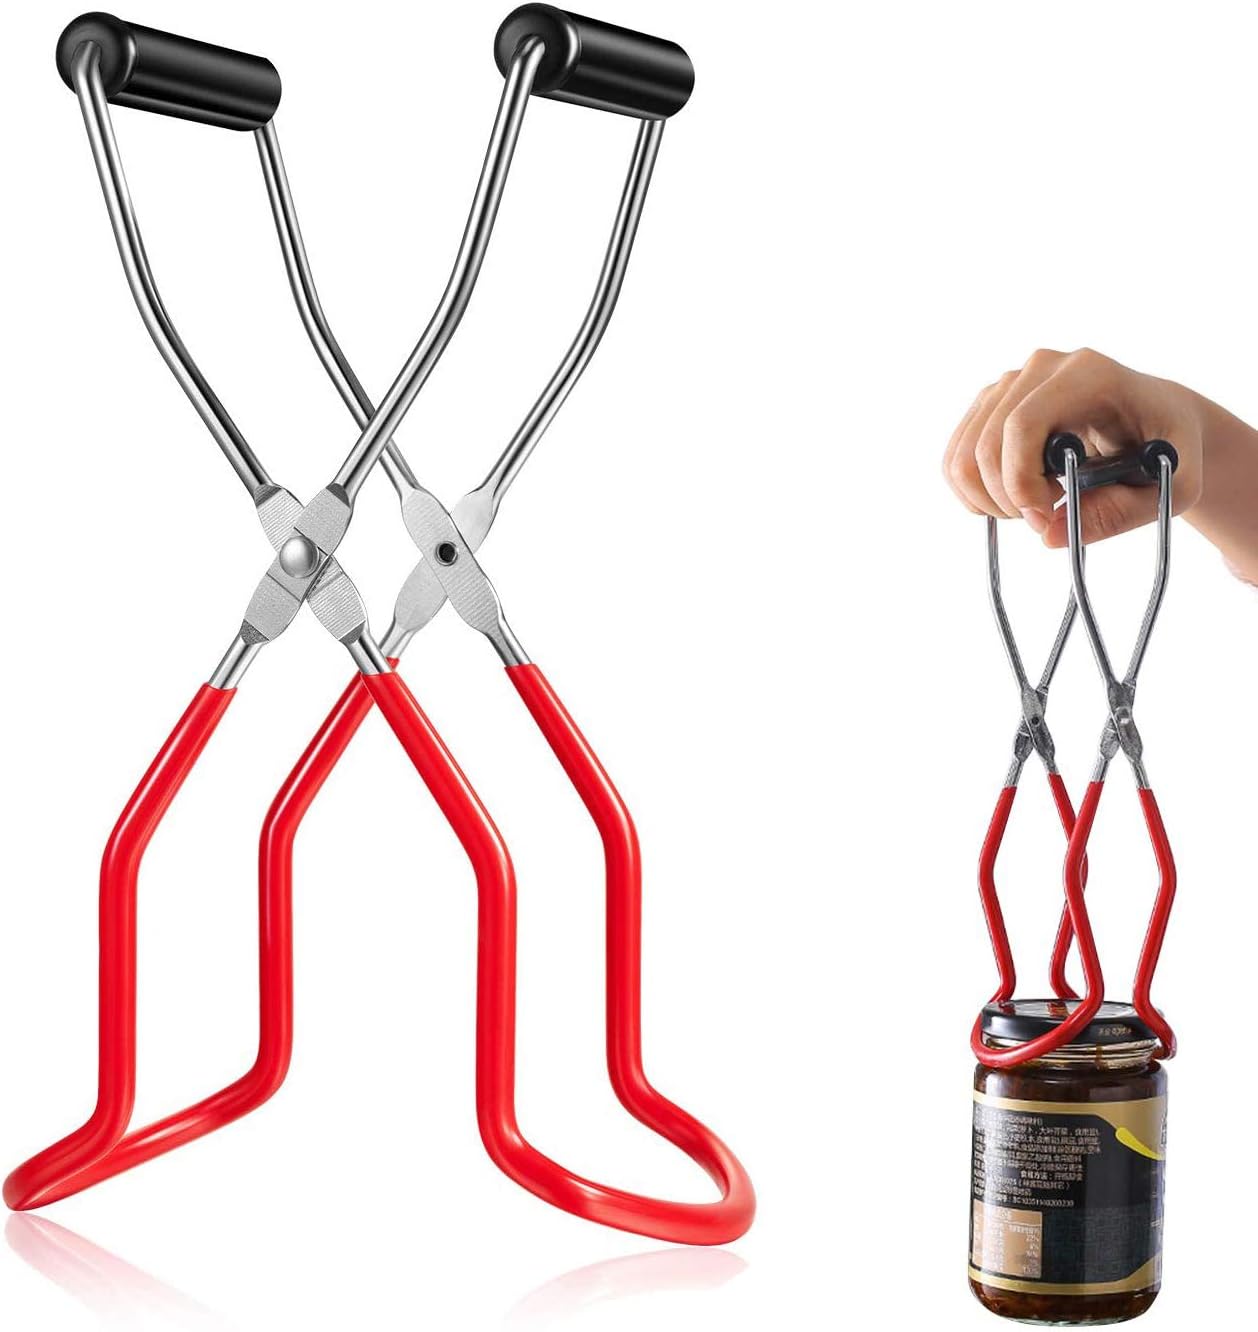
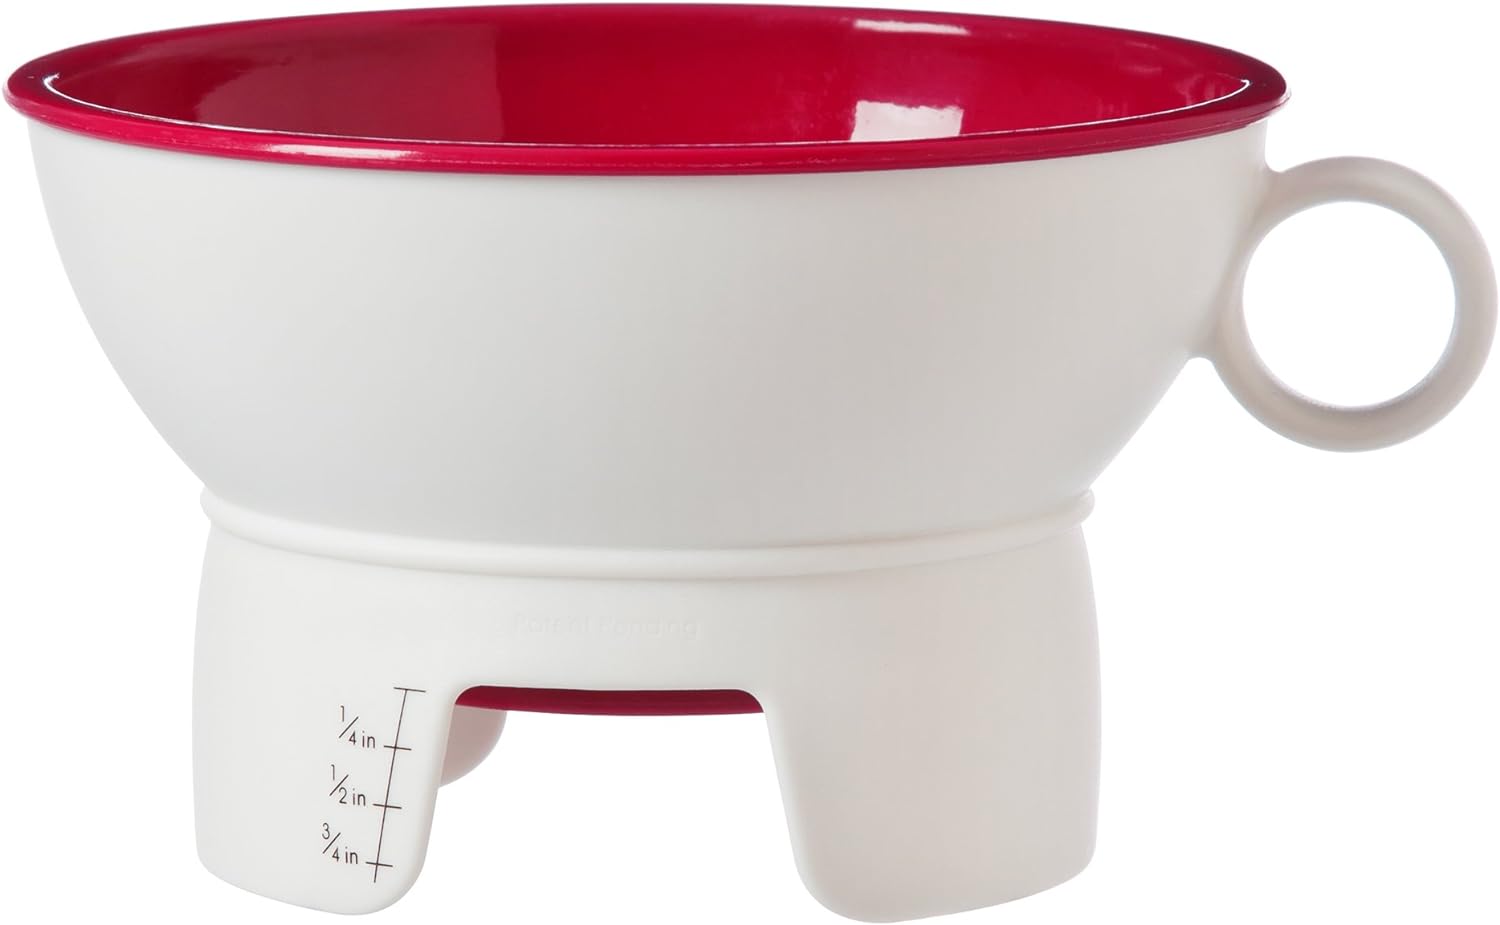
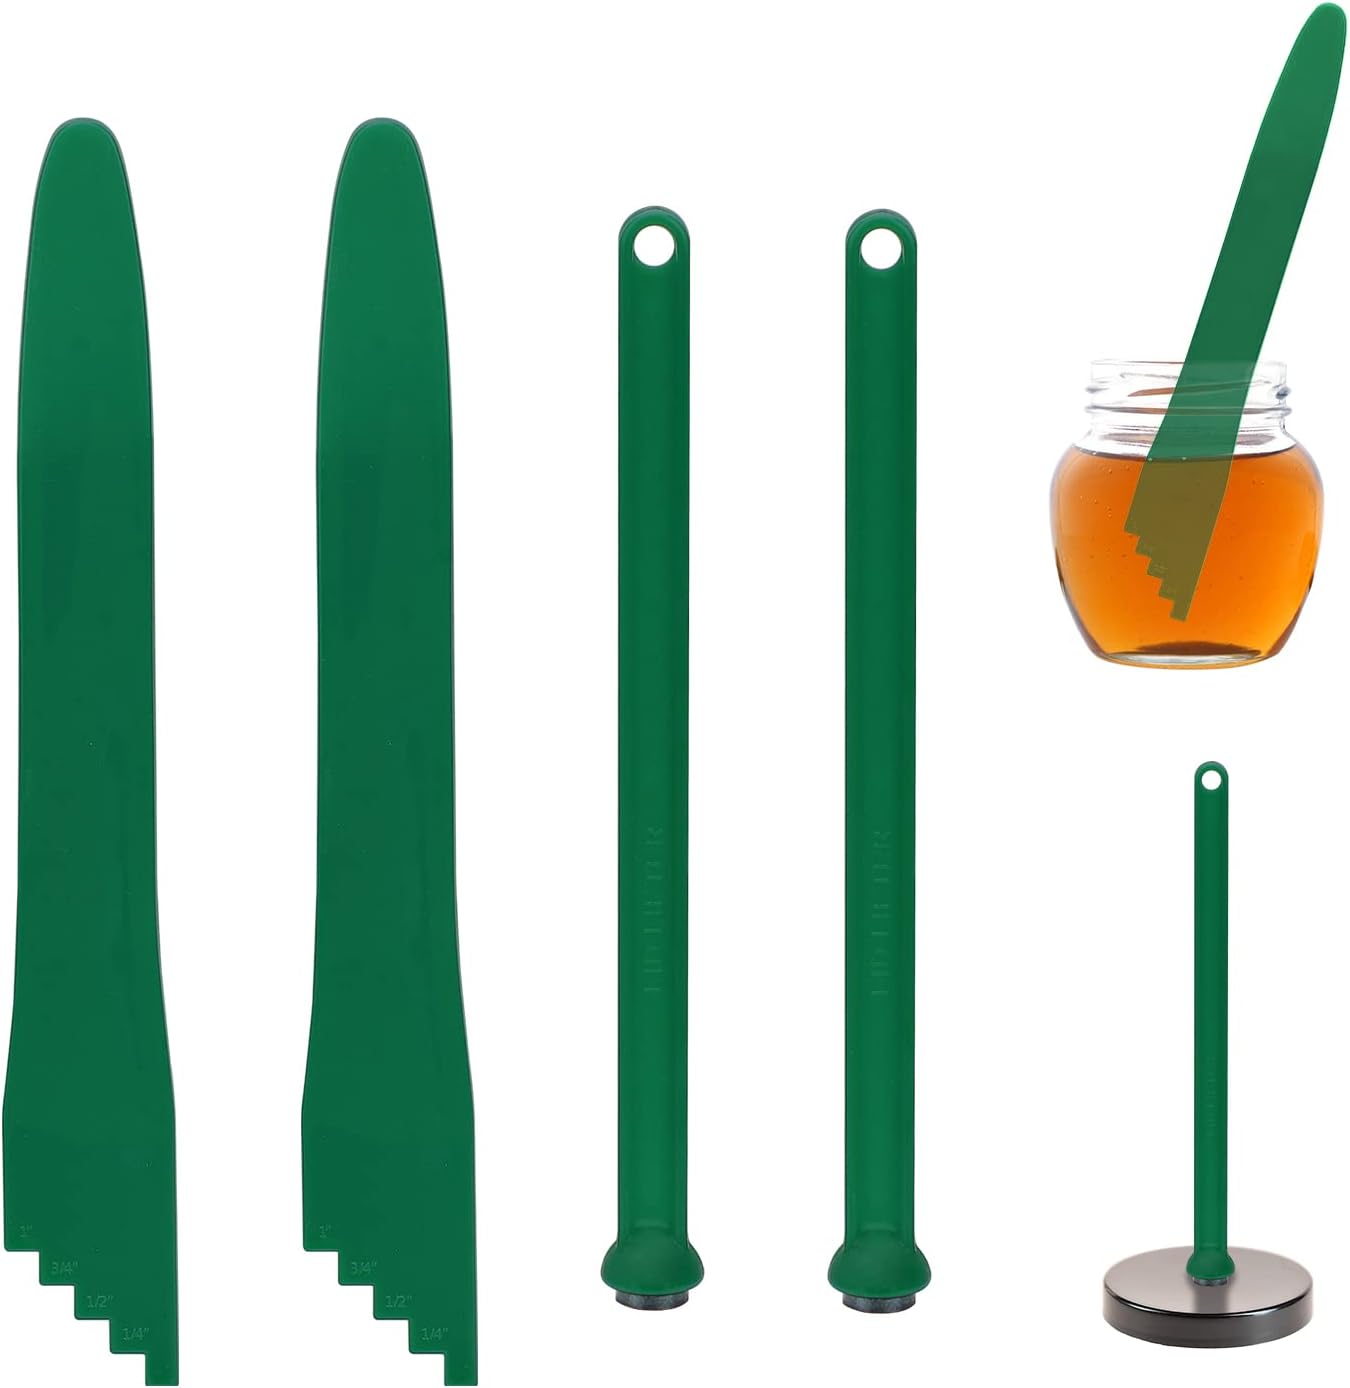
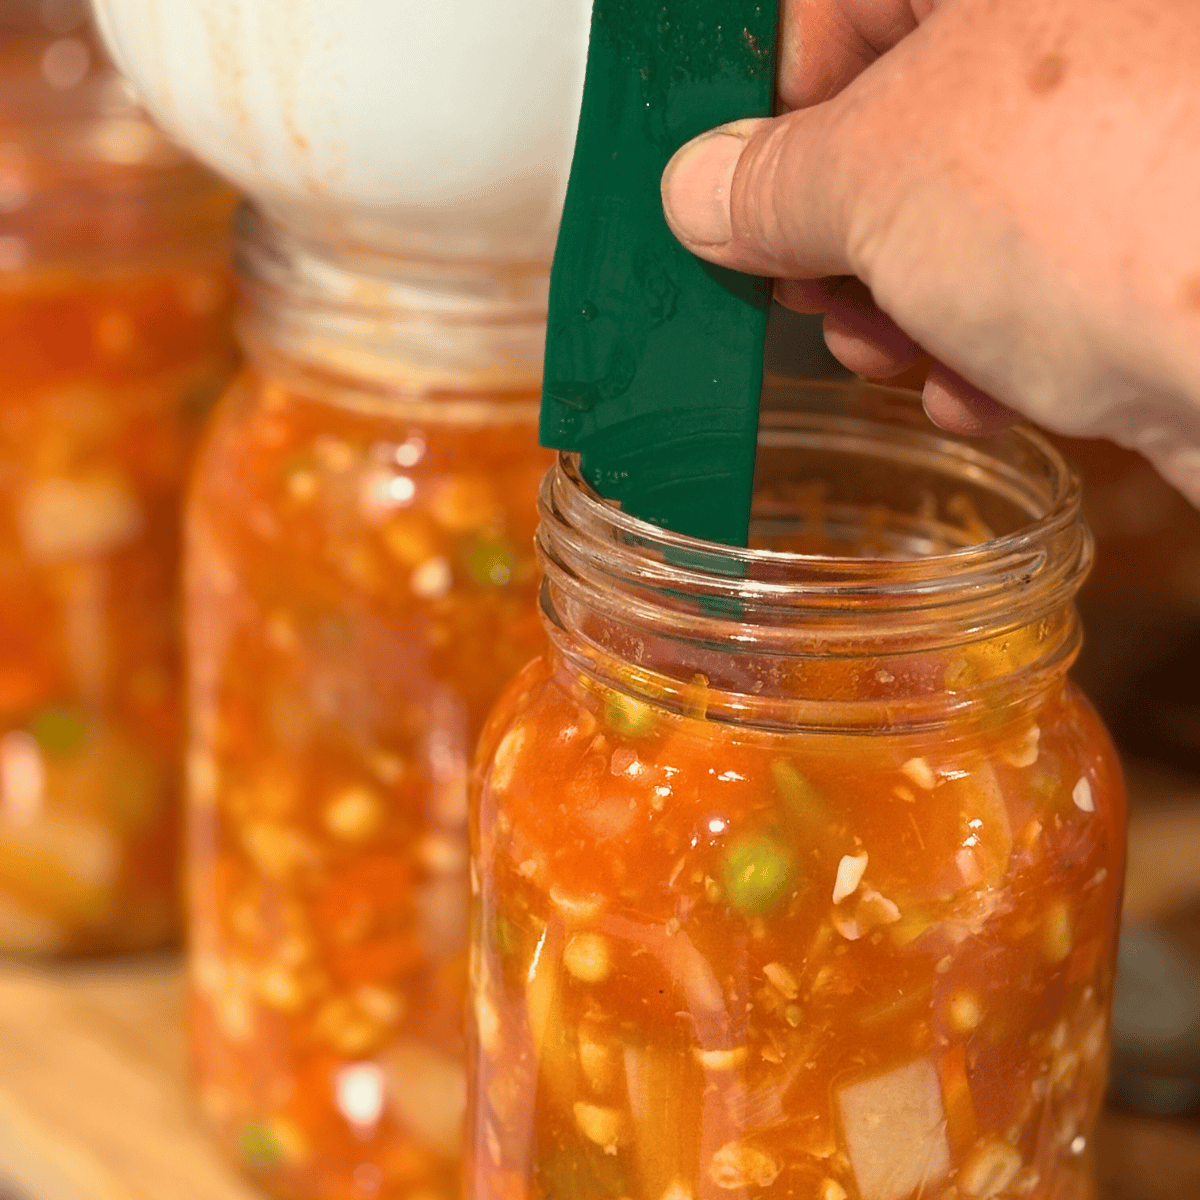
- Canning tools: (Jar Lifter, Funnel, Bubble Remover and Headspace Tool )
- Clean kitchen towels
Note:
(Note: Do not add pasta, rice, dairy products or thickeners before canning. These can be added later when reheating. See below for suggestions)
Step-by-Step Instructions for Canning Homemade Vegetable Soup
- Prep Your Veggies: Wash, peel, and chop all vegetables into uniform bite-sized pieces.
- Simmer the Base: In a large stockpot, combine tomatoes, water (or stock), and vegetables over medium-high heat. Once it reaches a boil, reduce the heat and simmer for 15 minutes.
- Prepare Jars: Wash the jars and lids in warm, soapy water. Once sterilized, heat the jars and lids.
- Fill Jars: Add ½ – 1 teaspoon of salt to each quart (optional, but recommended). This recipe uses a hot pack method. Ladle hot soup into hot jars, using a bubble remover and headspace tool to release air bubbles, leaving 1-inch headspace. Ensure an even ratio of solid ingredients and hot liquid in each jar.
- Seal: Wipe the jar rim clean, apply lids and rings finger-tight.
- Processing Step: Place jars in canner with 2–3 inches of water. Lock the canner lid and vent steam (this is a steady stream of steam) for 10 minutes before adding weight. Process pints for 55 minutes and quarts for 85 minutes at 10 pounds pressure (adjust for higher altitudes).
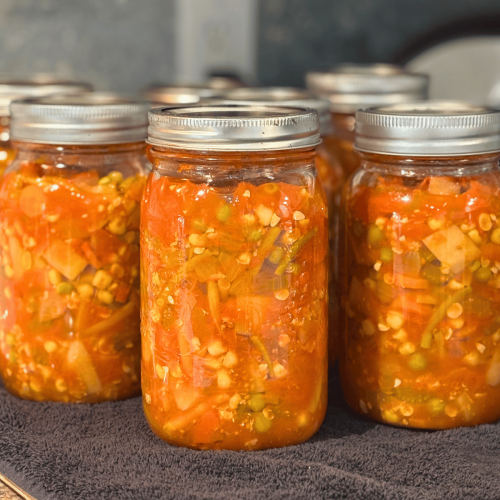
- Cool & Store: Let the canner depressurize naturally, remove the filled jars, and let them rest for 12–24 hours before checking the seals. Store in a cool, dark pantry.
Altitude Adjustment Chart for Pressure Canning
Dial-Gauge Pressure Canner
- 0–2,000 ft → 11 lbs pressure
- 2,001–4,000 ft → 12 lbs pressure
- 4,001–6,000 ft → 13 lbs pressure
- 6,001–8,000 ft → 14 lbs pressure
- 8,001–10,000 ft → 15 lbs pressure
Weighted-Gauge Pressure Canner
- 0–1,000 ft → 10 lbs pressure
- Above 1,000 ft → 15 lbs pressure
Serving Suggestions for Homemade Vegetable Soup
- Heat and serve as-is with a slice of crusty bread.
- Stir in leftover chicken, beef, or sausage for a heartier meal.
- Top with fresh parsley or basil before serving.
- Add a splash of cream for a creamy finish.
How to Customize Your Soup After Canning
Since spices and starches don’t can well, add these when reheating:
- Rice or pasta (cook separately and stir in)
- Fresh herbs (parsley, thyme, basil)
- Black pepper or chili flakes for a kick
- Cooked beans or lentils for extra protein
- A squeeze of lemon juice for brightness
How to Store Canned Homemade Vegetable Soup
- Once your jars of vegetable soup are sealed and cooled, store them in a cool, dark, and dry place—such as a pantry, cellar, or cupboard — away from direct sunlight.
- Store the jars at a stable temperature between 50°F and 70°F for best results.
- Properly canned soup will maintain peak quality for 12–18 months, though it’s often safe to enjoy beyond that if the seal remains intact.
- Always check lids before opening; if a seal is broken or the contents look or smell off, do not consume.
- For maximum flavor, try to rotate jars regularly, using the oldest first. This way, your pantry stays fresh and ready for quick, homegrown meals all year round.
Frequently Asked Questions:
1. Can I add pasta, rice, or flour before canning??
No. These ingredients affect safety and texture during canning. Add them after opening the jar.
2. Why leave out lima beans??
That’s just my preference—they’re not my favorite. The recipe still works beautifully without them.
3. How long will canned vegetable soup last?
Properly sealed jars can last 12–18 months when stored in a cool, dark place.
4. Can I double or halve the recipe?
Yes, as long as you maintain the tested ratios and processing times.
5. Is salt required?
No, salt is for flavor, not preservation. I like to add ½–1 teaspoon per quart before canning, then adjust seasoning later.
Special Tools (affiliate links): | Pressure Canner |Jar Lifter |Funnel| Bubble Remover and Headspace Tool |
This farmhouse homemade soup is one of my favorite pantry staples. This hearty, wholesome, home-canned vegetable soup is so much better than anything you’ll find in the store. Sure, it takes a little chopping to prep—but the reward of having jars lined up on your shelves is worth every second.
Next time you’re craving a quick meal, grab a jar, pour it into a pot, and heat it through. Add rice, pasta, or spices to suit your taste—and in minutes, you’ve got a nourishing bowl of homemade comfort, perfect for those winter months.
If you try this recipe and love it, please tag me on Instagram and Facebook @grindinggearsfarmstead so I can celebrate your success with you. And don’t forget to share it on Pinterest!
Happy canning, happy sharing, and may your kitchen always be filled with laughter and love.
Lechyd Da, (means “Cheers to Good Health” in Welsh)

How to Can Homemade Vegetable Soup for Quick Meals
Equipment
- Pressure Canner
- Quart or pint mason jars
- New canning lids and rings
- Large stockpot
- Ladle and funnel
- Jar Lifter
- Clean cloths
Ingredients
- 6 cups sliced carrots
- 6 cups potatoes dice potatoes into small pieces – peel potatoes first
- 2 cups chopped celery
- 4 cups corn kernels fresh or frozen (I will sometimes do 2 cups corn and 2 cups peas)
- 4 cups lima beans I personally omit them or substitute green beans cut into 1½ inch pieces
- 2 cups chopped onions
- 8 cups cored and peeled tomatoes
- 6 cups of cold water or vegetable stock
- ½-1 tsp canning salt per quart jar
Instructions
- Prep Your Veggies: Wash, peel, and chop all vegetables into uniform bite-sized pieces.
- Simmer the Base: In a large stockpot, combine tomatoes, water (or stock), and vegetables over medium-high heat. Once it reaches a boil, reduce the heat and simmer for 15 minutes.
- Prepare Jars: Wash the jars and lids in warm, soapy water. Once sterilized, heat the jars and lids.
- Fill Jars: Add ½ – 1 teaspoon of salt to each quart (optional, but recommended). This recipe uses a hot pack method. Ladle hot soup into hot jars, using a bubble remover and headspace tool to release air bubbles, leaving 1-inch headspace. Ensure an even ratio of solid ingredients and hot liquid in each jar.
- Seal: Wipe the jar rim clean, apply lids and rings finger-tight.
- Processing Step: Place jars in canner with 2–3 inches of water. Lock the canner lid and vent steam (this is a steady stream of steam) for 10 minutes before adding weight. Process pints for 55 minutes and quarts for 85 minutes at 10 pounds pressure (adjust for higher altitudes).
- Cool & Store: Let the canner depressurize naturally, remove the filled jars, and let them rest for 12–24 hours before checking the seals. Store in a cool, dark pantry.

How many quarts does this recipe make? Sounds really good!
It makes 7 quarts! It is delicious!! One of my favorites!