Easy & Quick Sourdough Discard Sandwich Bread Recipe
Written by: Kathy Moulding
If you’re on a sourdough journey, you probably know the struggle of figuring out what to do with all that sourdough discard. Rather than tossing it out, why not turn it into something delicious and practical—like this Sourdough Discard Sandwich Bread? This recipe is perfect for anyone who loves the taste of homemade bread but doesn’t want to waste any part of their sourdough starter. It’s soft, flavorful, and perfect for sandwiches, toast, or just slathering with butter.
This sourdough discard sandwich bread is perfect for family members who aren’t fans of traditional tangy sourdough bread and prefer the soft, familiar texture of store-bought bread. A hybrid of commercial yeast and sourdough starter is ideal for making bread at home. It helps you control the ingredients for a healthier, fresher loaf.
Let’s get started with the step-by-step instructions to guide you through the process, whether using a mixer or going old-school with your hands.
This post may contains affiliate links. I earn a small commission from purchases at no extra cost to you. See my full disclosure here.
What you will Love about this Recipe!
- No Waste: This easy recipe is a fantastic way to use up your sourdough discard, reducing kitchen waste while making something tasty.
- Healthier Choice: Homemade bread means no preservatives, no artificial flavors, and complete control over what goes into your food.
- Cost-Effective: Baking your bread is much cheaper than buying high-quality loaves from the store, especially those with a sourdough twist.
- Versatile Flavor: You can adjust the tanginess based on whether you use a discard or active starter, giving you flexibility with every loaf.
- Homesteading Satisfaction: There’s nothing like the pride of pulling a fresh, homemade loaf out of your oven. It’s a small step toward self-sufficiency that feels incredibly rewarding.
- Health-Packed Goodness: Loaded with antioxidants, vitamins, and no unnecessary preservatives, it’s a wholesome choice you can feel great about.
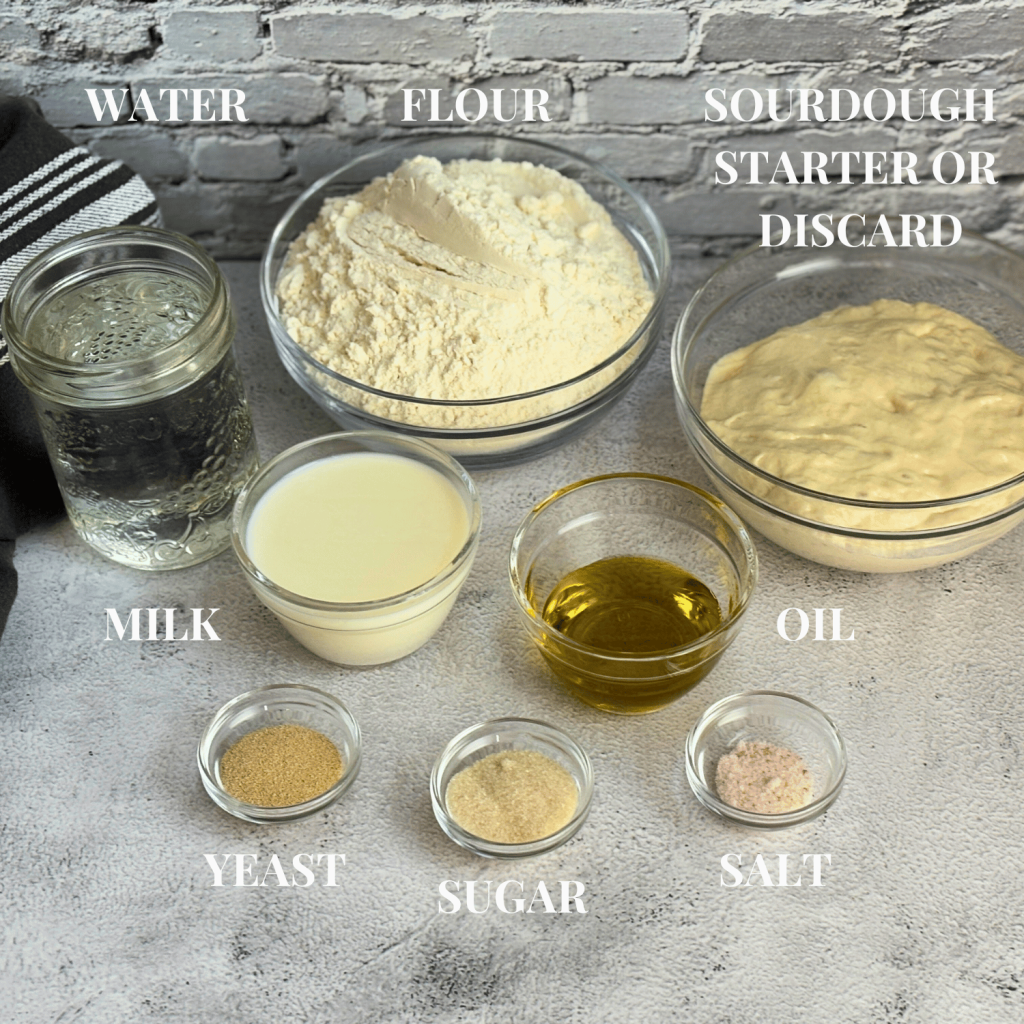
Ingredients Needed to Make Sourdough Discard Sandwich Bread
- 1 2/3 cup warm water
- 1/3 cup milk, kefir, or buttermilk
- 3 teaspoons cane sugar
- 2 1/4 teaspoons traditional yeast
- 2 tablespoons butter or oil
- 2 cups sourdough discard (or active sourdough starter)
- 6 cups flour (bread flour or all-purpose flour)
- 1 teaspoon salt
Equipment for Making Sourdough Discard Sandwich Bread
- Large mixing bowl (or a Bosch/Kitchen Aid Mixer)
- Measuring cups and spoons
- Wooden spoon (if mixing by hand)
- Dough hook attachment (if using a mixer)
- Loaf pans (cast iron, stone or stainless steel)
- Kitchen towel, plastic wrap or elastic food covers
- Kitchen Scale
- Bench Knife/Dough Scraper
- Thermometer
- Cooling Racks
- Oven
Step-by-Step Guide to Make Sourdough Discard Sandwich Bread
Proof Your Yeast
Before we proceed with the full recipe, let’s discuss proofing yeast. This step ensures that your yeast is active and ready to make your bread rise.
- Warm Your Liquids: Combine 1 2/3 cups warm water and 1/3 cup milk (or kefir/buttermilk) in a small bowl. The liquid should be warm to the touch but not hot—around 100-110°F. Use an infrared thermometer gun to test your liquid temperature. Too hot can kill the yeast, and too cold may hinder the yeast from working correctly.
- Add Sugar and Yeast: Stir in 3 teaspoons of cane sugar and 2 1/4 teaspoons of yeast. Let it sit for 10 minutes until it becomes frothy and bubbly. If it doesn’t foam, your yeast might be expired, or the water might have been too hot or too cold.
Mixing with a Bosch or Kitchen Aid Mixer
MAKING THE DOUGH
- Combine Ingredients: In the bowl of a stand mixer, add your proofed yeast mixture, 2 tablespoons of butter or oil, 2 cups of unfed sourdough starter (you can also use bubbly sourdough starter), and 1 teaspoon of salt.
- Add Dry Ingredients: Gradually add approximately 6 cups of flour. Attach the dough hook and mix on low speed until the dough starts to come together. NOTE: The amount of flour in bread recipes is approximate because factors like humidity, flour type, and hydration levels affect absorption. Always add flour gradually, aiming for a dough that is soft, elastic, and slightly tacky—rather than relying on exact measurements.
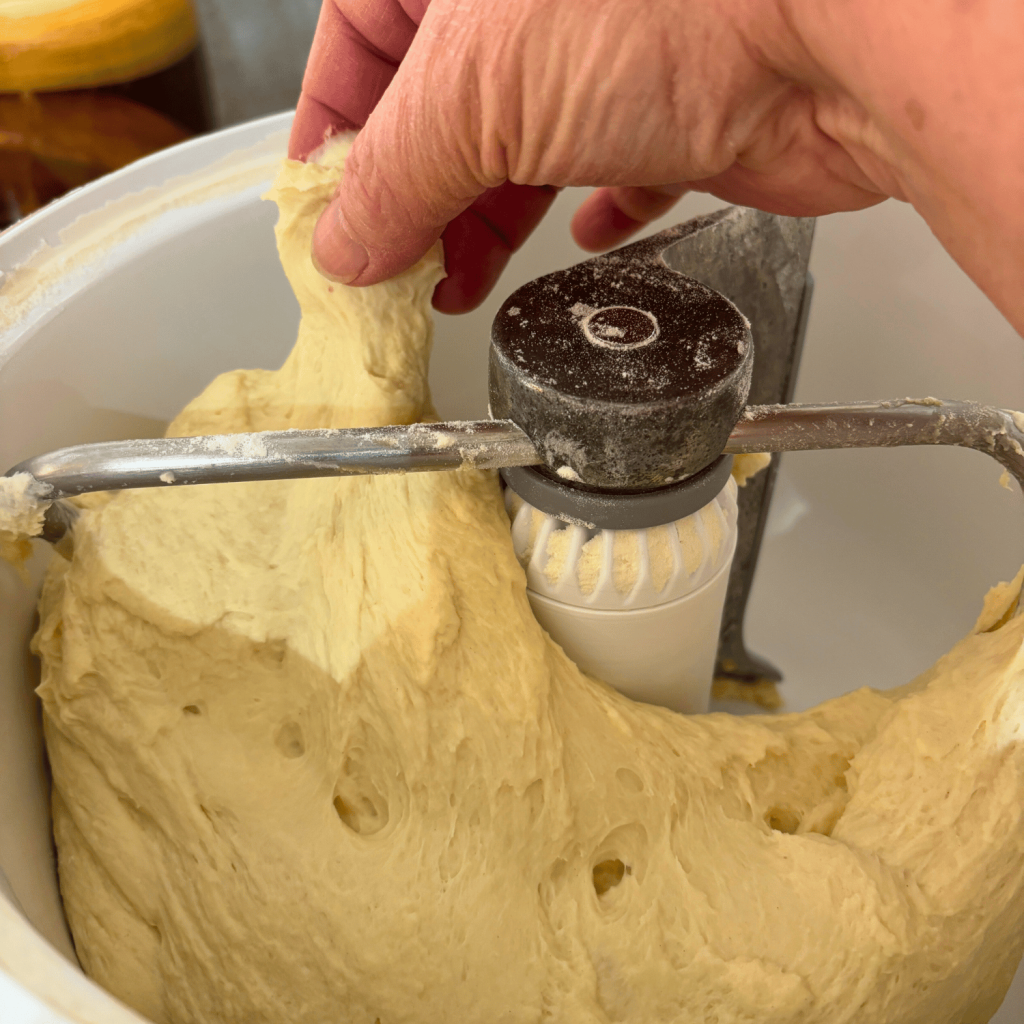
- Knead the Dough: Increase the speed to medium and knead the dough for about 7-8 minutes until it becomes smooth and elastic. The dough should pull away from the sides of the bowl but still feel slightly tacky. Do the window pane test – see the Pro Tip below.
- First Rise: Cover the bowl with a kitchen towel, plastic wrap or an elastic bowl cover and let the dough rise in a warm spot until it doubles in size—about 1 to 1.5 hours.
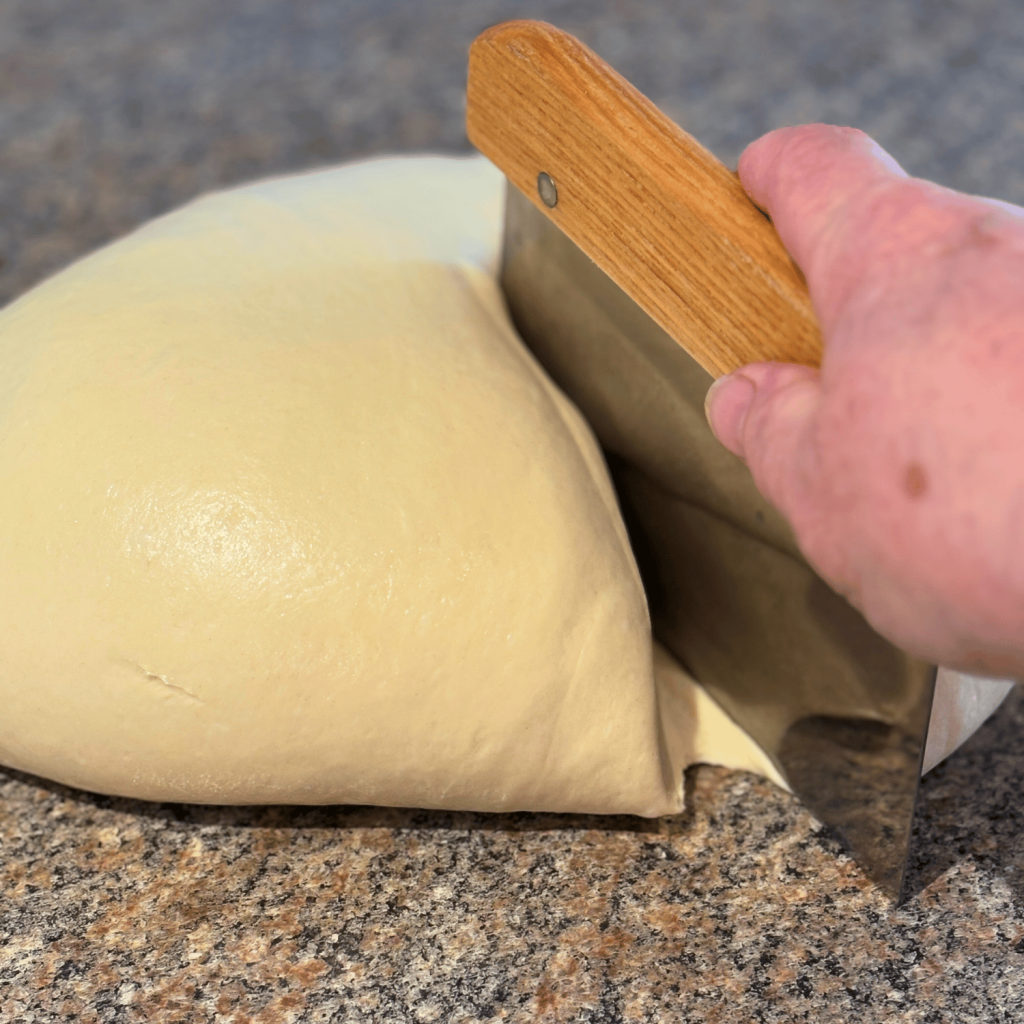
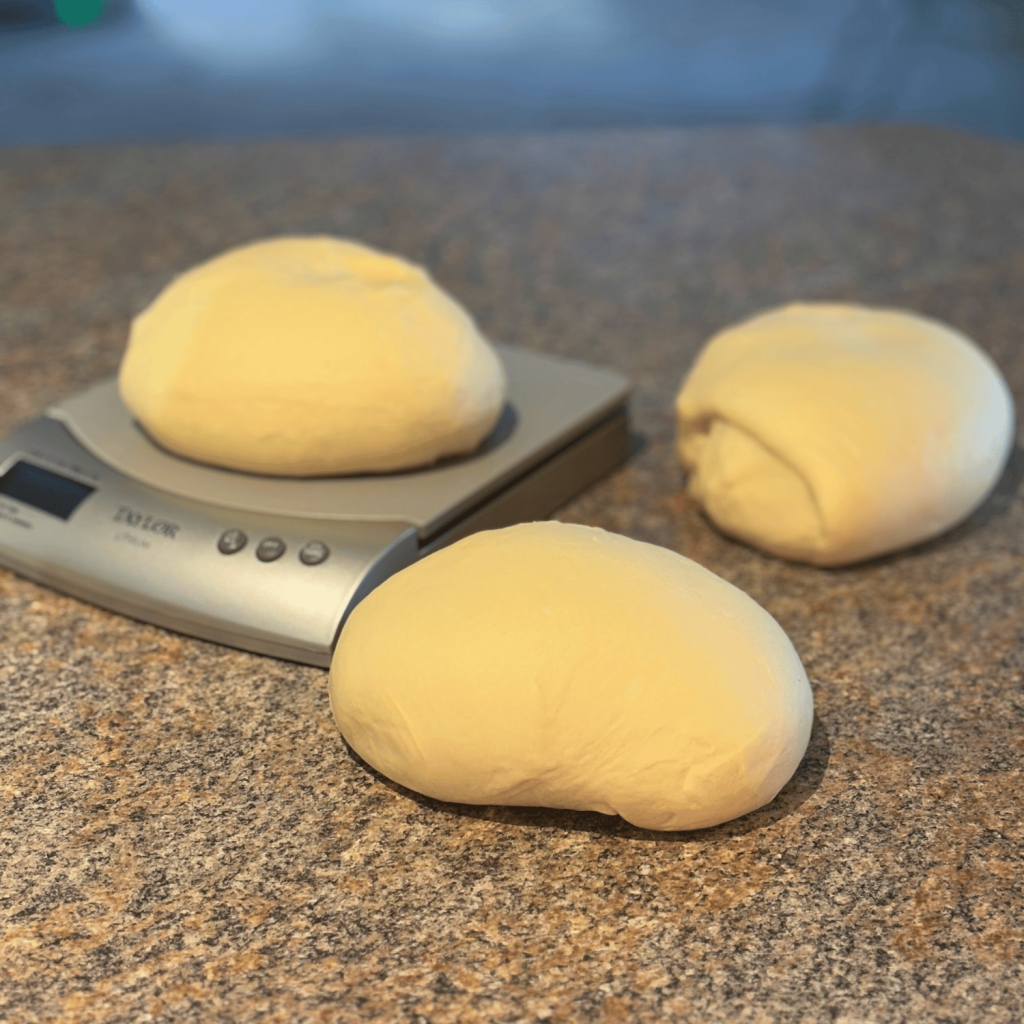
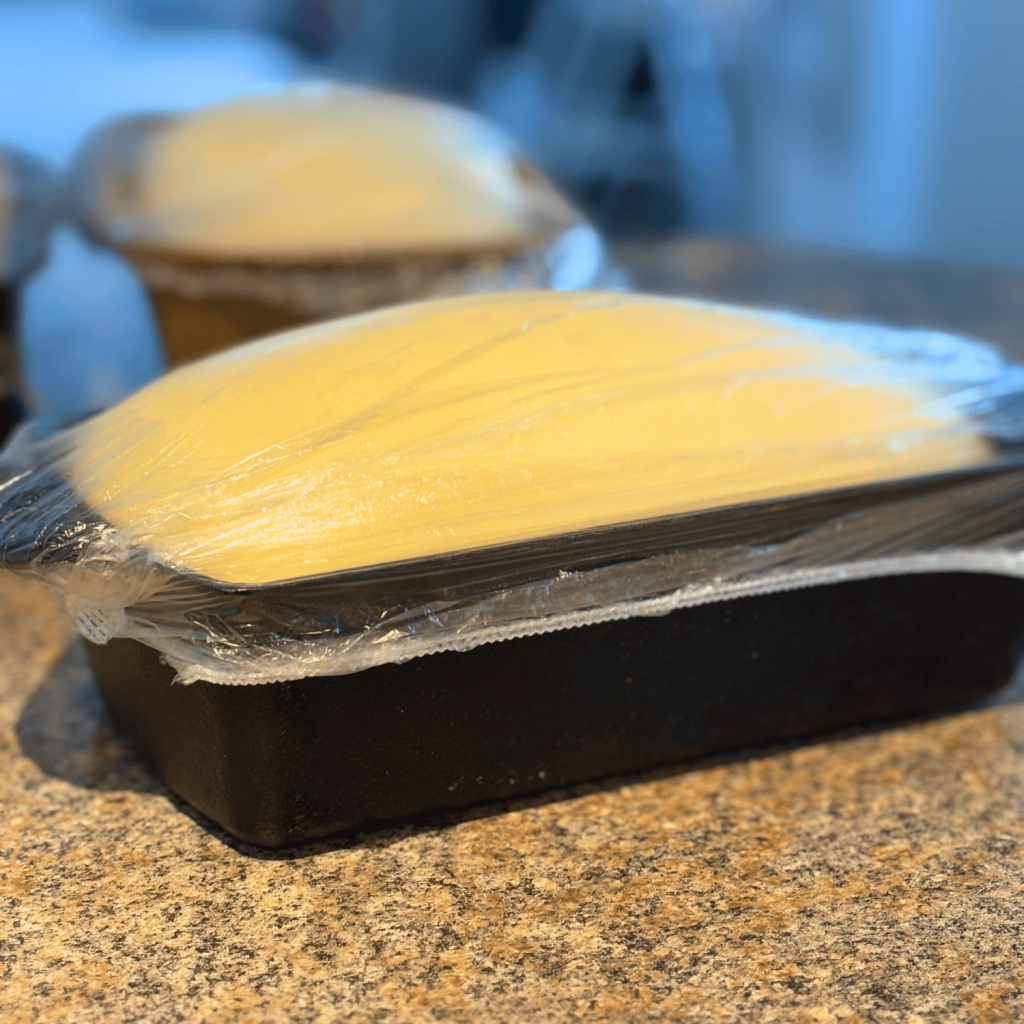
- Shape and Second Rise: Punch down the dough. Using a kitchen scale, weigh the dough into two equal parts. NOTE: I like to make three loaves with this recipe. The end result fits perfect in the toaster and sandwich bags. Shape into loaves and place seam side down in greased cast iron loaf pans. Cover and let rise again until doubled, about 30-45 minutes.
BAKING the dough
- Bake: Preheat your oven to 400°F. Bake the loaves for 30-35 minutes or until golden brown and hollow-sounding when tapped on the bottom. Take the temperature of the loaf with a thermometer , the internal temperature in the middle of the loaf should be 200 degrees.
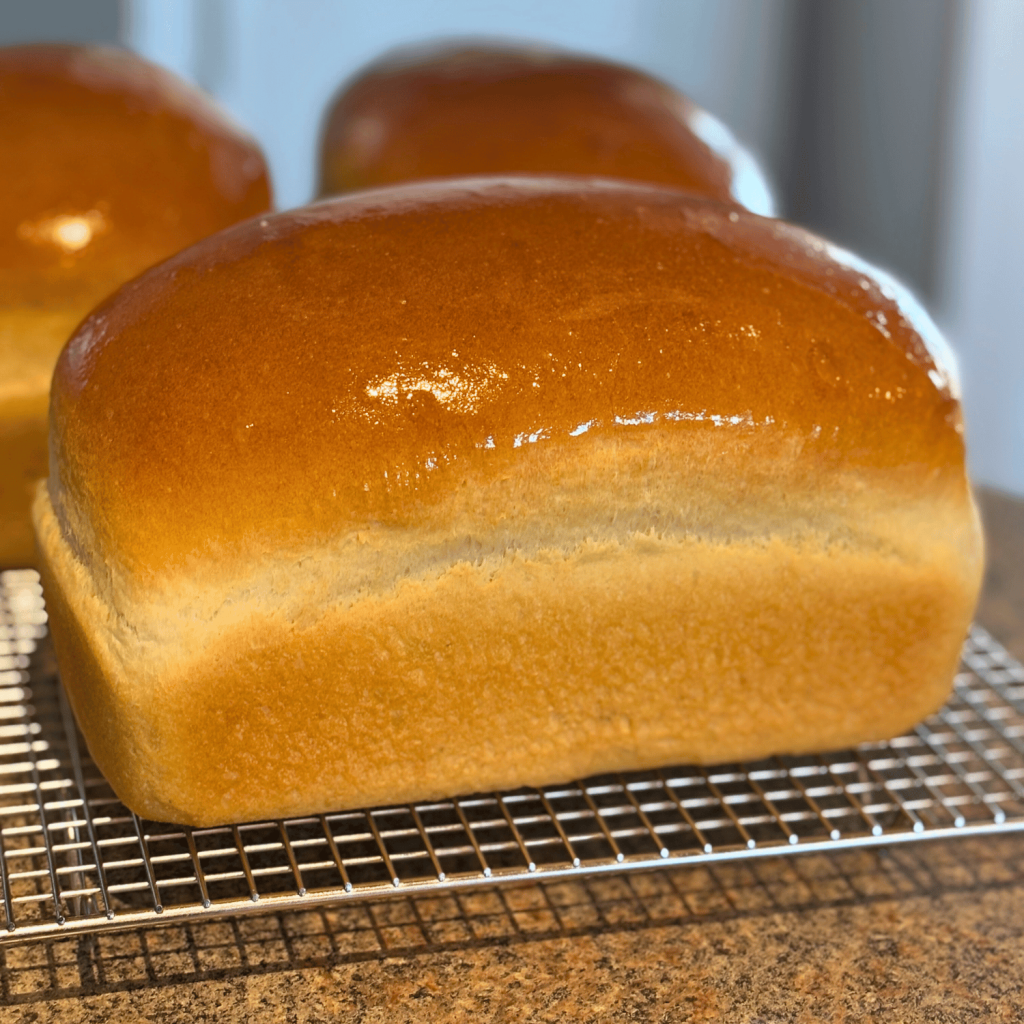
- Cool and Enjoy: Remove from pans and place on a cooling rack. I know it’s hard, but resist the temptation to cut into warm bread. Allow to cool completely before slicing. This bread slicer is a game-changer in our kitchen. I like to slice and freeze our loaves.
Mixing Sourdough Discard Sandwich Bread Dough by Hand
making the dough
- Combine Wet Ingredients: In a large mixing bowl, add the proofed yeast mixture, 2 tablespoons of butter or oil, and 2 cups of sourdough discard.
- Add Dry Ingredients: Gradually stir in approximately 6 cups of flour and 1 teaspoon of salt with a wooden spoon until the dough starts to form. NOTE: The amount of flour in bread recipes is approximate because factors like humidity, flour type, and hydration levels affect absorption. Always add flour gradually, aiming for a dough that is soft, elastic, and slightly tacky—rather than relying on exact measurements.
- Knead the Dough: Turn the dough onto a floured surface and knead for about 10 minutes until it’s smooth and elastic. Add more flour as needed if the dough is too sticky.
- First Rise: Place the dough back in a greased bowl, cover the bowl with a kitchen towel, plastic wrap or an elastic bowl cover and let the dough rise in a warm spot until it doubles in size—about 1 to 1.5 hours.
- Shape and Second Rise: Punch down the dough. Using a scale and a bench knife divide the dough into two portions. NOTE: I like to make three loaves with this recipe. The end result fits perfect in the toaster and sandwich bags. Shape the dough it into loaves. Place in greased cast iron or stone loaf pans, cover with elastic bowl covers, and let rise again until doubled about 30-45 minutes.
baking the dough
- Bake: Preheat your oven to 400°F and bake for 30-35 minutes until golden brown. Take the temperature of the loaf with a thermometer , the internal temperature in the middle of the loaf should be 200 degrees.
- Cool and Enjoy: Let cool on a wire rack before slicing. Use my favorite slicing tool for slicing homemade bread into evenly sliced pieces.

Pro Tip: The windowpane test is a simple way to check if your bread dough has been kneaded enough: stretch a small piece of dough between your fingers. If it forms a thin, translucent “window” without tearing, the gluten is well-developed and ready for the next step. If it rips easily, knead a bit longer and test again!
Serving Suggestions
This sourdough discard sandwich bread is incredibly versatile. Here are a few ways to enjoy it:
- Classic Sandwiches: Use it for your favorite deli meats, cheeses, and veggies.
- Toast with Toppings: Slather with butter, jam, or avocado for a quick breakfast.
- Grilled Cheese: The slightly tangy flavor pairs perfectly with melted cheese.
- French Toast: Turn leftovers into a delicious, hearty breakfast.
- Croutons or Bread Crumbs: Cube and toast for homemade croutons, or blend into bread crumbs for cooking.
How to Store Your Sourdough Discard Sandwich Bread
To keep your sourdough discard sandwich bread fresh and delicious, here are a few storage tips:
- Room Temperature: Store the bread in a bread box, paper bag, or wrapped in a clean kitchen towel at room temperature for up to 3 days. Avoid plastic bags, as they can make the bread soggy.
- Refrigeration: While it’s not strictly necessary to refrigerate, it can be helpful if your kitchen is very warm. In that case, you can store the bread in an airtight container in the fridge for up to a week. However, keep in mind that refrigeration tends to dry out bread, so be sure to toast it before serving to restore some moisture.
- Freezing: For longer storage, slice the bread and place it in a freezer-safe bag or container. I love this bread slicer for creating evenly sliced pieces. It will stay fresh for up to 3 months. You can thaw slices at room temperature or pop them directly into the toaster.
- Reviving Stale Bread: Sprinkle it lightly with water and warm it in the oven at 350°F for about 5-10 minutes to refresh the texture.
Frequently Asked Questions:
1. Can I use an active sourdough starter instead of discard?
Yes! The active starter will give the bread a more pronounced tang and a slightly different texture. The bread may also rise faster since the starter is more active.
2. What’s the difference in flavor between discard and active starter?
Discard adds a milder tang to the bread, making it more neutral and perfect for sandwiches. The active starter will give you a stronger sourdough flavor.
3. How do I know when my dough has proofed enough?
The dough should double in size during both rises. You can also do the “poke test” by gently pressing your finger into the dough. If it springs back slowly, it’s ready.
4. Can I freeze this bread?
Absolutely. Once the bread has cooled completely, slice it and freeze it in a freezer-safe bag. It’ll stay fresh for up to three months.
5. Can I use whole wheat flour instead of all-purpose?
You can substitute up to half the flour with whole wheat. Remember, whole wheat flour will make the bread denser and slightly more earthy in flavor. If you want to use whole wheat, I would suggest doing a blend of whole wheat and all-purpose.
Making your own Sourdough Discard Sandwich Bread is a simple, satisfying way to reduce waste, save money, and enjoy healthier homemade food. Whether you’re a seasoned baker or just starting, this recipe is a great way to make the most of your sourdough starter. Plus, there’s nothing quite like the smell of fresh bread baking in your own kitchen.
For more homemade, self-sufficient recipes, follow along on our website and social media.
Special Tools (affiliate links): Bosch Mixer | Kitchen Aid Mixer | Elastic Food Covers | Cast Iron Loaf Pans | Thermometer | Infrared Thermometer | Kitchen Scale | Bench Knife/Dough Scraper | Bread Slicer |
If you try this recipe and love it, please tag me on Instagram and Facebook @grindinggearsfarmstead.
Lechyd Da, (means “Cheers to Good Health” in Welsh)


Easy & Quick Sourdough Discard Sandwich Bread Recipe
Ingredients
- 1 2/3 cup warm water
- 1/3 cup milk kefir, or buttermilk
- 3 teaspoons cane sugar
- 2 1/4 teaspoons traditional yeast
- 2 tablespoons butter or oil
- 2 cups sourdough discard or active sourdough starter
- 6 cups flour bread flour or all-purpose flour
- 1 teaspoon salt
Instructions
Proof the Yeast
- Combine 1 2/3 cups warm water and 1/3 cup milk (or kefir/buttermilk) in a small bowl.
- Stir in 3 teaspoons of cane sugar and 2 1/4 teaspoons of yeast. Let it sit for 10 minutes until it becomes frothy and bubbly.
Mixing with a Bosch or Kitchen Aid Mixer
- In the bowl of a stand mixer, add your proofed yeast mixture, 2 tablespoons of butter or oil, 2 cups of unfed sourdough starter (you can also use bubbly sourdough starter), and 1 teaspoon of salt.
- Gradually add approximately 6 cups of flour. Attach the dough hook and mix on low speed until the dough starts to come together. See Note.
- Increase the speed to medium and knead the dough for about 7-8 minutes until it becomes smooth and elastic. The dough should pull away from the sides of the bowl but still feel slightly tacky. Do the window pane test – see the pro tip in blog post.
- Cover the bowl with a kitchen towel or plastic wrap and let the dough rise in a warm spot until it doubles in size—about 1 to 1.5 hours.
- Preheat your oven to 400°F. Bake the loaves for 30-35 minutes or until golden brown and hollow-sounding when tapped on the bottom. Take the temperature of the loaf with a thermometer , the internal temperature in the middle of the loaf should be 200 degrees.
- Remove from pans and place on a cooling rack. I know it's hard, but resist the temptation to cut into warm bread. Allow to cool completely before slicing.
Mixing by Hand
- In a large mixing bowl, add the proofed yeast mixture, 2 tablespoons of butter or oil, and 2 cups of sourdough discard.
- Gradually stir in approximately 6 cups of flour and 1 teaspoon of salt with a wooden spoon until the dough starts to form. See Note.
- Turn the dough onto a floured surface and knead for about 10 minutes until it’s smooth and elastic. Add more flour as needed if the dough is too sticky.
- Place the dough back in a greased bowl, cover it, and let it rise in a warm spot until doubled in size, about 1 to 1.5 hours.
- Punch down the dough. Using a scale and a bench knife divide the dough into two portions. Shape the dough it into loaves. Place in greased cast iron or stone loaf pans, cover with elastic bowl covers, and let rise again until doubled about 30-45 minutes. SEE NOTE
- Preheat your oven to 400°F. Bake for 30-35 minutes until golden brown. Take the temperature of the loaf with a thermometer , the internal temperature in the middle of the loaf should be 200 degrees.
- Let cool on a wire rack before slicing.