Easy Crunchy Canned Coleslaw Recipe
Written by Kathy Moulding
This easy, crunchy canned coleslaw recipe will have you hooked! I bet you never thought it was possible to have a coleslaw that stays crunchy as a pantry staple! Canned coleslaw is great to have on hand as a side dish to a meal or a topping on a pulled pork sandwich. Whether you’re using a freshly harvested head of cabbage and carrots or grabbing a shortcut with bagged coleslaw mix, this recipe will become a pantry staple you’ll turn to again and again.
This post may contains affiliate links. I earn from purchases at no extra cost to you. See my full disclosure here.
Why You’ll Love Crunchy Canned Coleslaw Recipe!
- Customizable: This recipe adapts beautifully, whether using fresh garden produce or a bagged mix.
- Perfect Crunch: This coleslaw retains its delightful crunch after canning, thanks to the vinegar brine.
- Long Shelf Life: Canned coleslaw stores for months, making it a perfect solution for reducing waste and enjoying summer’s bounty year-round.
- Versatile: Pair it with sandwiches, burgers, tacos, or simply enjoy it straight from the jar.
- Easy to Make: With just a few steps, this recipe is beginner-friendly yet satisfying for seasoned canners.
Essential Ingredients for Crunchy Coleslaw
Selecting the right ingredients ensures your slaw stays crisp and flavorful, even after months of storage. The heart of any good coleslaw lies in the fresh, crunchy vegetables you use. Keep in mind: the fresher your veggies, the better your coleslaw. Here is what you will need:
- Raw Cabbage: This is your main ingredient! Opt for a mix of green and purple cabbage to create a visually appealing jar that pops. The green cabbage provides that classic crunch, while the purple adds a subtle sweetness and a splash of vibrant color. Look for tight, firm heads with crisp leaves.
- Carrots: Never skip carrots—they bring a natural sweetness and a lovely crunch. Peel them and shred them thinly so they mix evenly with the cabbage.
- Green Peppers: thinly sliced, add a slight tang and crunch. A Red bell pepper gives a nice color contrast, while green offers a sharper flavor.
- Onion: Include finely shredded onions. Try a red onion or even a handful of radishes for a peppery kick.
PRO TIP:
If you’re in a rush, use the bag coleslaw mixture from the grocery store and simply add the peppers and onion to it.
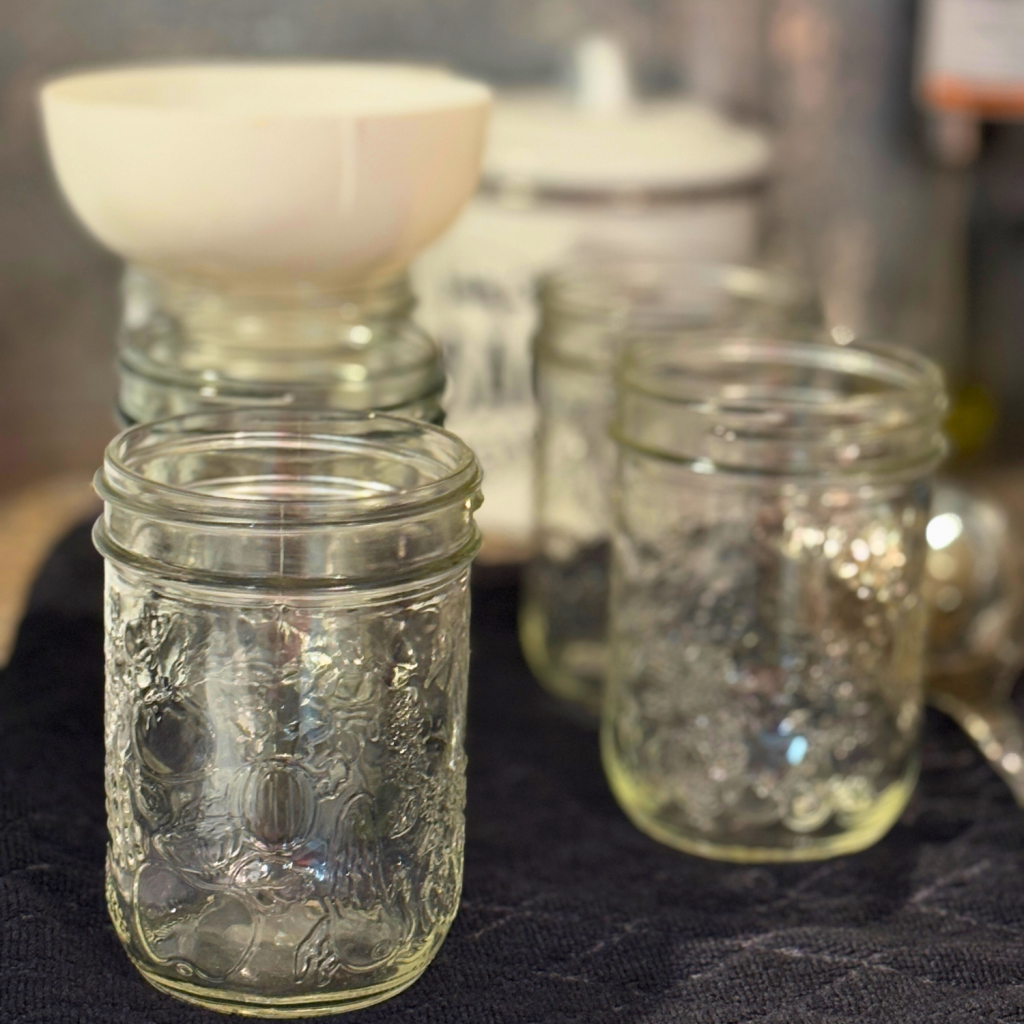
Canning Supplies
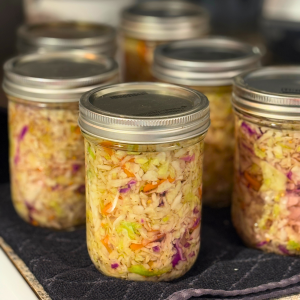
- Canning Jars: Depending on how much coleslaw you plan to store, choose a pint or quart jar. Please make sure they’re clean and free of chips or cracks. Pint jars are my favorite, as quart jars are too big for just the two of us. If we have company, I will open two pint jars.
- Lids and Bands: Fresh lids are non-negotiable for proper sealing. The bands can be reused, but the lids must be brand new to ensure an airtight seal that keeps your coleslaw shelf-stable.
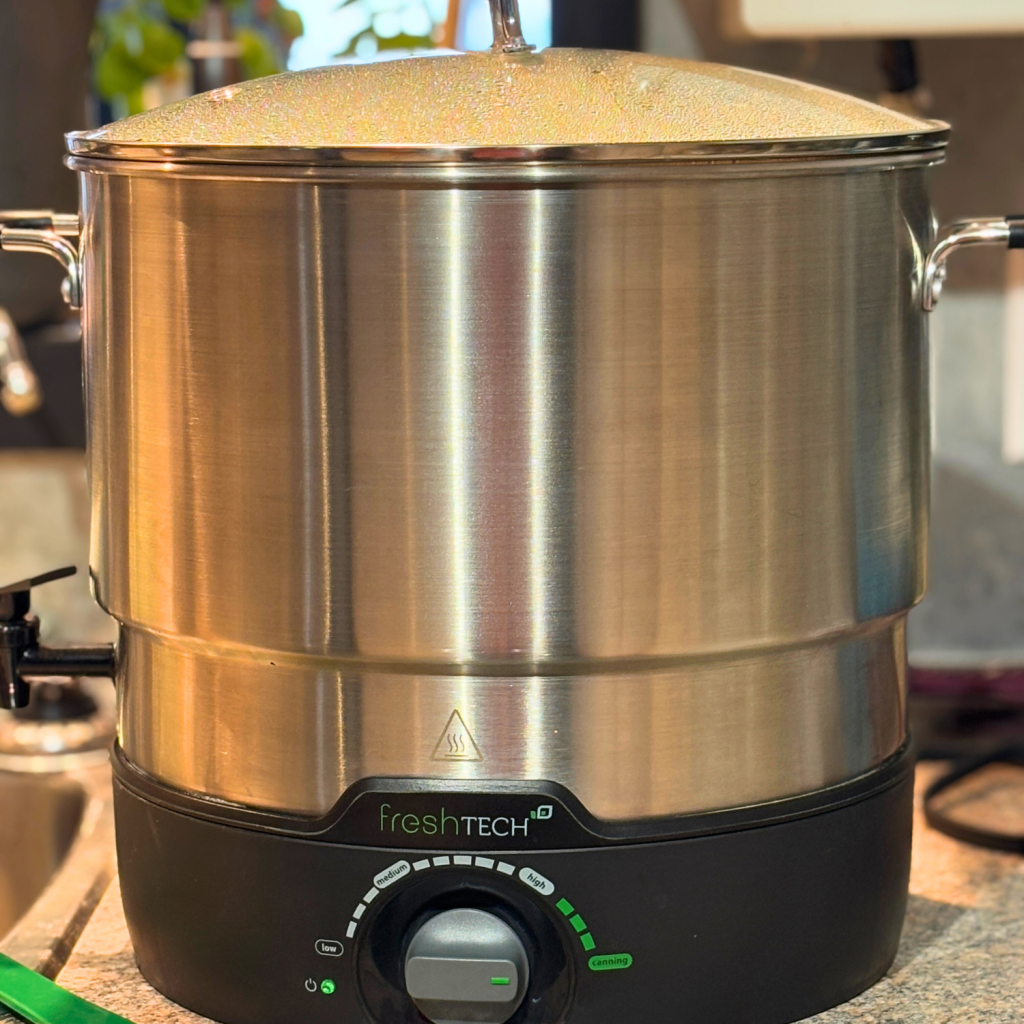
- Water Bath Canner: This is a must-have for high-acid food recipes like pickled coleslaw. I used to use a large, deep canning pot with a rack at the bottom, but I love my electric canner as it frees up space on my stove.
- Utensils for Canning: A jar lifter is key for safely transferring hot jars in and out of hot water without burning yourself. You’ll also need a funnel for clean filling and a bubble remover to release trapped air from your jarred coleslaw.
Step-by-Step Instructions for Canned Coleslaw Recipe
Preparing the Coleslaw Mixture
How you prepare your vegetables makes all the difference when it comes to canning coleslaw. Getting that perfect crunch starts long before you seal the jars; it begins with how you chop, mix, and treat your ingredients. The texture of your coleslaw starts with how you handle your vegetables. Too thick? It won’t pack well into jars. Too thin? You’ll lose that satisfying crunch. So, how do you find the right balance?
- Cabbage: Quarter your cabbage first, then remove the dense core. Use a sharp knife, mandoline slicer, or food processor to shred the leaves into thin strips—about the width of a shoelace. You want pliable but strong enough to hold their shape during canning.
- Carrots: Peel the carrots, then shred them finely. A standard box grater works perfectly here. The slivers should be small enough to blend easily but large enough to offer a pop of sweetness in every bite.
- Bell peppers and Onions: slice them thin for even mixing. Avoid thick chunks, making it challenging to pack the jar properly. Aim for uniformity in all your veggies—it makes a big difference when filling the jars.
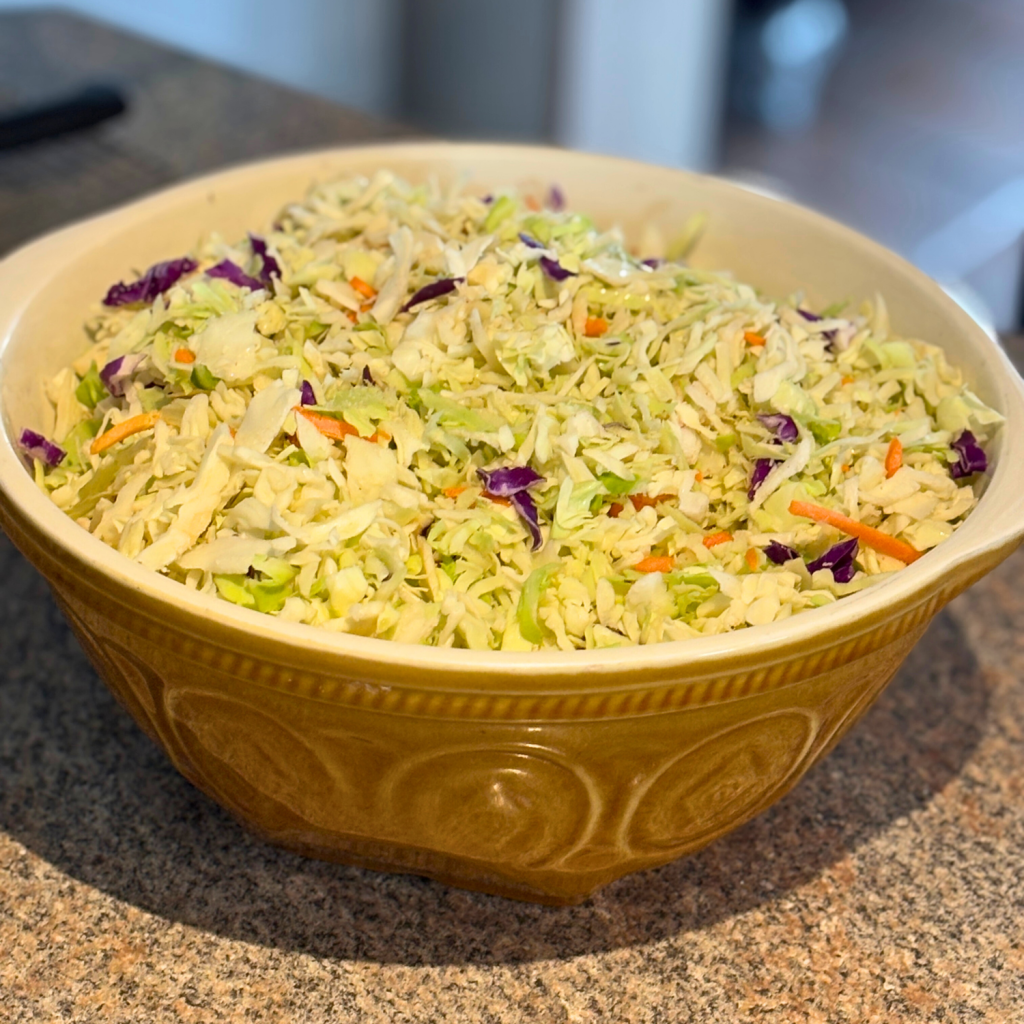
Once prepped, toss everything into a large bowl. A wide bowl gives you space to work the mix and ensures everything is evenly distributed
Salt and Resting Period
The salt and resting period is the secret to keeping the coleslaw crispy. Cabbage is naturally full of water, which can seep out and turn your coleslaw mushy if not dealt with. Sprinkling a generous amount of salt over the shredded cabbage draws out this excess moisture. It’s like getting the cabbage to sweat. This process can be done by adding salt (1TBSP of kosher salt per head of cabbage) to the shredded cabbage, massaging it in, and letting the mixture sit for 1 hour.
During this resting period, the salt also starts to season the cabbage, giving it a slight flavor boost. Don’t panic if you see water pooling at the bottom of the bowl—that’s a good thing! Once enough liquid has been drawn out, give everything a good rinse under cold water and squeeze gently to remove any leftover brine.
Making the Syrup
Combine all ingredients in a large pot (large enough to hold your cabbage mixture.)
- 2 1/2 cups white vinegar
- 3/4 cup water
- 2 cups sugar
- 1/2 – 1 TBSP celery seed
- 1/2 – 1 TBSP mustard seed
Stir until the sugar melts and everything is mixed together.
Once the coleslaw mixture is rinsed and drained, it can be added to the syrup. Stir it up really well so the coleslaw is coated with the syrup.
The Canning Process for Canned Coleslaw Recipe
Follow these steps to preserve this easy, crunchy, canned coleslaw recipe.
Sterilizing Jars and Lids
Before anything else, you’ve got to start with clean tools—this is non-negotiable regarding food safety. Sterilizing your jars and lids ensures bacteria, mold, and other nasties don’t get a free ride into your coleslaw.
- Wash Everything Thoroughly: Scrub your jars, lids, and bands with hot, soapy water. Rinse well to remove all residue.
- Boil the Jars: Place your jars upright in a large pot filled with water. Let them boil for at least 10 minutes to kill any lingering bacteria.
- Use Only New Lids and Clean Bands: Toss the lids and bands into a smaller pot of hot, but not boiling, water (180°F is the sweet spot). Boiling can damage the sealing compound. Let them sit until you’re ready to use them.
- Keep Everything Warm: Don’t let your jars go cold; leave them in the simmering water or a warm oven (around 200°F). This keeps them sterile and helps prevent cracking when you add your hot coleslaw mixture.
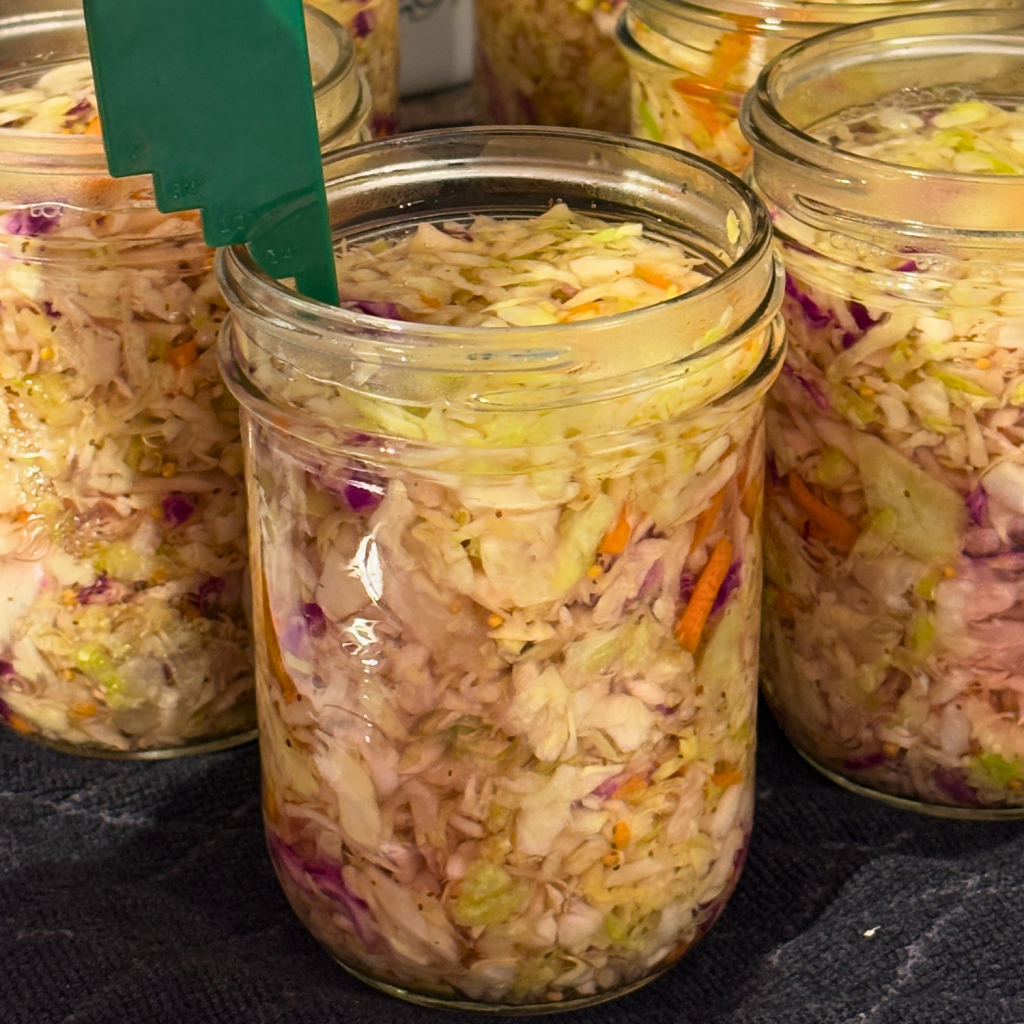
Packing the Jars
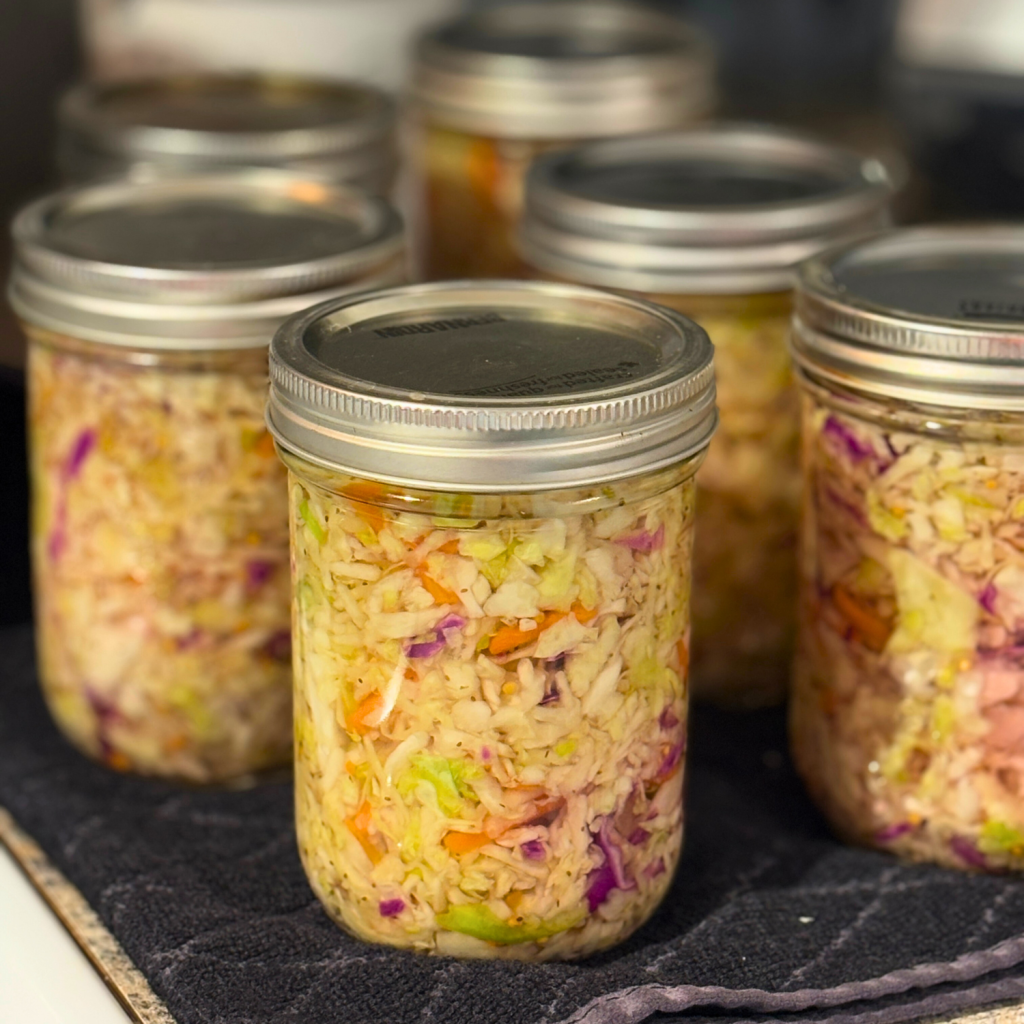
Once your jars are prepped, it’s time to fill each canning jar with that crisp, tangy coleslaw.
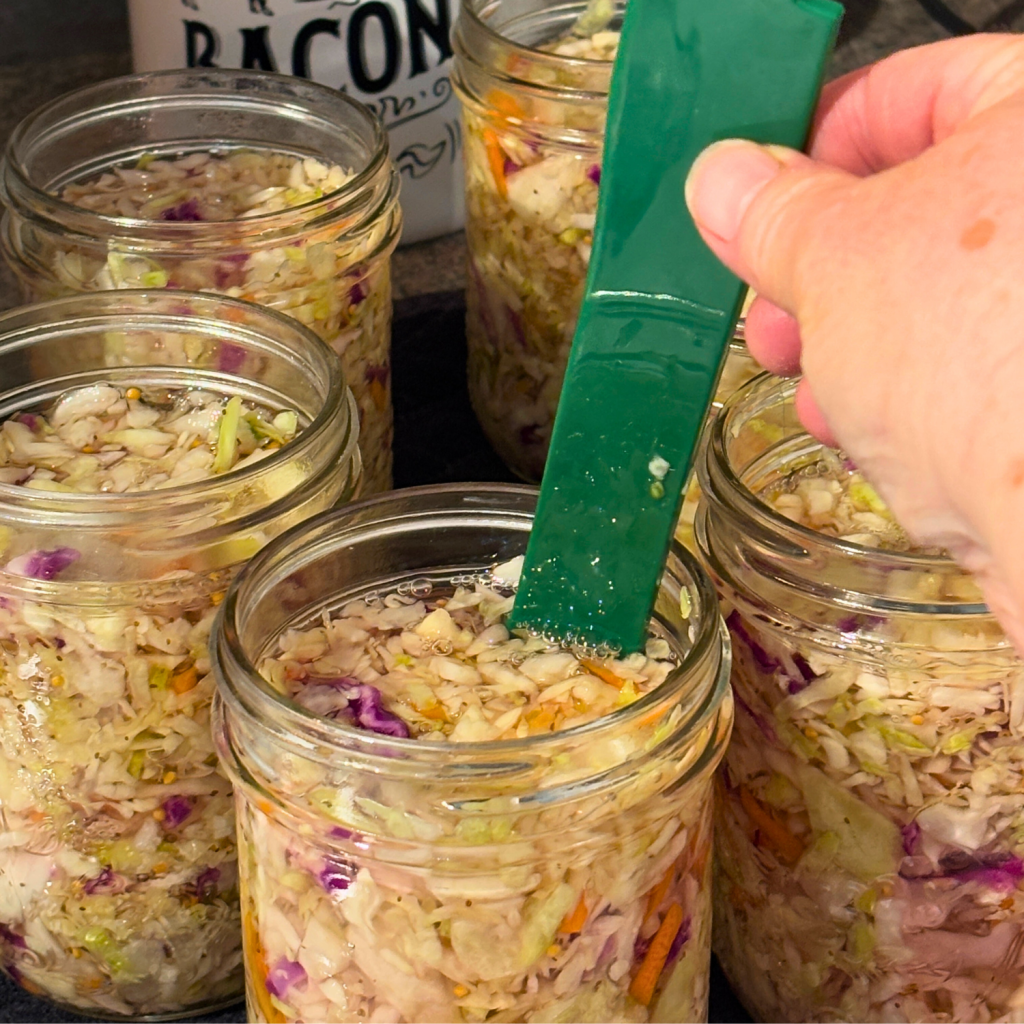
- Packing Jars: Use a slotted spoon and a wide-mouth funnel to fill all the jars with the coleslaw mixture. Gently pack the coleslaw down, then ladle the syrup to fill each jar.
- Leave Head Space: Always leave ½ inch headspace between the coleslaw and the jar rim. This space allows for proper sealing and accounts for expansion during the canning process.
- Remove Air Bubbles: Slide a chopstick or bubble remover tool around the inside edges of the jar to release any trapped air pockets. Trapped air can cause spoilage, so take your time here.
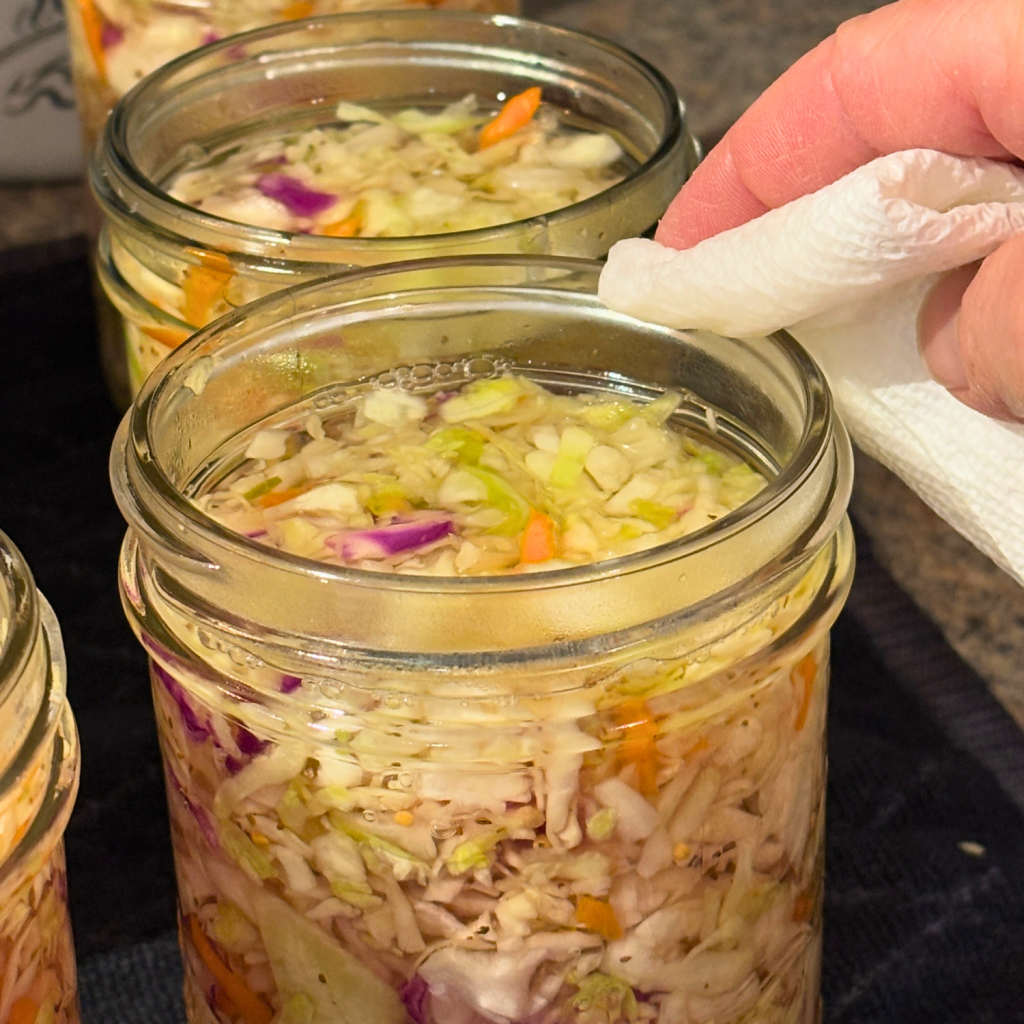
- Clean the Rim: Wipe the rims of the jars with a damp, clean paper towel to remove any residue. Even a tiny splash of brine can prevent the jar from sealing properly.
- Lids and Rims: Place the lids on and screw on the rings until fingertip-tight.
Seal the Jars
Now comes the part where your coleslaw transforms into shelf-stable goodness. The water-bath canning method is simple, effective, and perfect for high-acid recipes like coleslaw.
Here’s how what you do:
- Prepare the Water Bath: Fill your water bath canner or a large stockpot with enough water to submerge your jars by at least an inch fully. Heat the water to around 180°F—hot but not quite boiling. Place your jar rack at the bottom to prevent direct heat contact.
- Load the Canner: Using a jar lifter, carefully lower the packed jars into the hot water to avoid cracks. Make sure they’re sitting upright and not touching each other.
- Bring water to a Boil: Once the jars are nestled in, crank the heat and bring the water to a rolling boil. Cover the pot with the canner lid.
- Set the Timer: Process your jars for 15 to 20 minutes, depending on your altitude (higher altitudes will require an additional 5–10 minutes). The heat seals the jars and eliminates any potential bacteria. I’m in Manitoba, Canada, and will be processing for 25 minutes.
- Cool Safely: After the timer dings, turn off the heat and let the jars rest for 5 minutes in the water. Use your jar lifter to carefully remove the jars, placing them on a towel-lined surface. Avoid drafts to prevent thermal shock, and wait for the satisfying “ping” of the lid sealing.
- Check the Seals: Once cooled (after about 12-24 hours), press the center of each lid. A properly sealed jar will have a concave lid that doesn’t flex when pressed.
- Label and Move to Storage: Label and date the jars. Remove the ring and move the sealed jars to cold storage or your pantry.

Shelf Life and Storage Tips
Unlike store-bought options, homemade canned goods don’t have unnecessary preservatives, so handling them right is crucial to keeping that tangy crunch intact.
- Shelf Life Expectations: Canned coleslaw can last up to 12 months in a cool, dark place.
- Best Storage Conditions:
Once opened, the jars should be refrigerated and eaten within 5 to 7 days for optimal flavor and texture.
Serving Suggestions for this Canned Coleslaw Recipe
Canned coleslaw is very versatile. Here are some easy and creative serving ideas:
- Straight from the Jar: Sometimes simplicity is best. Enjoy it as a quick side dish with grilled chicken, burgers, or sandwiches. No prep required!
- Drain and Toss: Would you prefer a creamy slaw? Drain the brine, add a mayo or sour cream dollop, and mix. It transforms into a rich, creamy side dish in seconds.
- Taco Topper: Pile it onto fish or pulled pork tacos – crunchy, tangy, and refreshing.
- Wrap and Roll: Use it in wraps for added crunch alongside proteins like roast beef or chicken. It’s the lunch upgrade you didn’t know you needed.
- Sandwich Star: Add a spoonful to pulled pork sandwiches or hot dogs for a tangy crunch.
- Picnic-Ready Snack: Pair with crackers, a sharp cheddar, and cured meats for an easy picnic board that everyone will love.
Canned coleslaw isn’t just reserved for summer barbecues—it’s a year-round flavor booster. Whether you’re looking for a classic side or a creative twist, it’s always ready to shine.
Frequently Asked Questions for Canned Coleslaw Recipe:
1. Can I use red cabbage instead of green?
Absolutely! Red cabbage adds a vibrant color and a slightly different flavor profile.
2. How long does canned coleslaw last?
Properly sealed jars can last up to 1 year when stored in a cool, dark place. Once opened, refrigerate and consume within 7-10 days.
3. Can I adjust the sugar in the brine?
Yes, but remember that sugar helps balance the acidity of the vinegar and contributes to the overall flavor. Adjust to taste, but ensure the vinegar remains at 5% acidity for safe preservation.
4. Why is my coleslaw soft after canning?
While the coleslaw should retain some crunch, it may soften slightly during the canning process. Using fresh vegetables and not over-packing the jars can help maintain texture.
5.Can I skip the water bath process?
No. The water bath ensures proper sealing and destroys harmful bacteria, making the coleslaw safe to store.
This crunchy canned coleslaw recipe is easier than you might think, and the payoff is enormous. Imagine opening a jar of fresh, tangy slaw in the dead of winter, instantly adding flavor to your meals. It’s not just about extending shelf life but preserving that crisp texture and balanced taste you love. Whether you’re looking for convenience, a way to reduce waste or a fun weekend project, this recipe has you covered.
Special Tools (affiliate links): Electric Water Bath Canner | Bubble Remover | Jar Lifter |
If you try this recipe and love it, please tag me on Instagram and Facebook @grindinggearsfarmstead.
Lechyd Da, (means “Cheers to Good Health” in Welsh)

Crunchy Canned Coleslaw Recipe
Ingredients
- 1-2 medium heads of cabbage or 1 bag of coleslaw mix 2 pounds
- 1 large carrot – shredded or shaved
- 1 bell pepper – sliced thin
- 1 small onion – sliced thin
- 1 TBSP salt
Brine Ingredients
- 2 1/2 cups white vinegar
- 3/4 cup water
- 2 cups sugar
- ½ – 1 TBSP celery seed
- ½ – 1 TBSP mustard seed
Instructions
Prepare the Coleslaw Mixture
- Cabbage: Quarter your cabbage first, then remove the dense core. Use a sharp knife, mandoline slicer, or food processor to shred the leaves into thin strips—about the width of a shoelace. You want pliable but strong enough to hold their shape during canning.
- Carrots: Peel the carrots, then shred them finely. A standard box grater works perfectly here. The slivers should be small enough to blend easily but large enough to offer a pop of sweetness in every bite.
- Bell peppers and Onions: slice them thin for even mixing. Avoid thick chunks, making it challenging to pack the jar properly. Aim for uniformity in all your veggies—it makes a big difference when filling the jars.
Salt and Resting Period
- Sprinkle 1 TBSP (per head) over the cabbage mixture. This will drawn out the moisture in the cabbage.
- Massage salt into cabbage mixture.
- Let rest for 1 hour.
- Rinse well under cold water.
- Drain and gently squeeze out the excess water.
Making the Syrup
- Mix all the ingredient for the syrup in a large pot (large enough to hold all the cabbage mixture.)
- Stir until the sugar melts and everything is mixed together.
- Once the coleslaw mixture is rinsed and drained, it can be added to the syrup. Stir it up really well so the coleslaw is coated with the syrup.
Can the Coleslaw
- Using a slotted spoon fill jars and lightly pack.
- Fill jars with syrup leaving 1/2 headspace.
- Wipe rims. Place lids and rings
- Water bath can for 20 minutes.
Storage
- Store the jars in a cool, dry spot like a pantry or basement.
- Keep the jars away from direct sunlight
- Always check the seal before opening. If the lid “pops” when pressed, or there’s visible spoilage, it’s time to toss it. Safety first!